Saturday, December 2, 2017

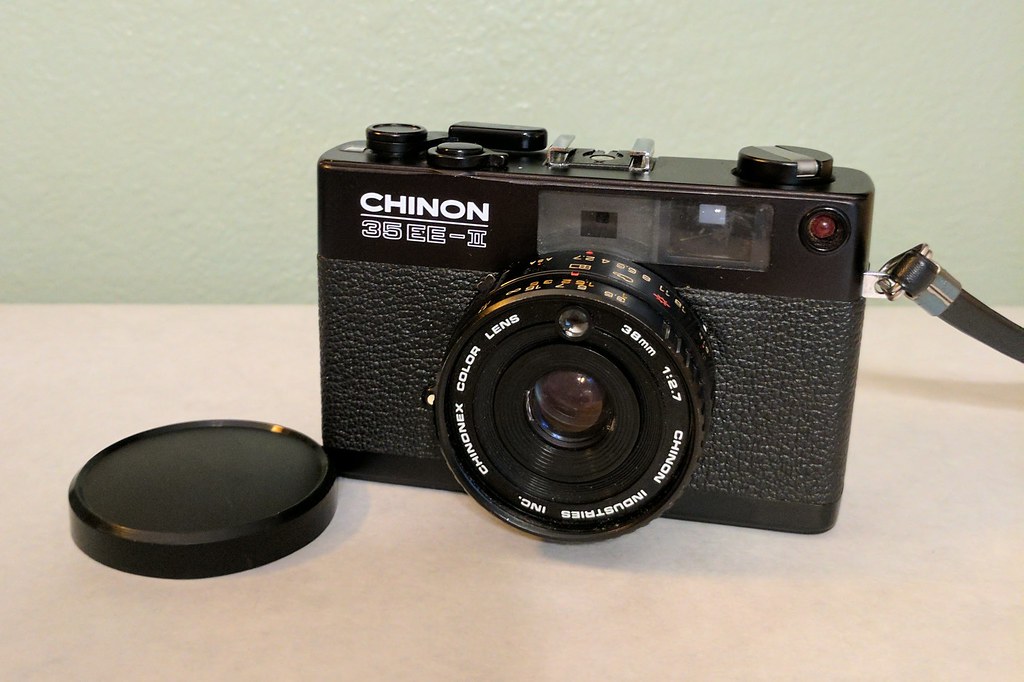
Chinon 35 EE-II


Chinon 35 EE-II 

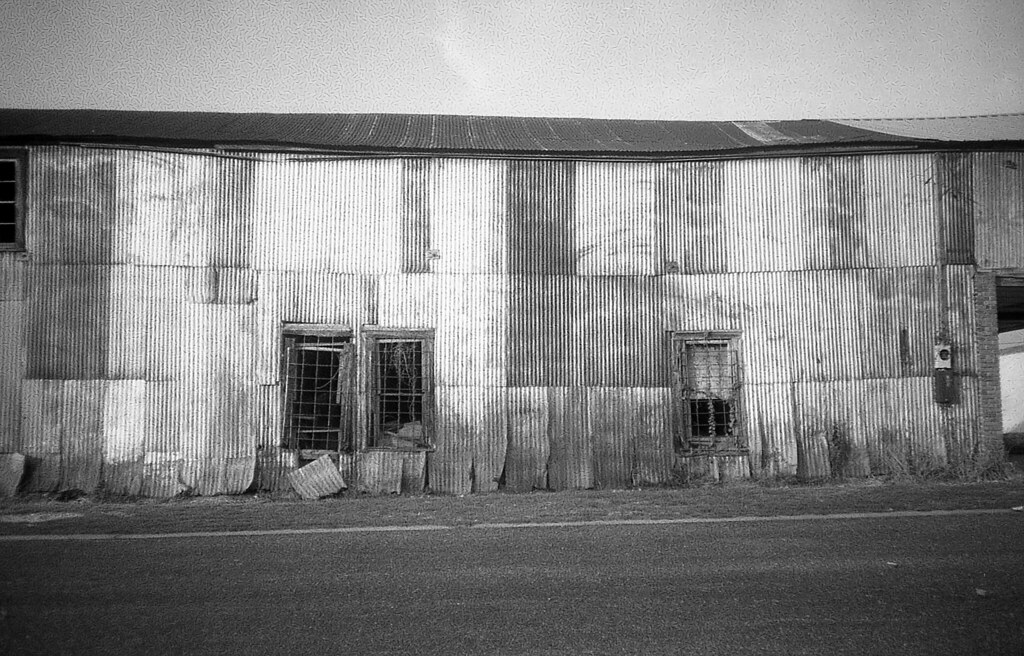
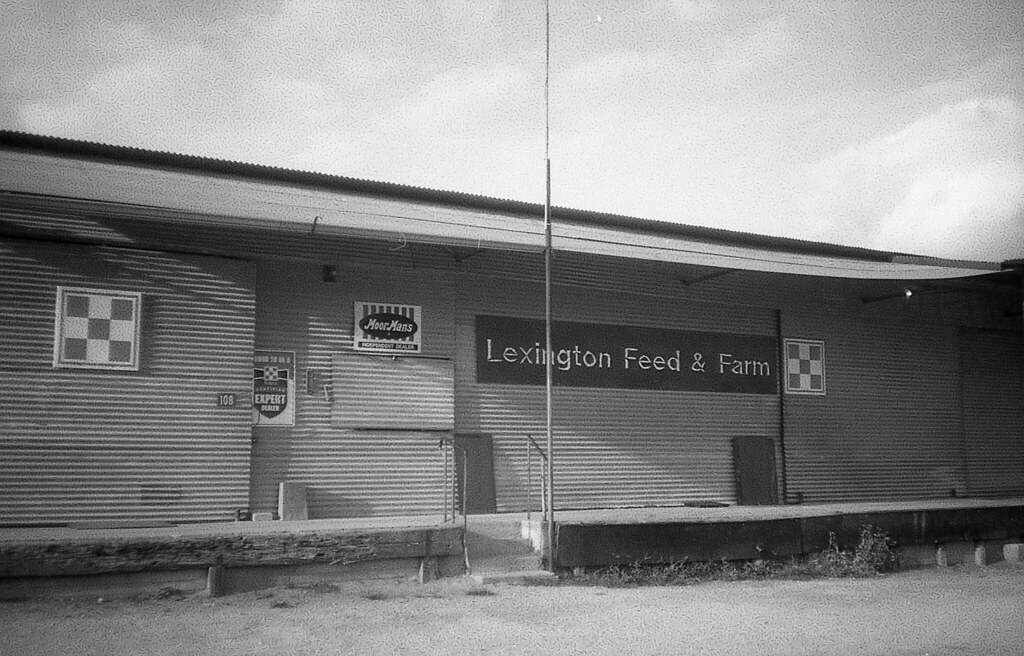
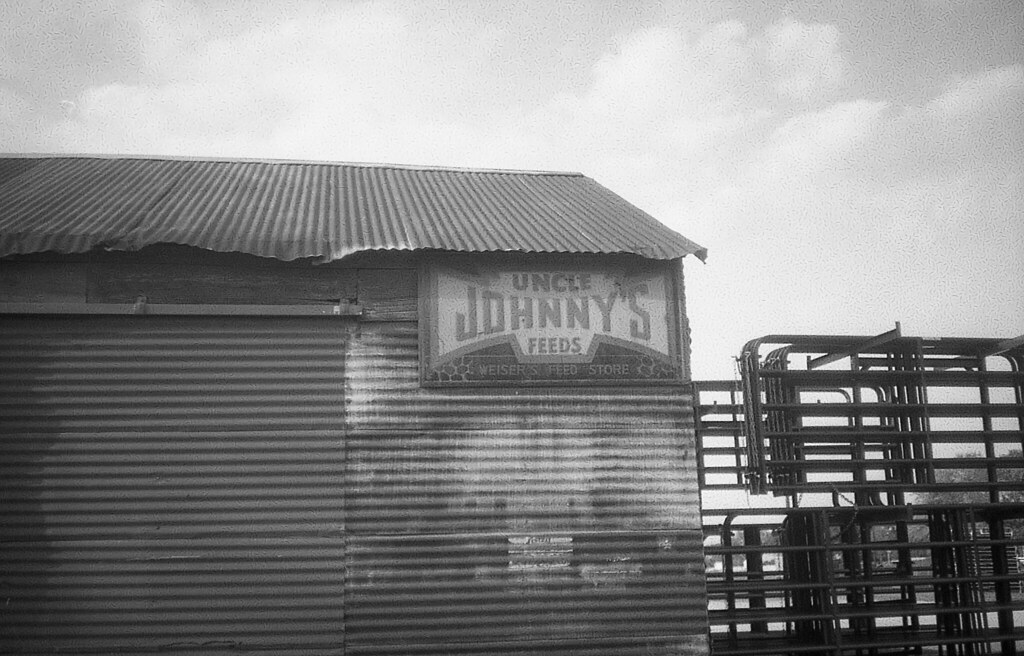
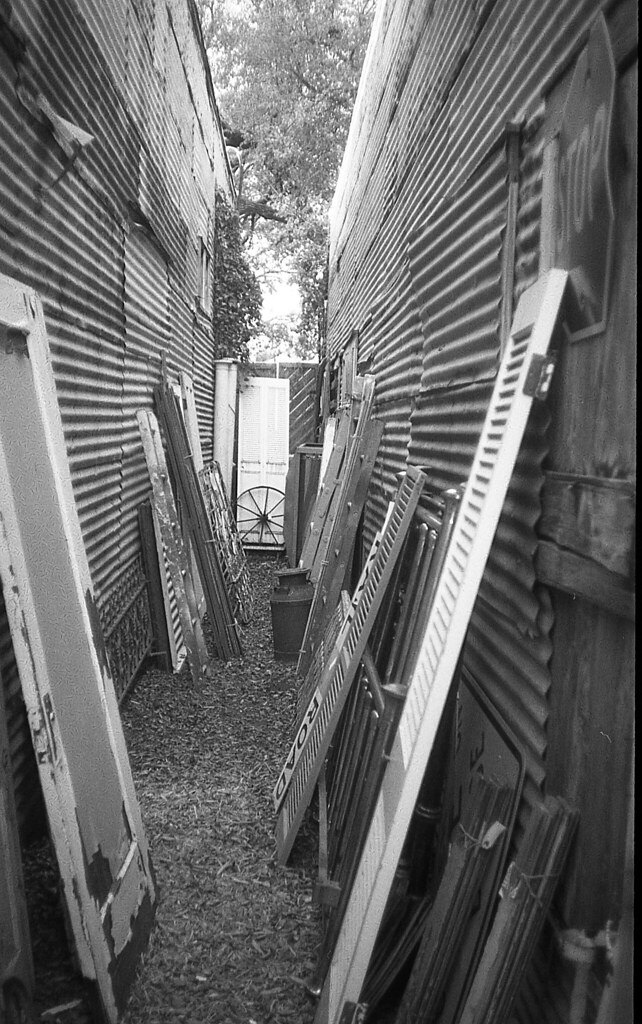
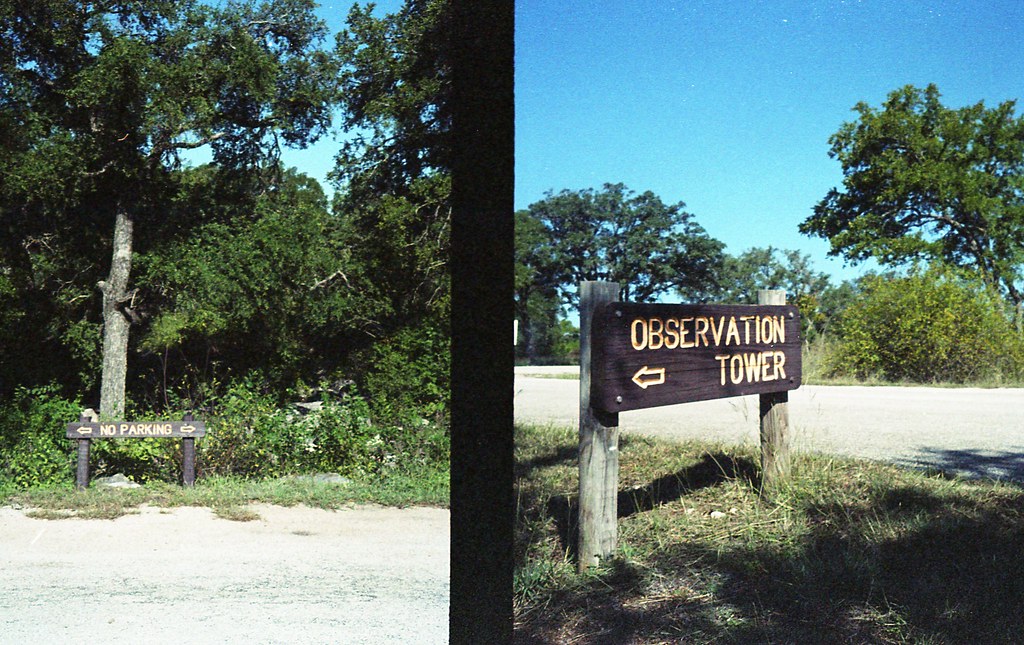
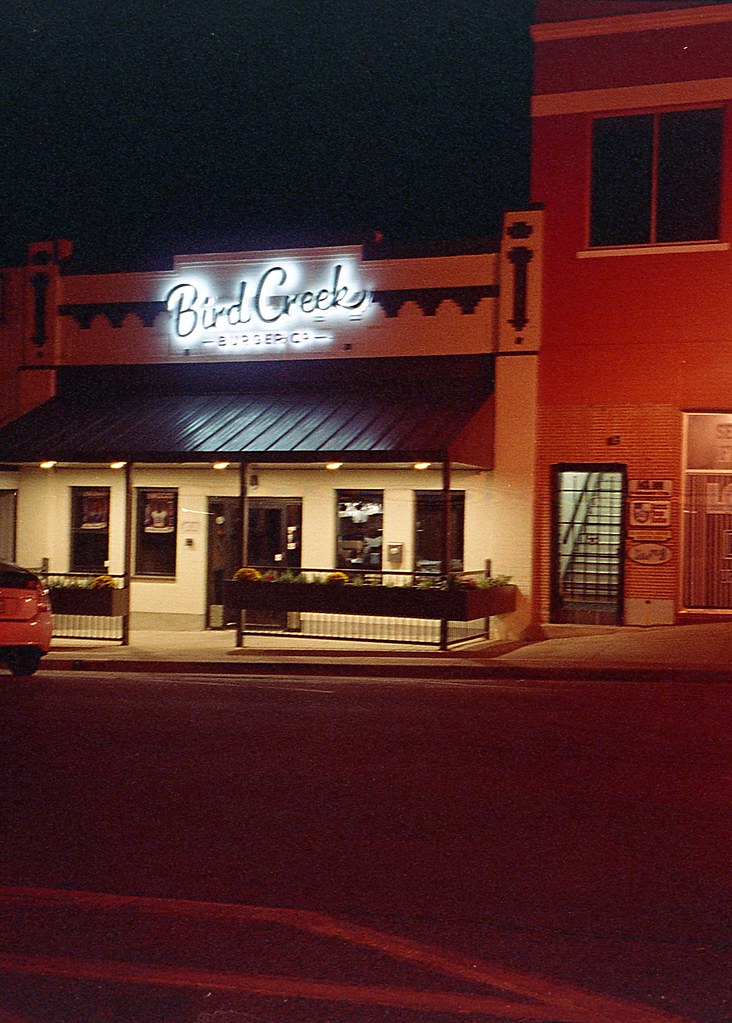
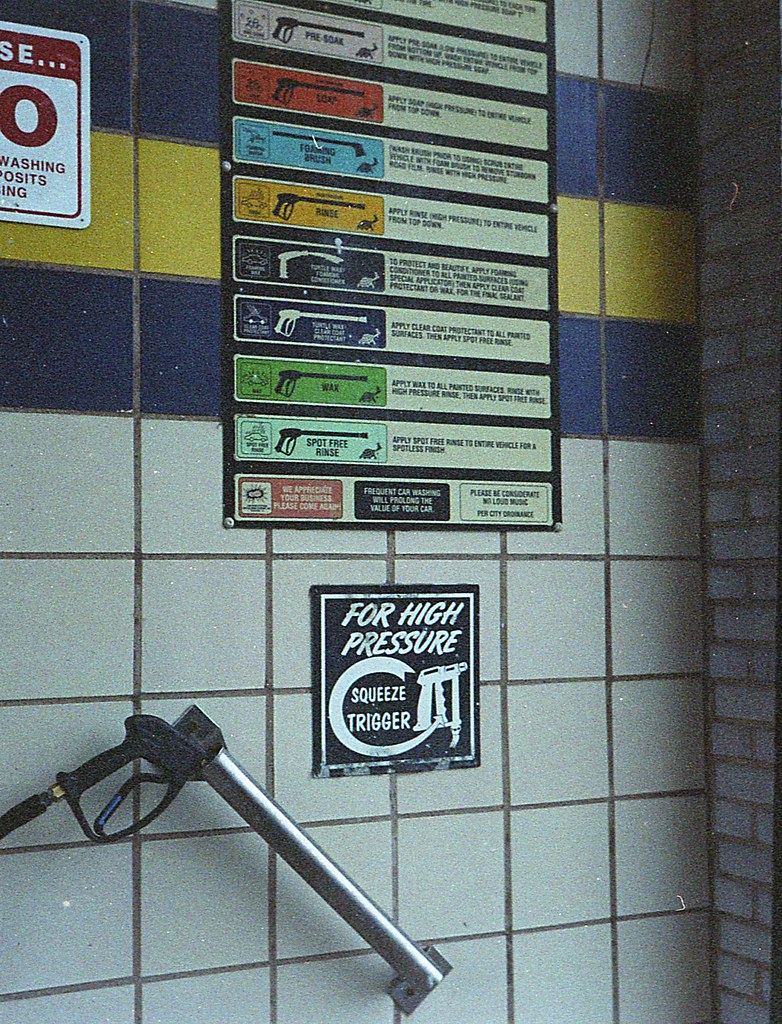
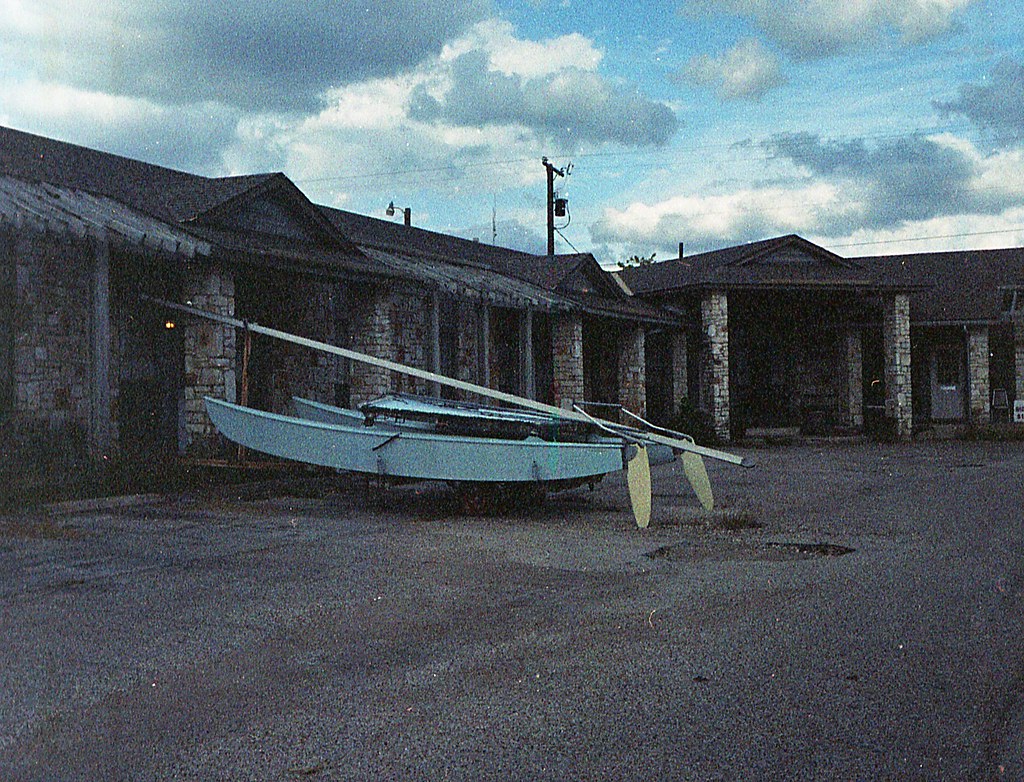
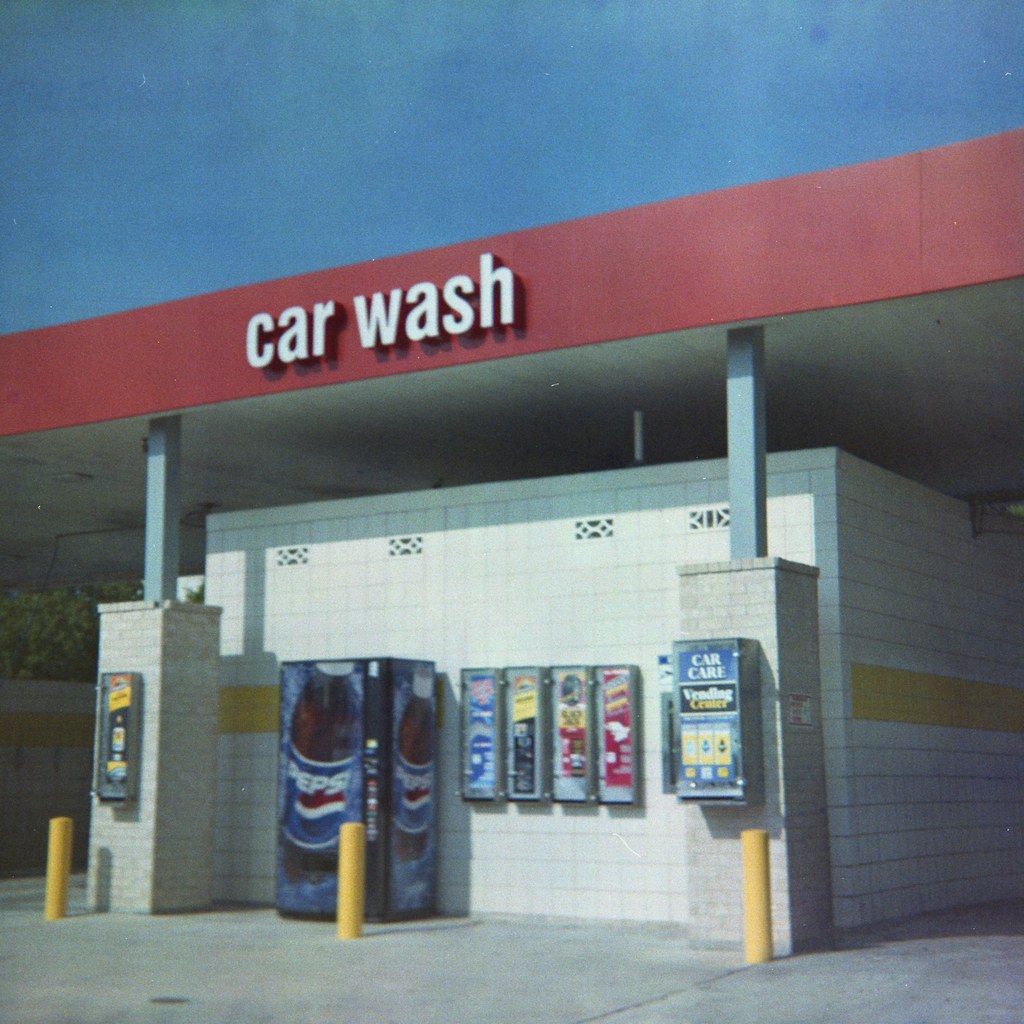
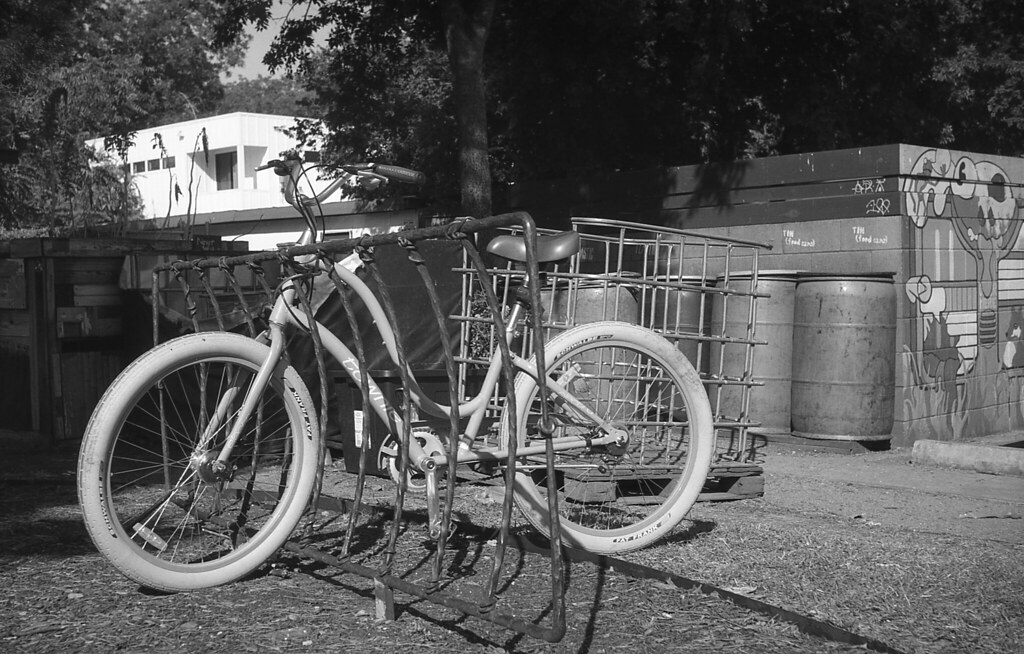
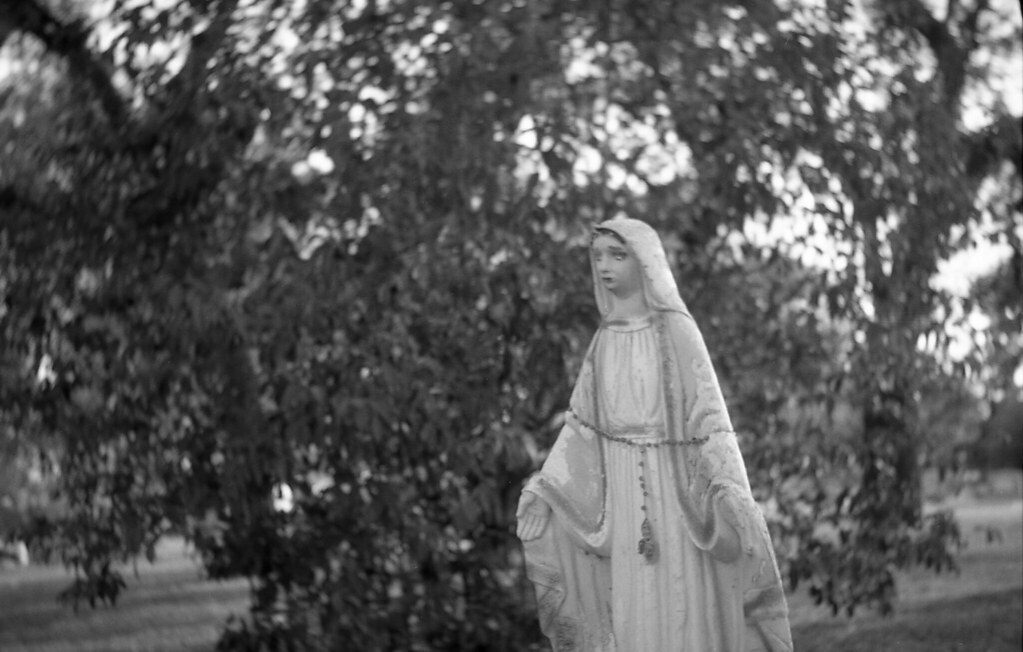
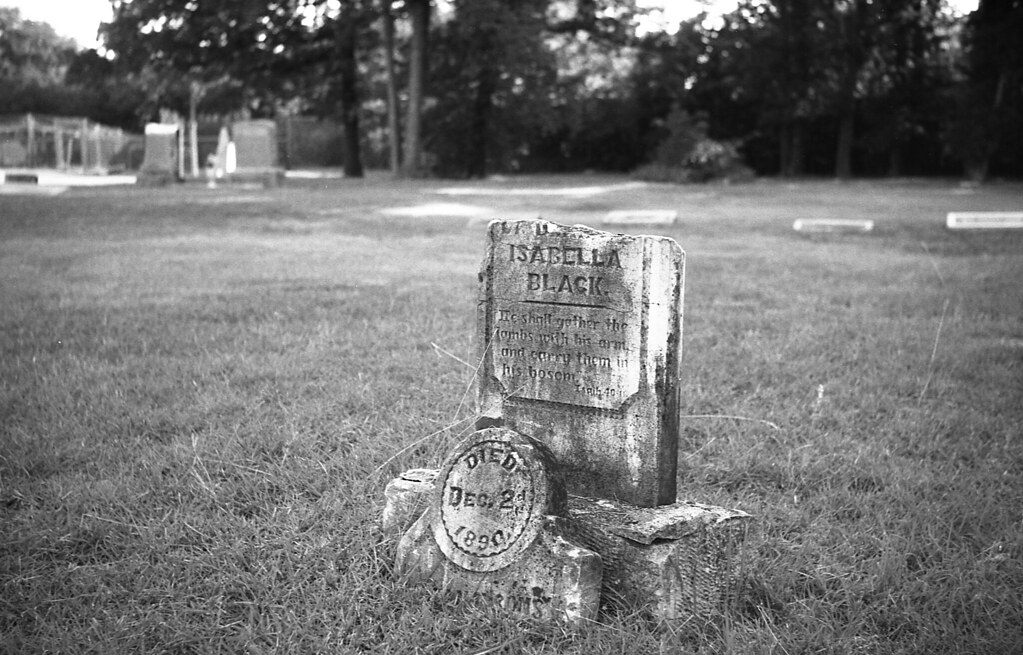
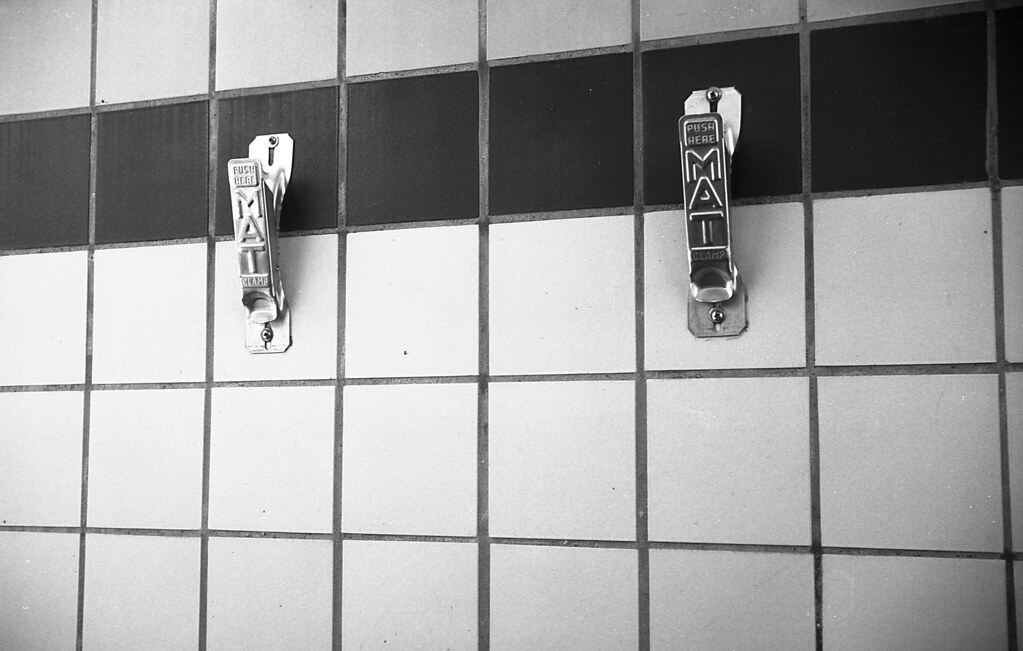
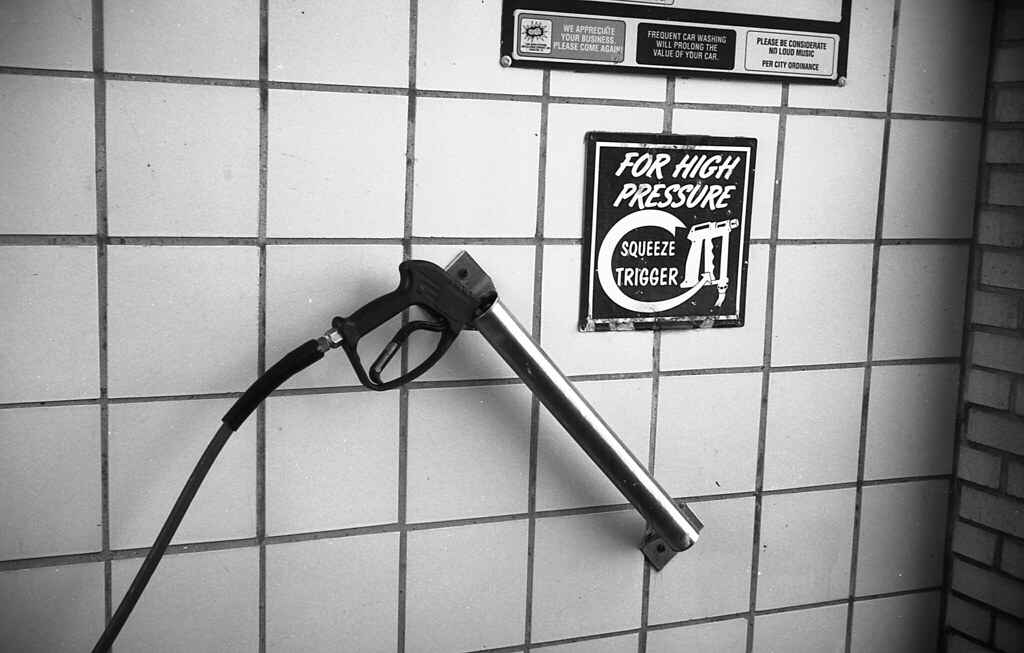
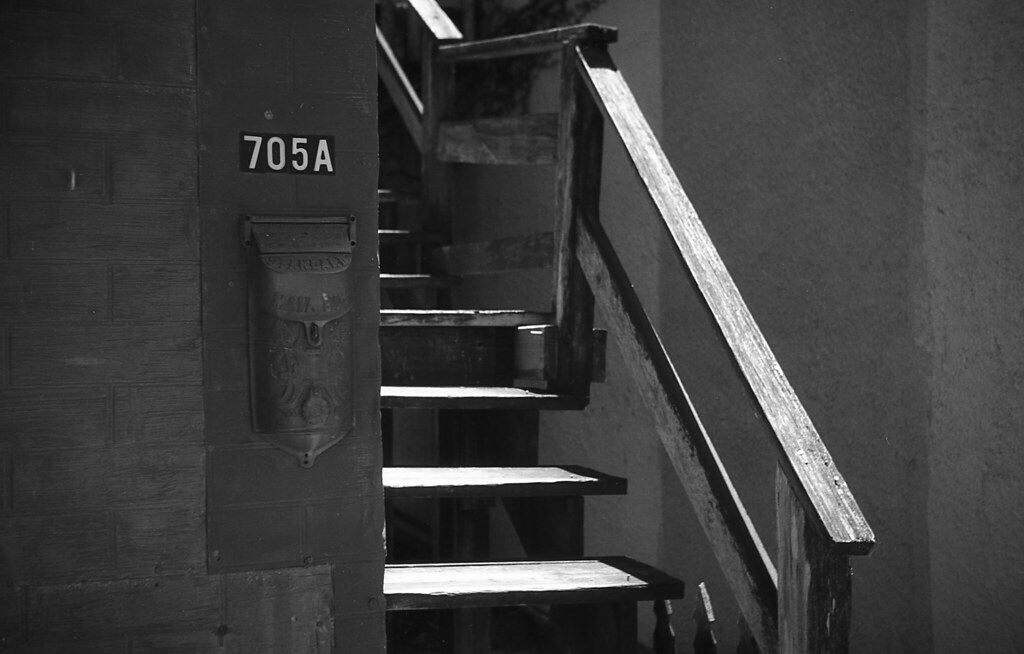
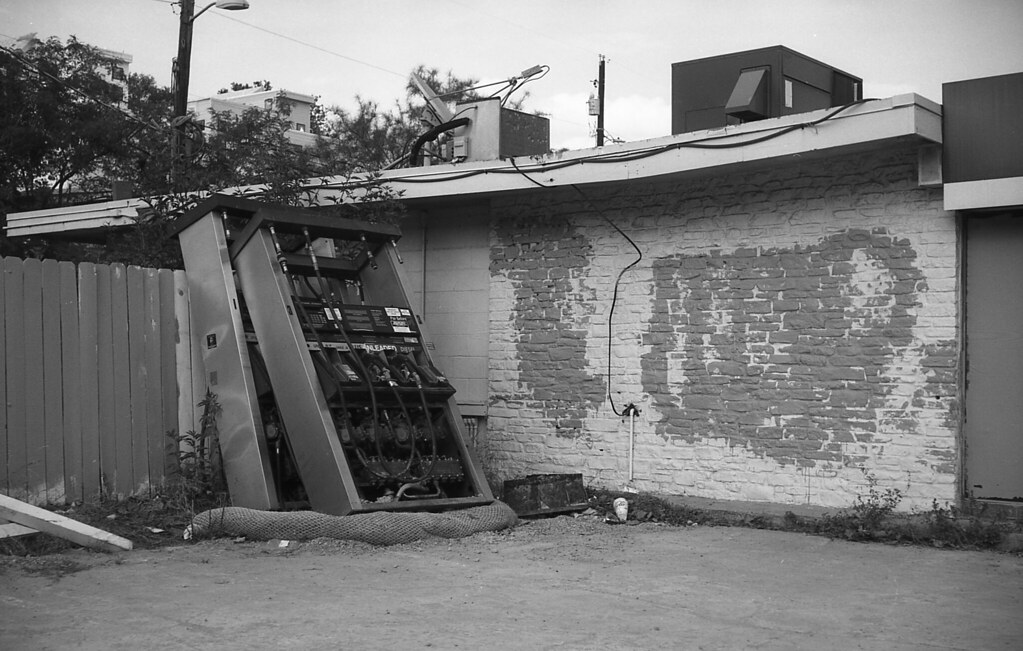
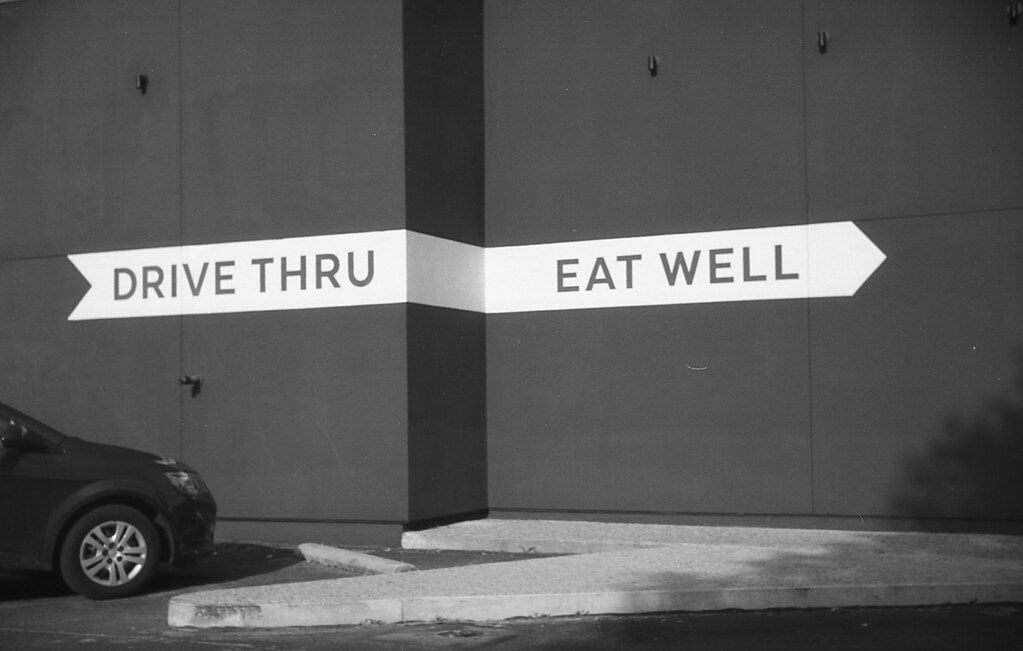
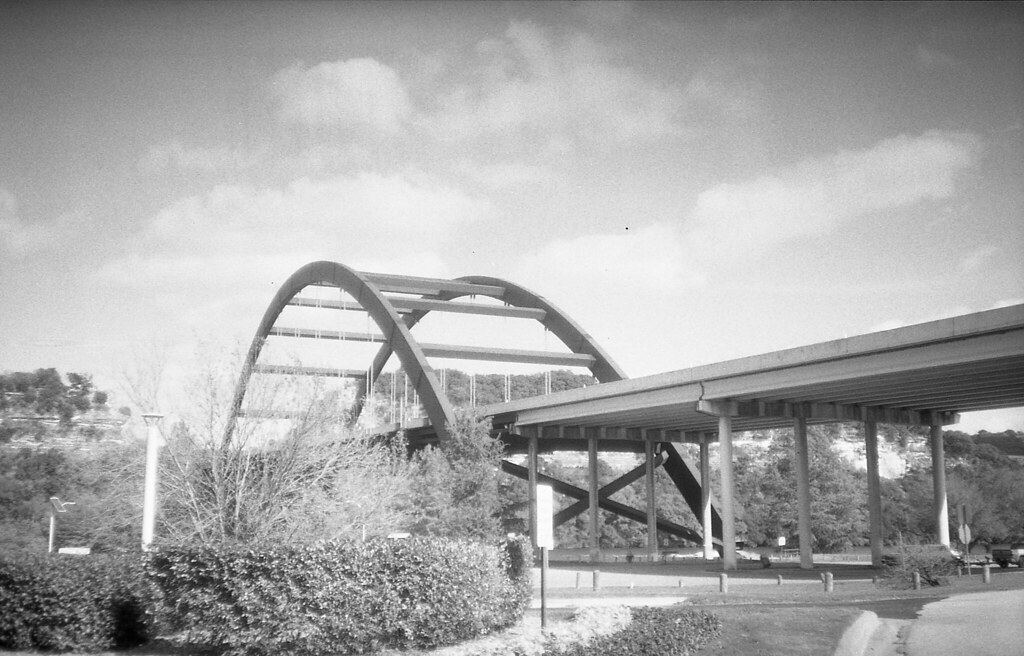
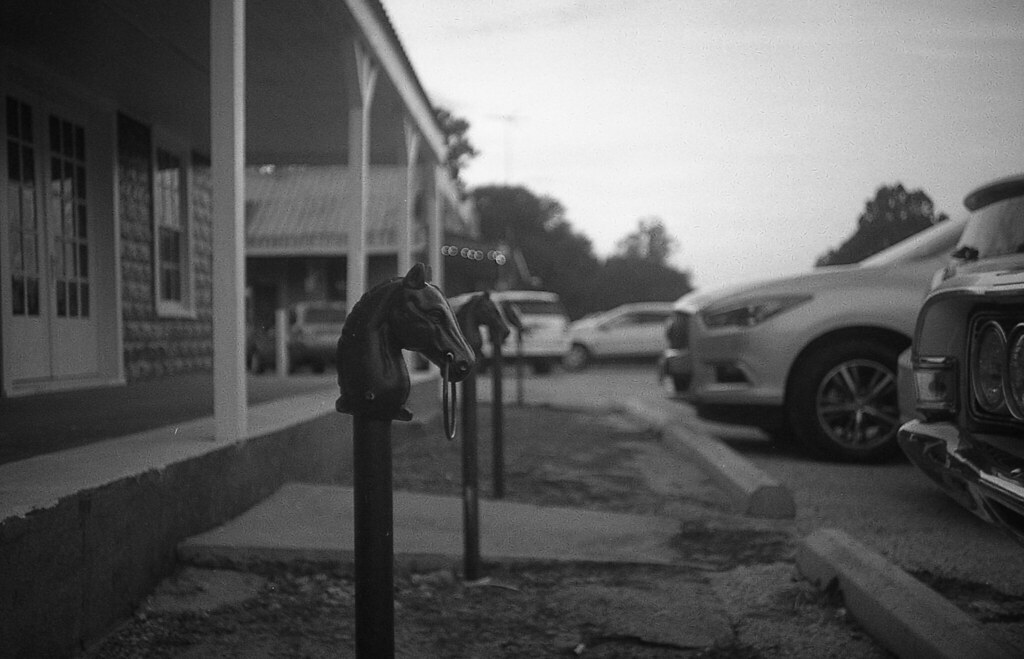
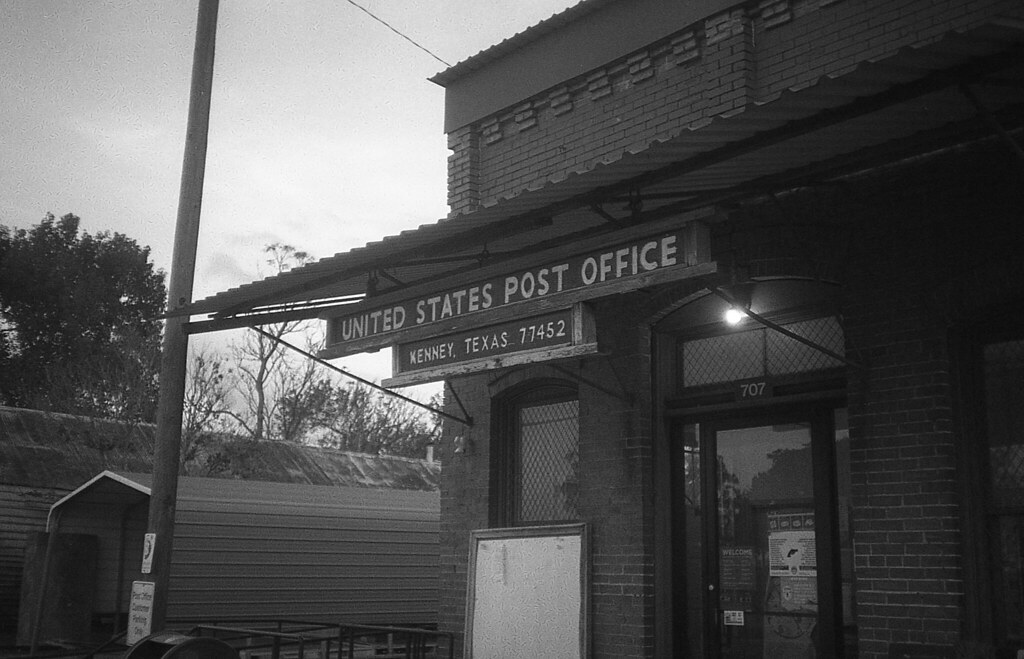
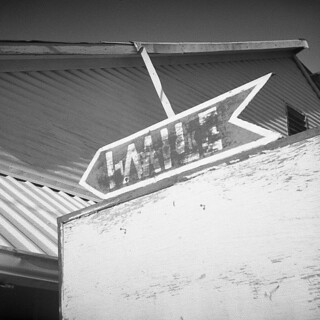
This Chinon 35 EE-II is the first camera that I had not used prior to this project. Sometimes you just have to trust that a camera still has the ability to capture a moment.

I picked it up on eBay because it looked to be in good shape.  It turns out the battery wire was fried from battery leak. It was real tricky getting in there to solder the wire. My first attempt to fix this was not successful. After taking a step back, I revisited the repair and was able to get it fixed the second time around. 

The battery situation took some thinking to figure out. It was originally powered by two of the thicker batteries. I stacked two modern batteries on one side and used a brass nut to bridge the other side of the connection. This seems to work just fine and everything worked okay after I did this.

This is an aperture priority rangefinder fitted with a 38mm/f2.7 lens. You select the aperture and the camera will select the shutter speed. The shutter speed is not represented anywhere on the camera or in the viewfinder. There are over/under lights (green/red/green) directly to the right of the viewfinder that you can see as you depress the shutter release. It's good to know that the max shutter time is around 10 seconds. You will get the under exposure warning any time the camera will require a long shutter speed to get the correct exposure. Don't be afraid to use a tripod to get the shot you're looking for. 

The camera has a shutter release lock that could be handy. Personally, I don't advance the film and cock the shutter until I'm ready to take the picture. That's a habit I've developed since I have so many cameras that tension the shutter when you advance the film.

As pointed out on other sites, there isn't an owner's manual readily available on the internet. 

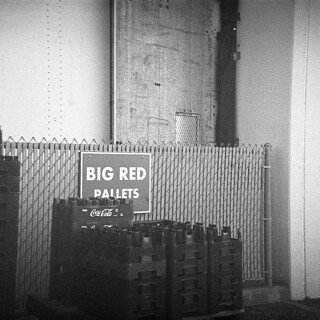
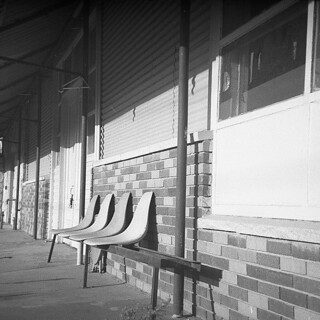
The exposures were pretty good on most of the pictures but the camera didn't produce consistent results. Although this camera is compact and easy to use, it doesn't hold a candle to the Olympus XA.

I used Kodak Tri-X 400 and Orwo UN54 (100 iso) film this month. Developed using the R5 Monobath Developer. Scanned with an Epson V550.
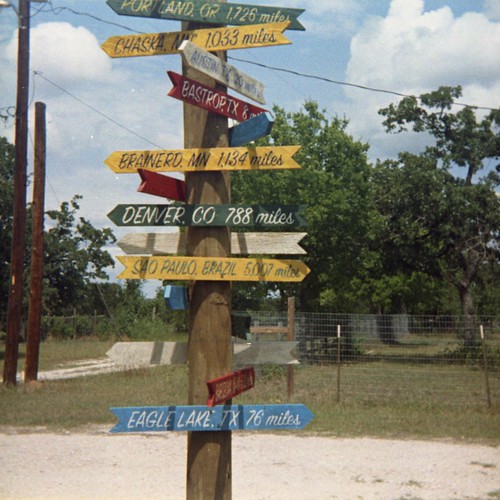
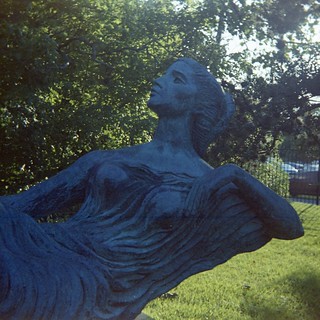
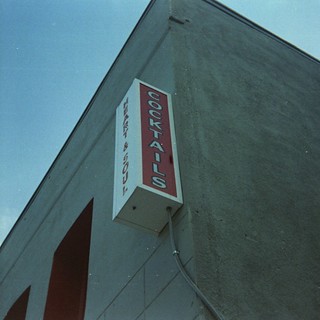
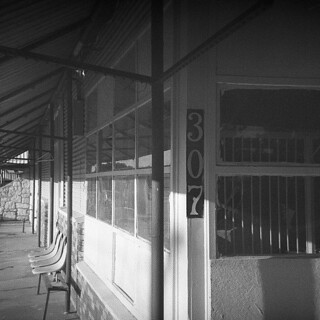
Chinon 35 EE-II

Chinon 35 EE-II

Chinon 35 EE-II


Chinon 35 EE-II

Chinon 35 EE-II

Chinon 35 EE-II

Chinon 35 EE-II

Chinon 35 EE-II

Chinon 35 EE-II

Next month's camera: Franka Solida III

Thursday, November 2, 2017

Canon Demi EE17

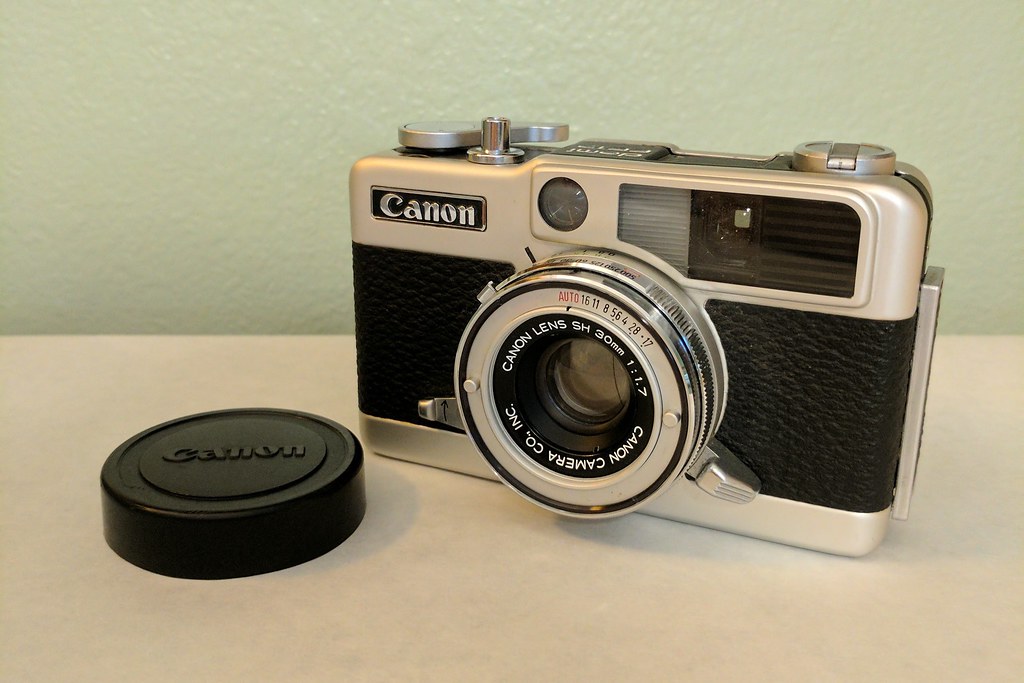
The Canon Demi EE17 is an excellent half frame camera that produces 24x18mm pictures. The pictures are composed in the portrait format. Rotate the camera 90 degrees and you're taking pics in landscape format! It's equipped with a 30mm/f1.7 lens. According to the literature it's made up of 6 elements in 4 components.

Canon Demi EE17 Half Frame Camera 

The ISO range for this camera is 25-400. The shutter speeds go from 1/8 to 1/500 plus a Bulb setting. The size of the camera is slightly larger than pocket size. It fits comfortably in the hand and mine came with a Canon wrist strap that screws into the tripod mount on the bottom of the camera.

The flash shoe was dangling when I got this one. It ended up falling off and I haven't bothered to remove the top and reattach it yet. For flash photography, I hand held the flash. The camera's small and light enough that you can do that without much fuss.

The shutter was gummed up so I had to go in and give it the ol' naphtha treatment. That was several months ago. So when I snapped my first couple of shots this month, I noticed that it was way too sluggish and wouldn't make it through the month without another round of naphtha and I also used some graphite on the blades this time. It seems to be hanging in there but I wouldn't be surprised if I have to go into the lens element again in the future.

This camera does a great job in the auto mode. Just don't forget that you still have to do the focusing. The focusing on this camera is zone focus and there are icons in the viewfinder (Portrait/Group/Scenery) to let you know the approximation of that focus.

The CdS light meter is located above the lens barrel. The lens cap will not block out the meter. So I put the camera in an old Kodak zipper case to keep the light out and save the battery.

I decided to shoot some Kodak Gold 200 film just because I've shot a lot of black and white the past few months. I also shot color film with this camera when I first got it. I think I'll load it with some black and white film the next time I use it.

Please note: My developer was exhausted! I knew I was pushing my luck using old chemicals. But hopefully you can still see that the camera is very capable with an excellent lens. And the auto exposure mode seems to get it right a majority of the time.

Film: Expired Kodak Gold 200
Developer: Unicolor C41 Kit (exhausted!)
Scanner: Epson V550

Next month's camera: Chinon  35 EE-II
Canon Demi EE17

Canon Demi EE17

Canon Demi EE17

Canon Demi EE17

Canon Demi EE17

Canon Demi EE17


Friday, September 29, 2017

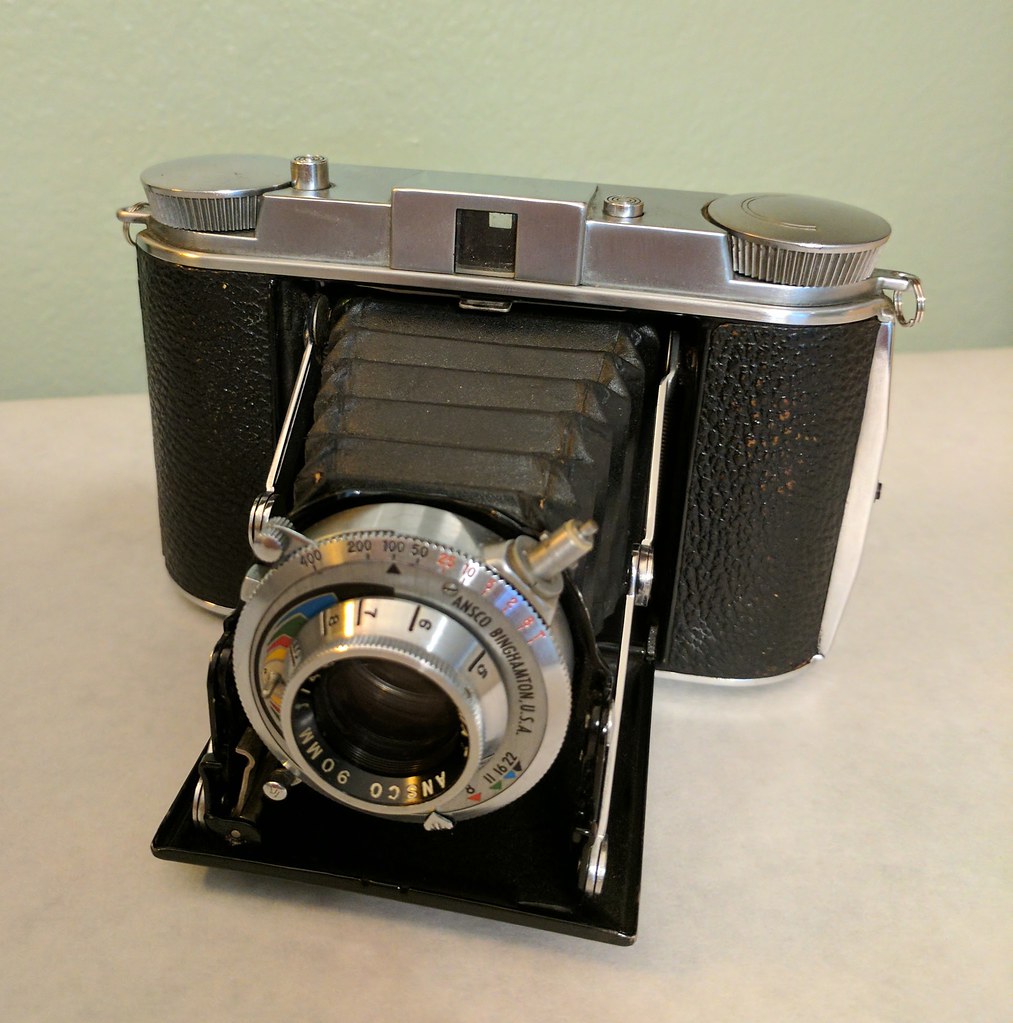
Ansco Titan 20

September's camera was the Ansco Titan 20. While last month's camera, the Ansco Color Clipper, was just a step above a point-and-shoot, the Titan 20 is the polar opposite. The user is in charge of everything--focus, shutter speed, aperture and the cocking of the shutter. There is NO double exposure protection on this camera. If you're in the habit of not winding to the next frame until you're ready to snap a pic, this camera will be a challenge for you. There are a lot of cameras that cock the shutter when you wind to the next frame. Because of this, I wait until I'm ready to take a picture to wind the camera in order to keep tension off the shutter until necessary. So I had to get used to winding immediately after taking a picture so I wouldn't end up with a double exposure.

Ansco Titan 

The Titan takes 120 spool film. There's nothing too tricky about loading this camera and winding on until you get to the number 1 on the film paper backing. I find the viewfinder a bit tiny and not very representative of what will actually end up in your picture. When I first took pictures with this camera, I ended up with way more foreground than I thought I would. There doesn't seem to be any magnification in the viewfinder so it's almost a 1:1 ratio when looking through there. I do wear glasses so I'm sure that doesn't help the situation because I can only get my eye so close to the viewfinder window.

The focus ring has a nice post on it to help turn it to the correct guessed distance. There is no rangefinder so you need to be good at zone focus or distance guessing. There's a handy depth-of-field guide that is color coded on this camera. The colors correspond to the color of the arrows below the lens aperture numbers. 

The shutter speeds range 1/2 a second up to 1/400th of a second plus "B" (Bulb) and "T" (Time). This is the first camera I've owned that had a T option. In this setting, you trip the shutter and the shutter remains open until you trip it again. I haven't tried this mode yet but I'm sure it would be great for night photography. The shutter cocking mechanism is located on the top of the lens and is quick to use with a short throw. 

This camera has a very cool minimalist design when closed. There are only two knobs and two buttons (one to open the camera and the other is the shutter button) on the top. The appearance is very art deco and the machined metal top is very attractive.

The camera is equipped with a 90mm/f4.5 lens. 

I only had to make one minor adjustment when I got this camera. The arm that trips the shutter would not travel far enough a second time when set to the "T" mode. All I had to do was bend the arm ever so slightly and now it works like a charm. All shutter speeds work properly and the camera has no other issues.

I used the LightMeter app on my phone to determine the correct exposure of these pictures. 

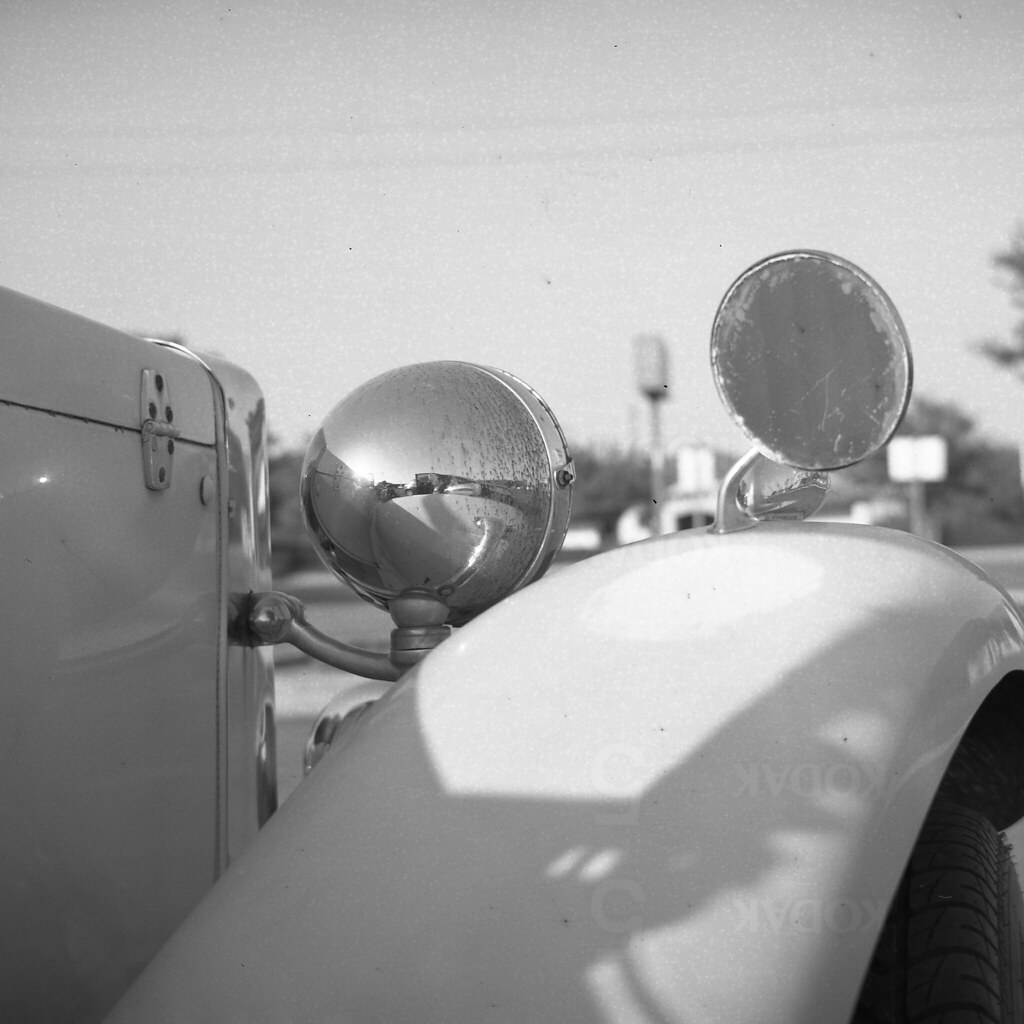
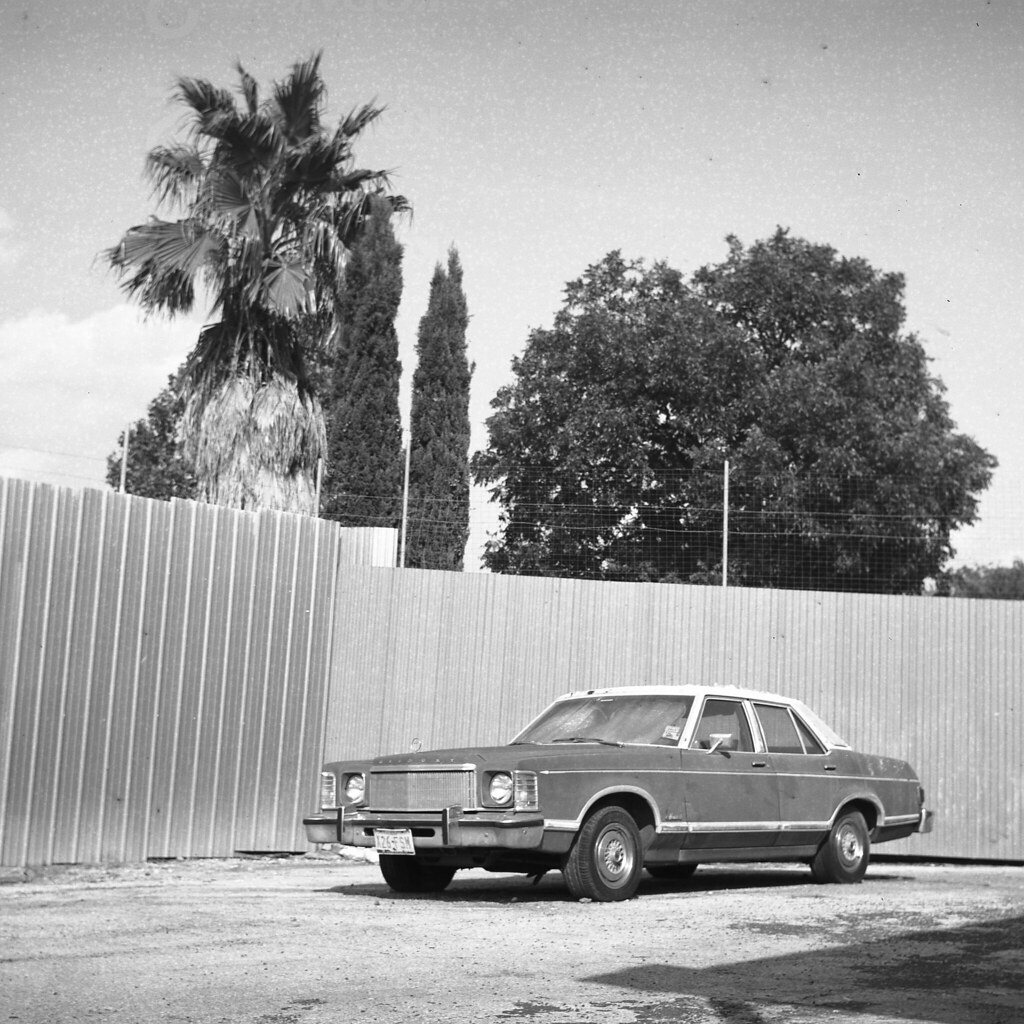
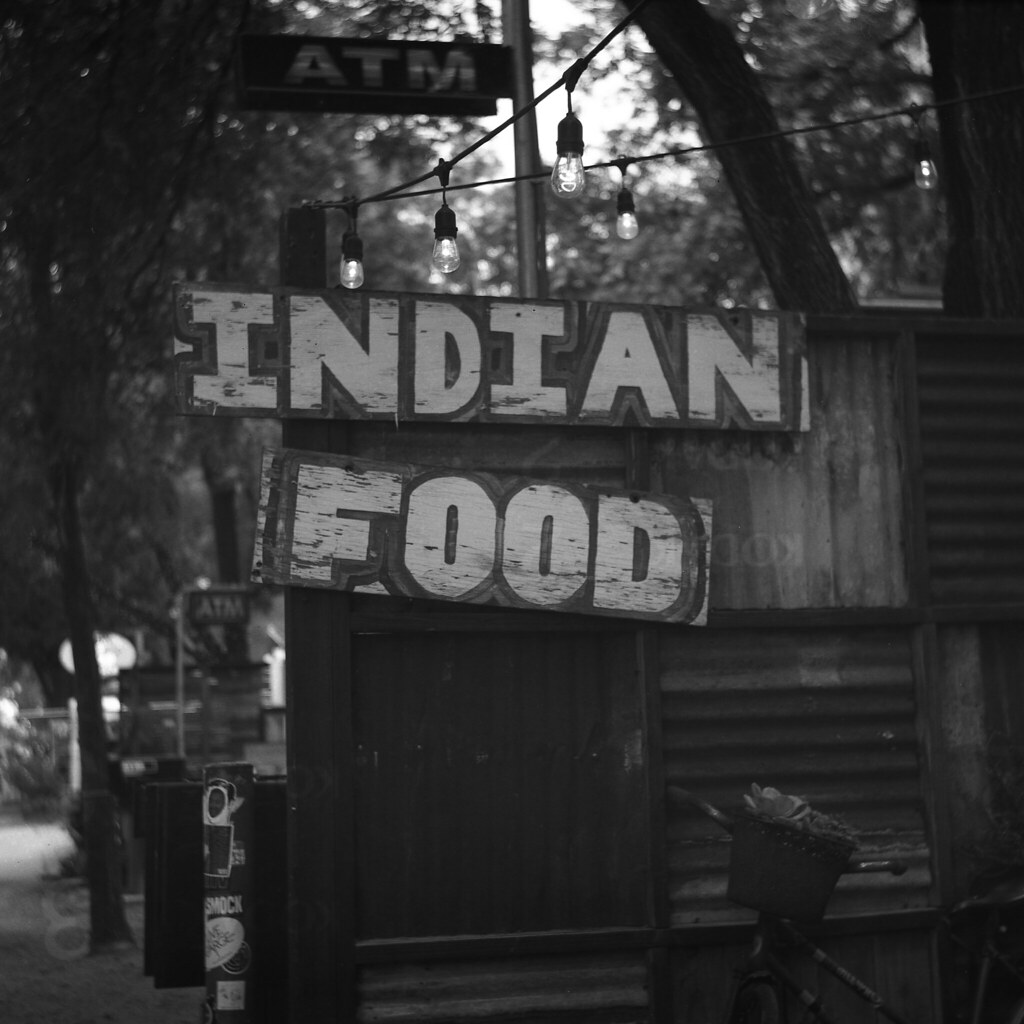
Film: Kodak T-Max 100
Developer: R5 Monobath
Scanner: Epson V550

Ansco Titan 20

Ansco Titan 20

Ansco Titan 20

Ansco Titan 20

Ansco Titan 20


Next month's camera: Canon Demi EE17 half frame camera

Thursday, August 31, 2017

Ansco Color Clipper

Ansco Color Clipper

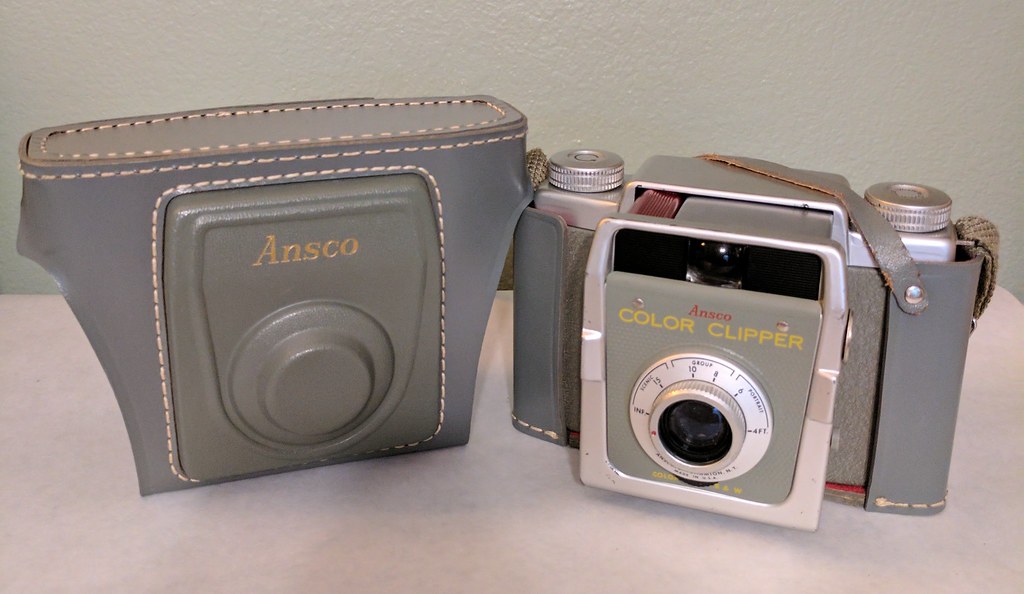
This month's camera is the Ansco Color Clipper. This example was in excellent condition. It came with the original box that included the case, strap, and flash unit. I love the look of this medium format (120 film) camera. The metal body is painted moss green with a wrinkled paint finish. The lens portion of the camera collapses back into the camera when not in use. The shutter release bar is anodized red. The lens can be adjusted for zone focusing. On my example, turning the focus ring doesn't feel like it's doing anything. There's not a lot of resistance but the photos I've taken have proven to me that it is actually focusing (or not focusing as the case may be!). The only other control is the color or b&w selection below the lens.

The camera is very basic. You load the film, set the camera for either color or black & white film, extend the lens (by pulling out on the side indentations), compose your shot, focus, and depress the shutter bar. The bar remains collapsed until you wind to the next frame. It's designed to do this as a way to prevent double exposure. I like this feature. If you are into double exposure photography, you can easily lift the shutter bar back up and this will allow you to take a second exposure on the same frame.

I've had this camera for awhile. I think it's fun and easy to use. I can tell you that the flash is pretty harsh and lead me to create the hashtag #flashbulbsendfriendships. It's blinding. I stocked up on plenty of old flashbulbs so I can offend people for quite some time. Just be aware that using this camera with the flash instantly turns you into that crazy person with an old timey camera. (Note: I didn't end up using the flash unit for any of this month's pictures. But I carried the flash unit around with me just in case.)

Despite its lack of controls, I really like the simplicity of this medium format camera. The fact that you only need to remember to set your focus means that you can quickly compose and snap your photo. Although I'll admit that I'm pretty deliberate when I'm taking pictures so I'm just as comfortable with a "complicated" camera.

I shot these pics on expired Kodak VR-G 100 film from 1988. Processed at home using the Unicolor C-41 Kit. Scanned on an Epson V550 scanner.

Ansco Color Clipper

Ansco Color Clipper

Ansco Color Clipper

Ansco Color Clipper

Ansco Color Clipper

Ansco Color Clipper


Next month's camera: Ansco Titan 20 folding camera

Monday, July 31, 2017

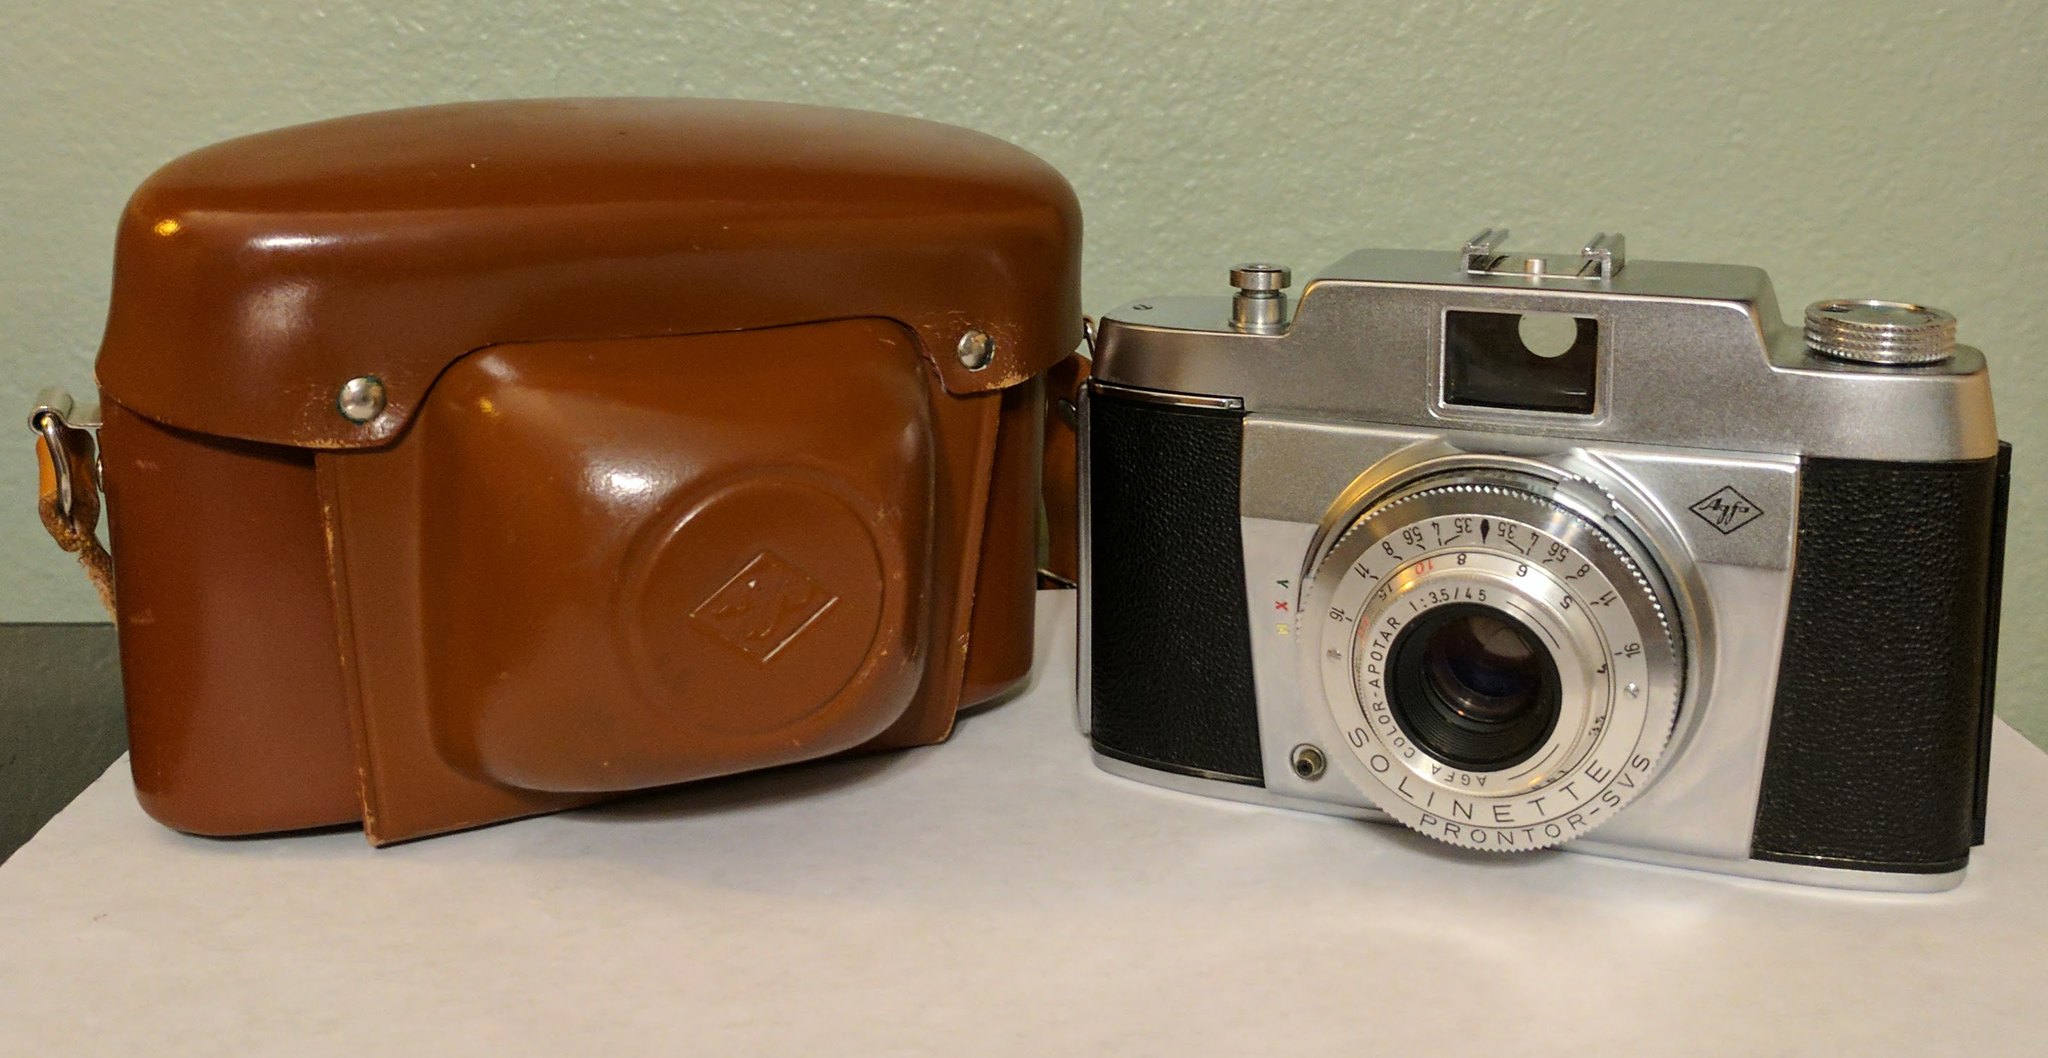
1954 Agfa Solinette

This is the first camera I bought when getting back into analog photography. I liked the design, it looked clean, and it came with its original case so I snagged it off of Etsy. It's completely manual (no rangefinder, no light meter, no auto mode) so you have to figure out the correct settings--aperture, shutter speed, and distance from your subject. It's actually not as difficult as it sounds. Although I did underexpose quite a bit early on because I kept thinking "it sure is sunny and bright out here" so I would set the shutter speed to 300 out of fear.

Agfa Solinette
There are other Solinettes on the internet but they are all folding cameras. I'm not 100% sure where this fits into the scheme of Agfa cameras but I believe it to be from the 1950's. (Update 9/19/17--recent research has revealed that this camera is from 1954.) This camera most resembles the Agfa Silette but has a Prontor-SVS shutter instead of a Vario. The Solinette also has a full compliment of shutter speeds (topping out at 300) whereas the Silette is restricted to four--B, 25, 50 and 200.

I had to make a couple of leather straps for the case when the original ones broke. I was carrying it around for awhile after the strap broke but got tired of doing that so I made my own straps. The camera itself doesn't have any strap lugs but the case isn't too cumbersome so it's not a problem to keep it in the case and remove the top when you're ready to shoot.

All pics were shot on Kodak T-Max 100 film. Developed in R5 Monobath. Scanned using an Epson V550 Scanner.


July: Agfa Solinette 

July: Agfa Solinette 

July: Agfa Solinette

July: Agfa Solinette

July: Agfa Solinette

July: Agfa Solinette

July: Agfa Solinette

July: Agfa Solinette

Next month's camera: Ansco Color Clipper

Saturday, July 1, 2017

1966 Agfa Isoflash Rapid C

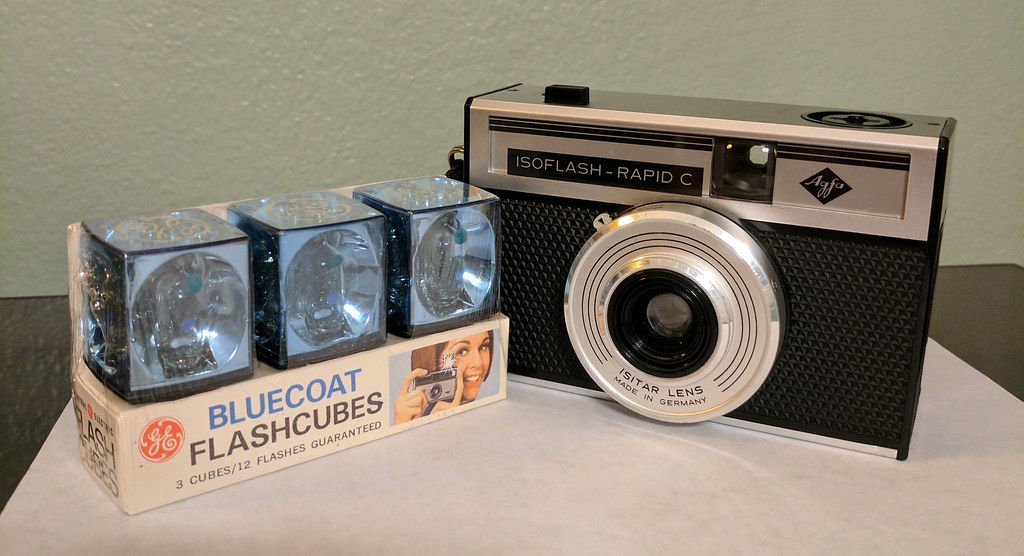
Agfa Isoflash-Rapid C
For the month of June, I carried around my 1966 Agfa Isoflash Rapid C. I found this camera at Goodwill for $2.99 and it came with a case AND two rapid cartridges. In the store, I didn't think the camera worked because I couldn't get the shutter to fire. But I read that you need to have film loaded in the camera for it to engage the shutter mechanism and that proved to be true. The camera came with its original battery but I replaced it with four small batteries (taped together with electrical tape) to fire the flash cube.


This camera is what is referred to as a simple camera. The only really adjustment available to the user is a sliding switch to select whether it's "sunny" or "cloudy". Outside of that, you frame up your subject and snap away!

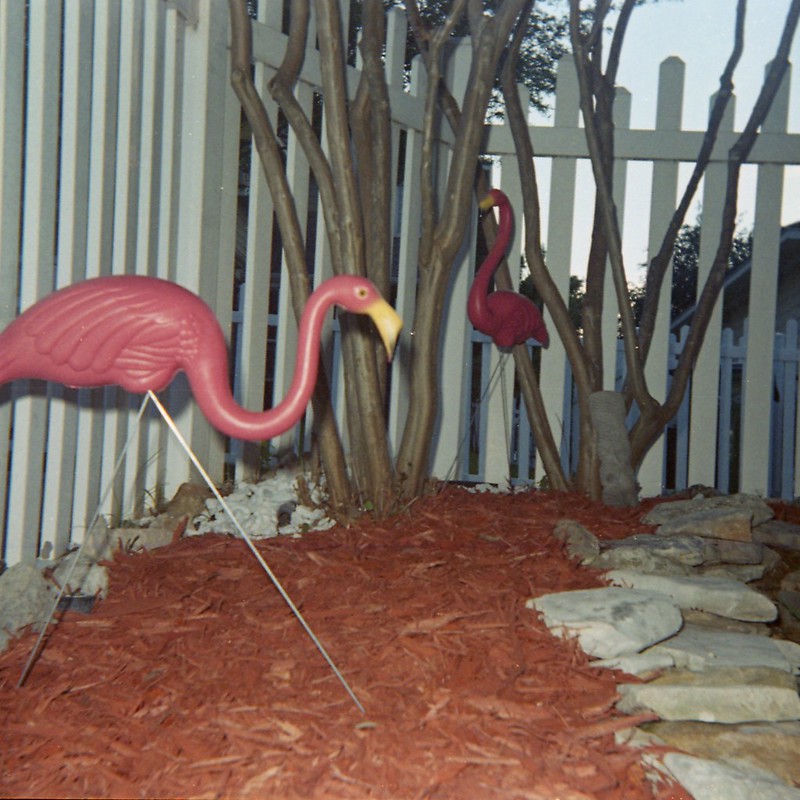
You can load regular 35mm film into the rapid cartridges. In a dark room, I reel off two feet of film and gently feed it into the canister. This will give you the right amount to shoot 16 square pictures. That's right--the pictures are square.

For a good tutorial on loading rapid cartridges, I recommend THIS page over at Lomography's website.

This camera is small and inconspicuous which makes it easy to carry around and use without much fuss. I shot 16 pics in color (on expired Kodak Color 400 bulk film) and 16 pics in black and white (on expired Kodak Tri-X bulk film from the late 70's).

Here are the results:

Agfa Isoflash Rapid C

Agfa Isoflash Rapid C

Agfa Isoflash Rapid C

Agfa Isoflash Rapid C

Agfa Isoflash Rapid C

Agfa Isoflash Rapid C

Agfa Isoflash Rapid

Agfa Isoflash Rapid

Agfa Isoflash Rapid

Agfa Isoflash Rapid
Agfa Isoflash Rapid

Next month's camera: 1950's Agfa Solinette

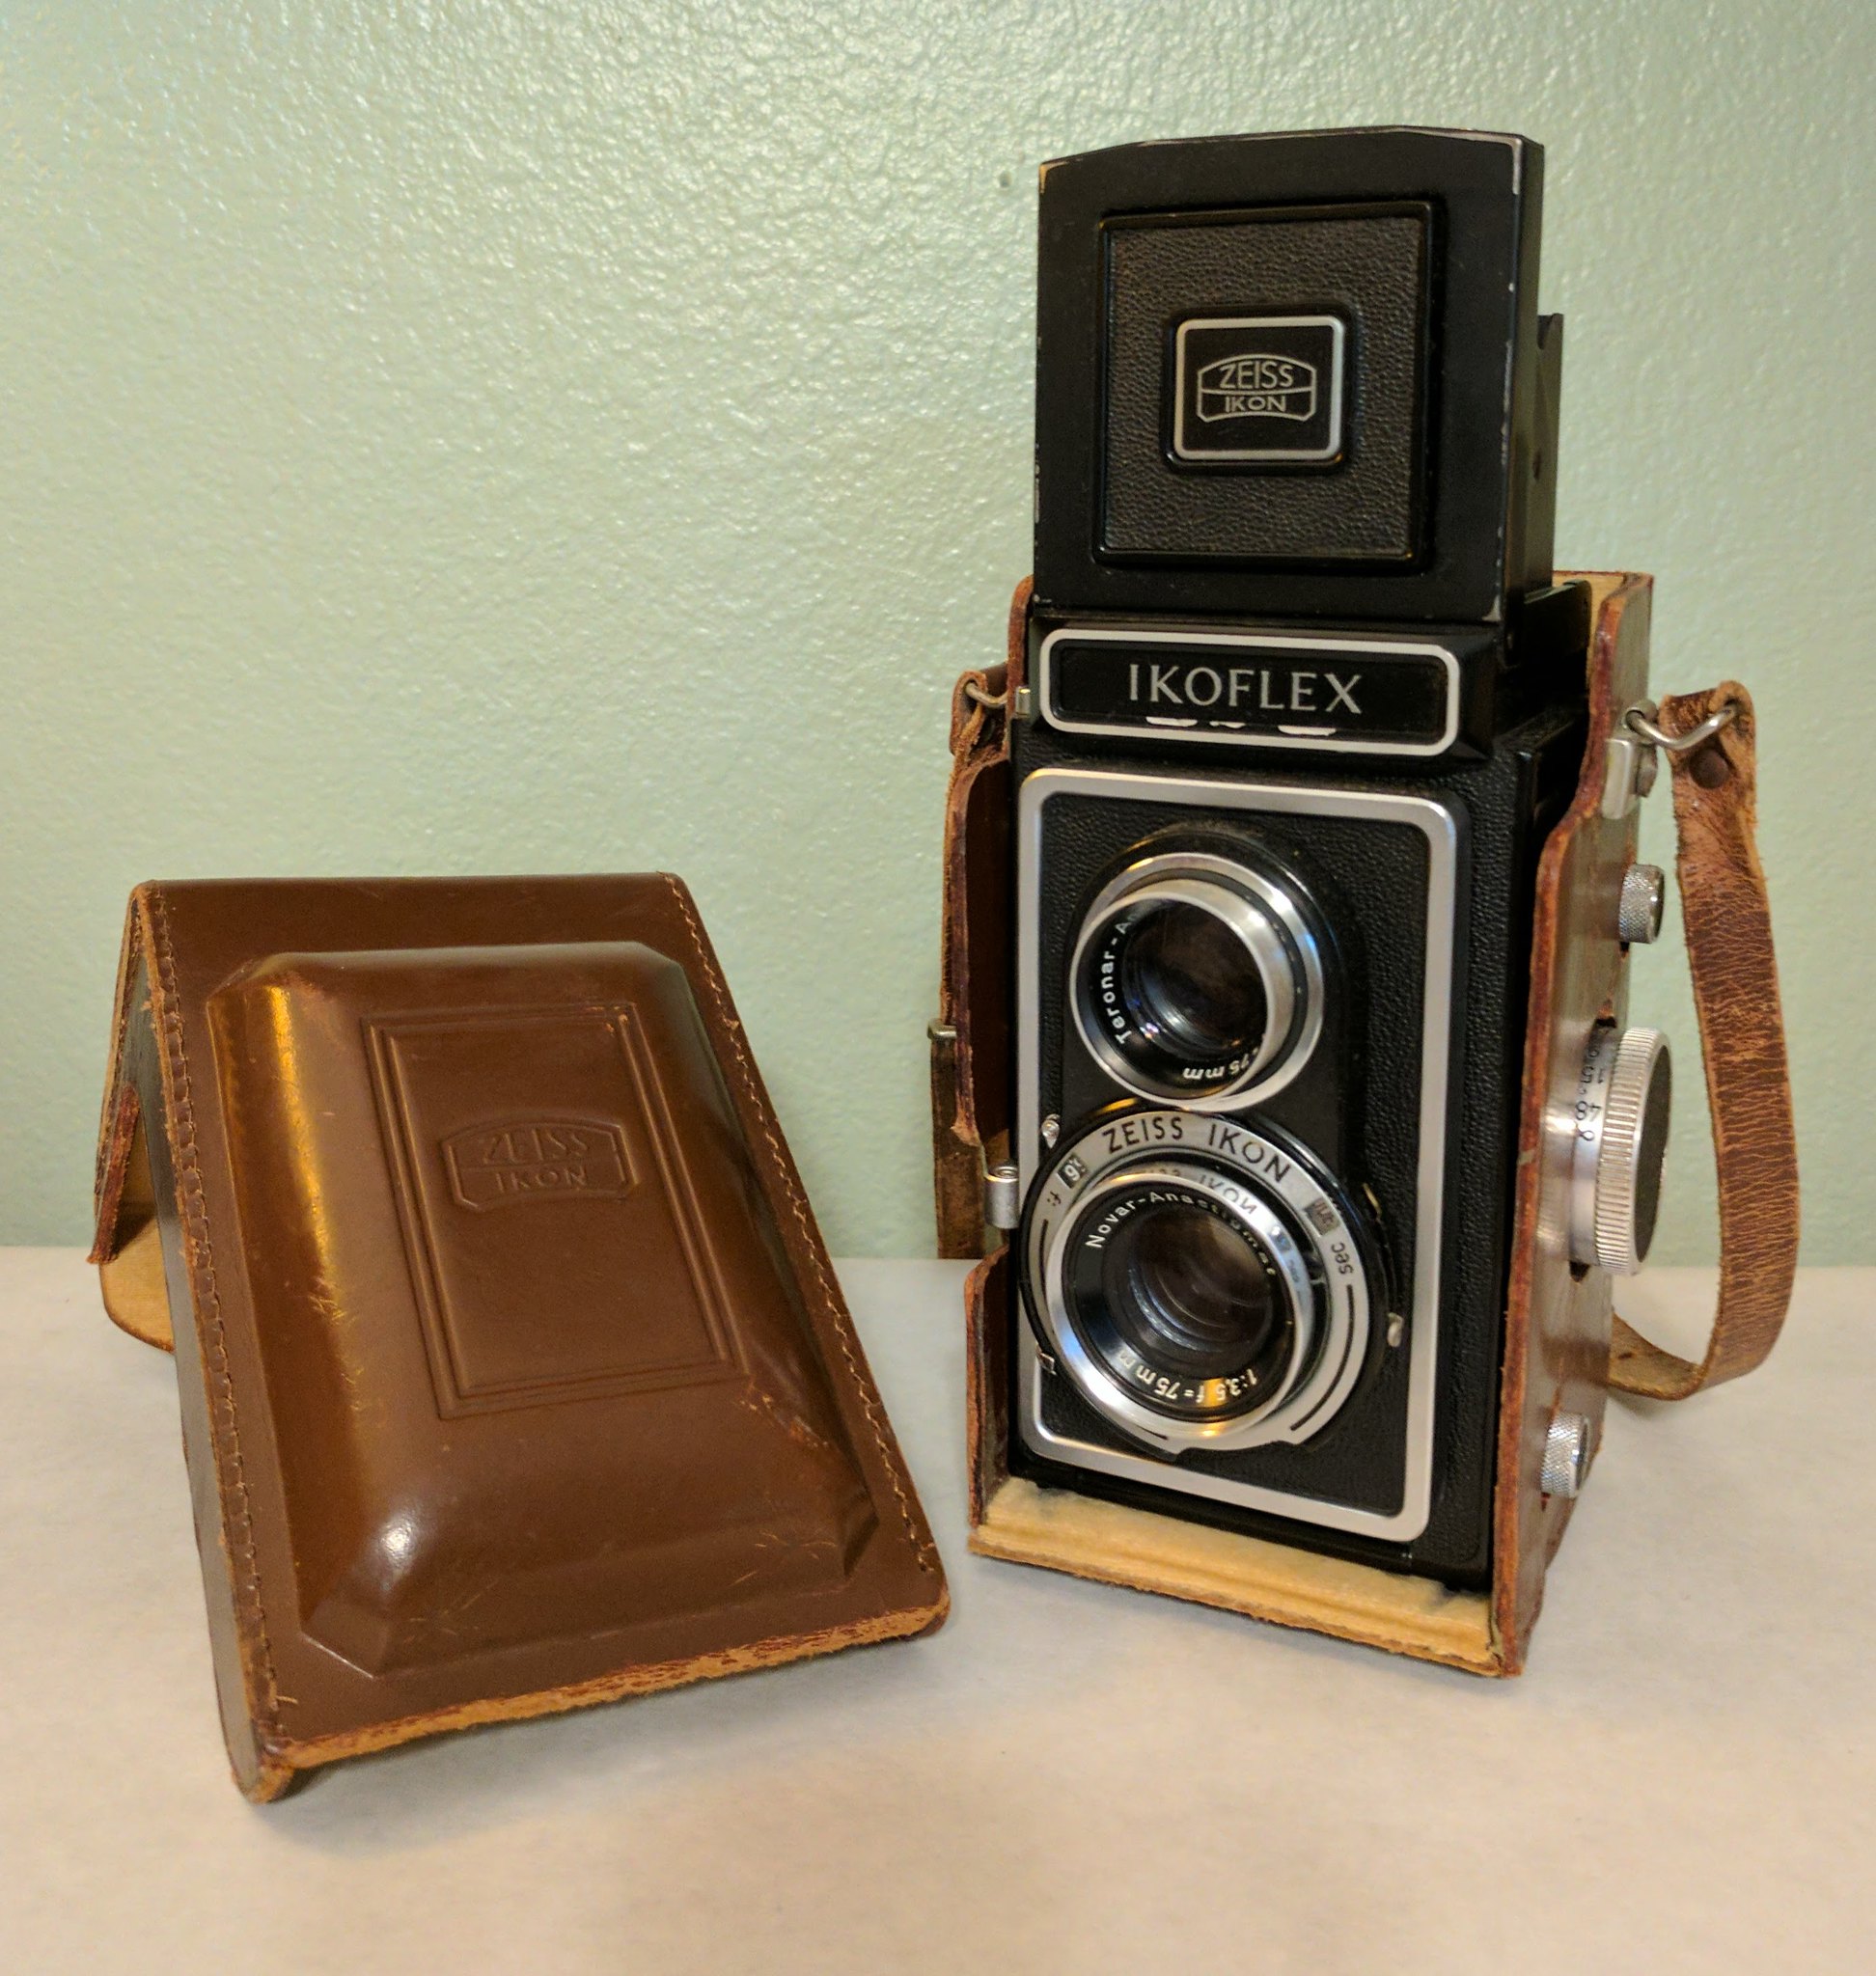
Zeiss Ikon Ikoflex 1b TLR