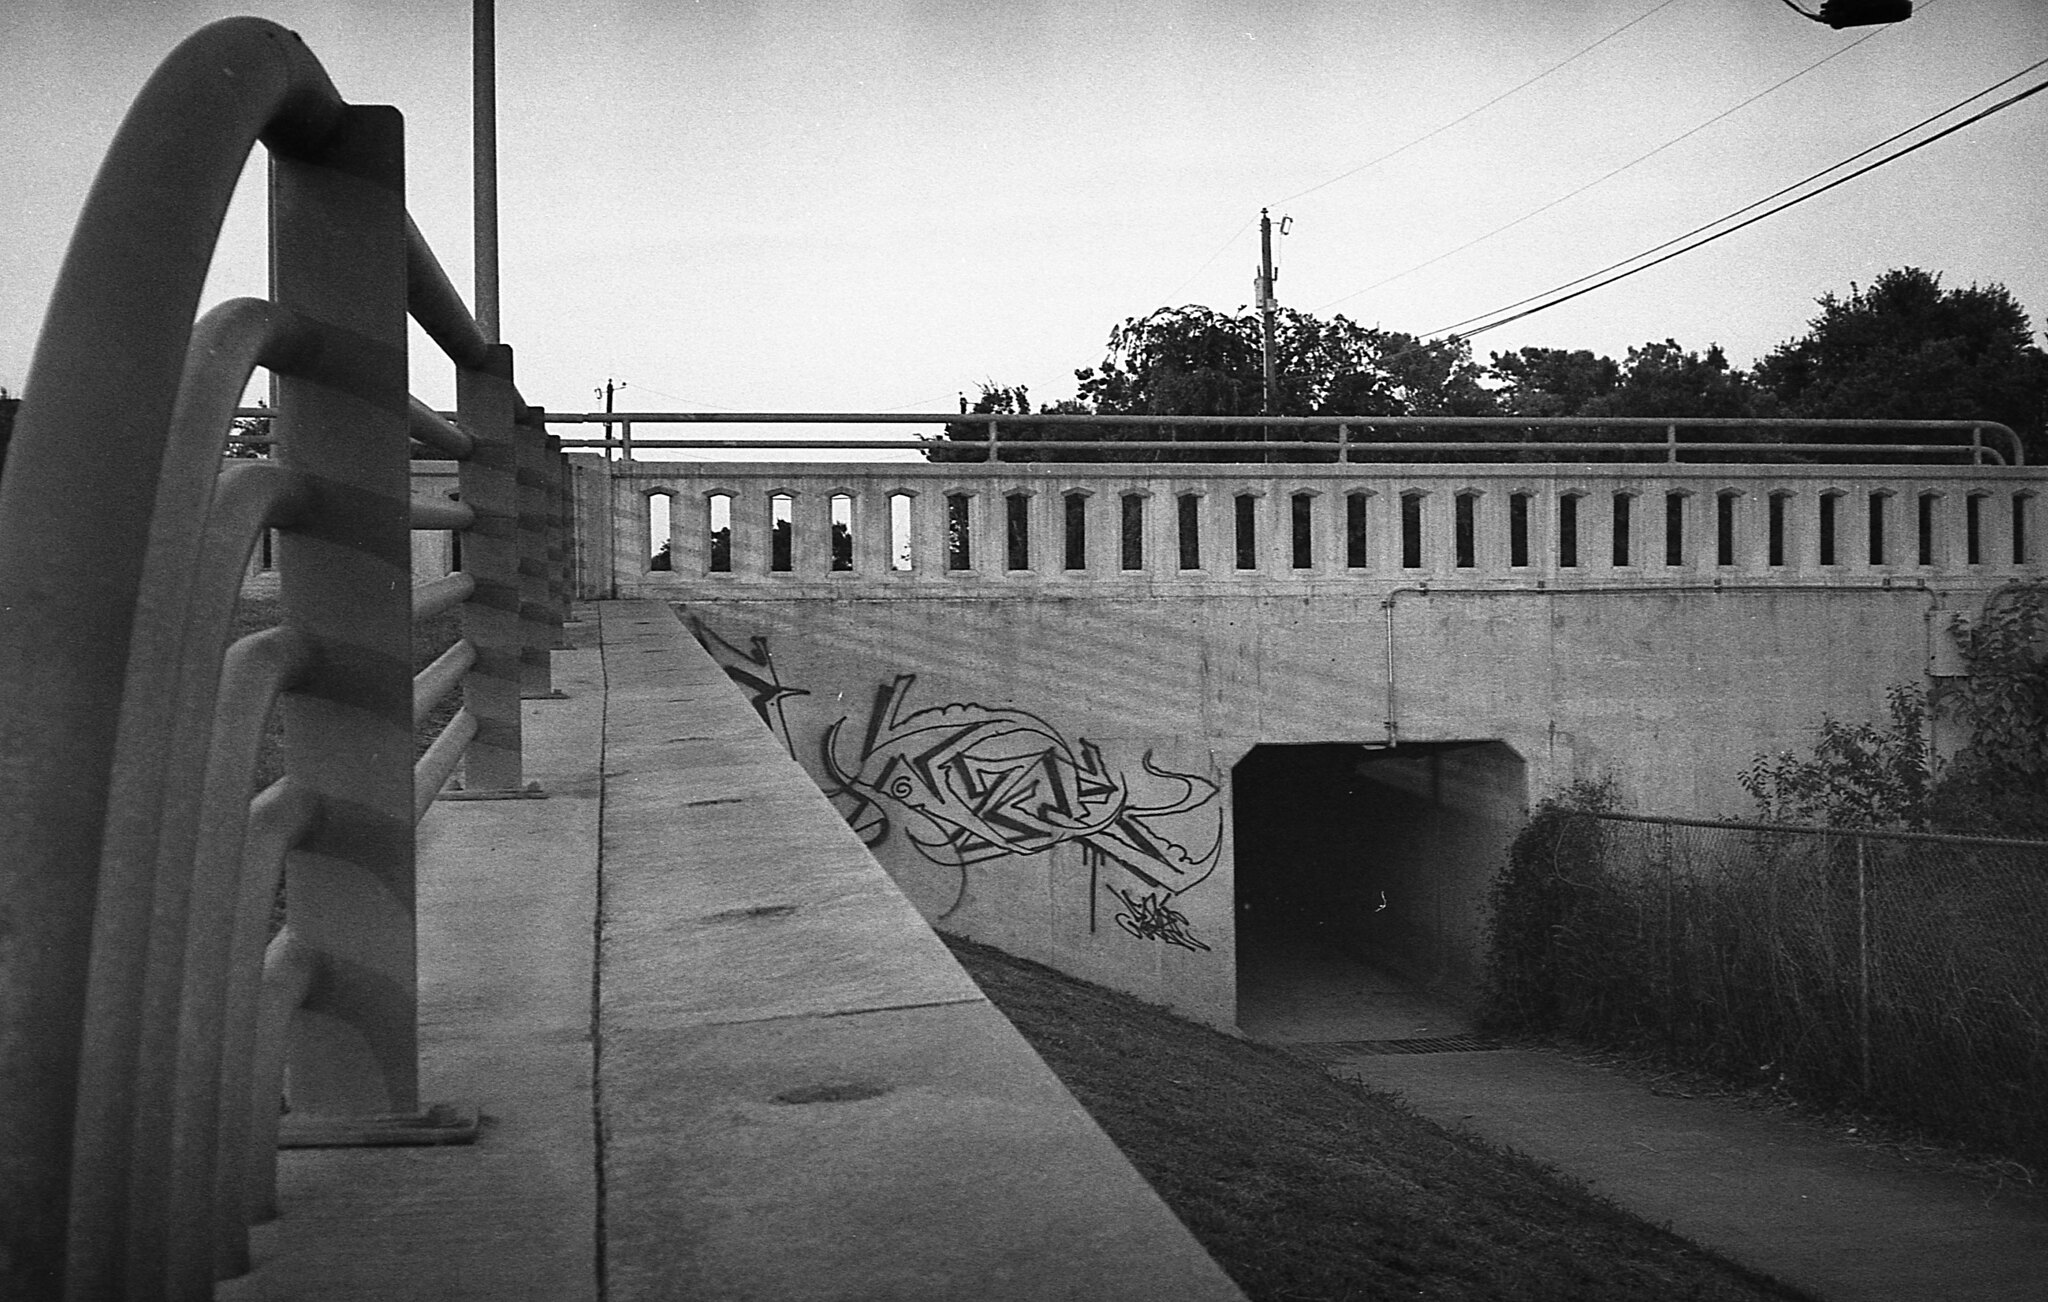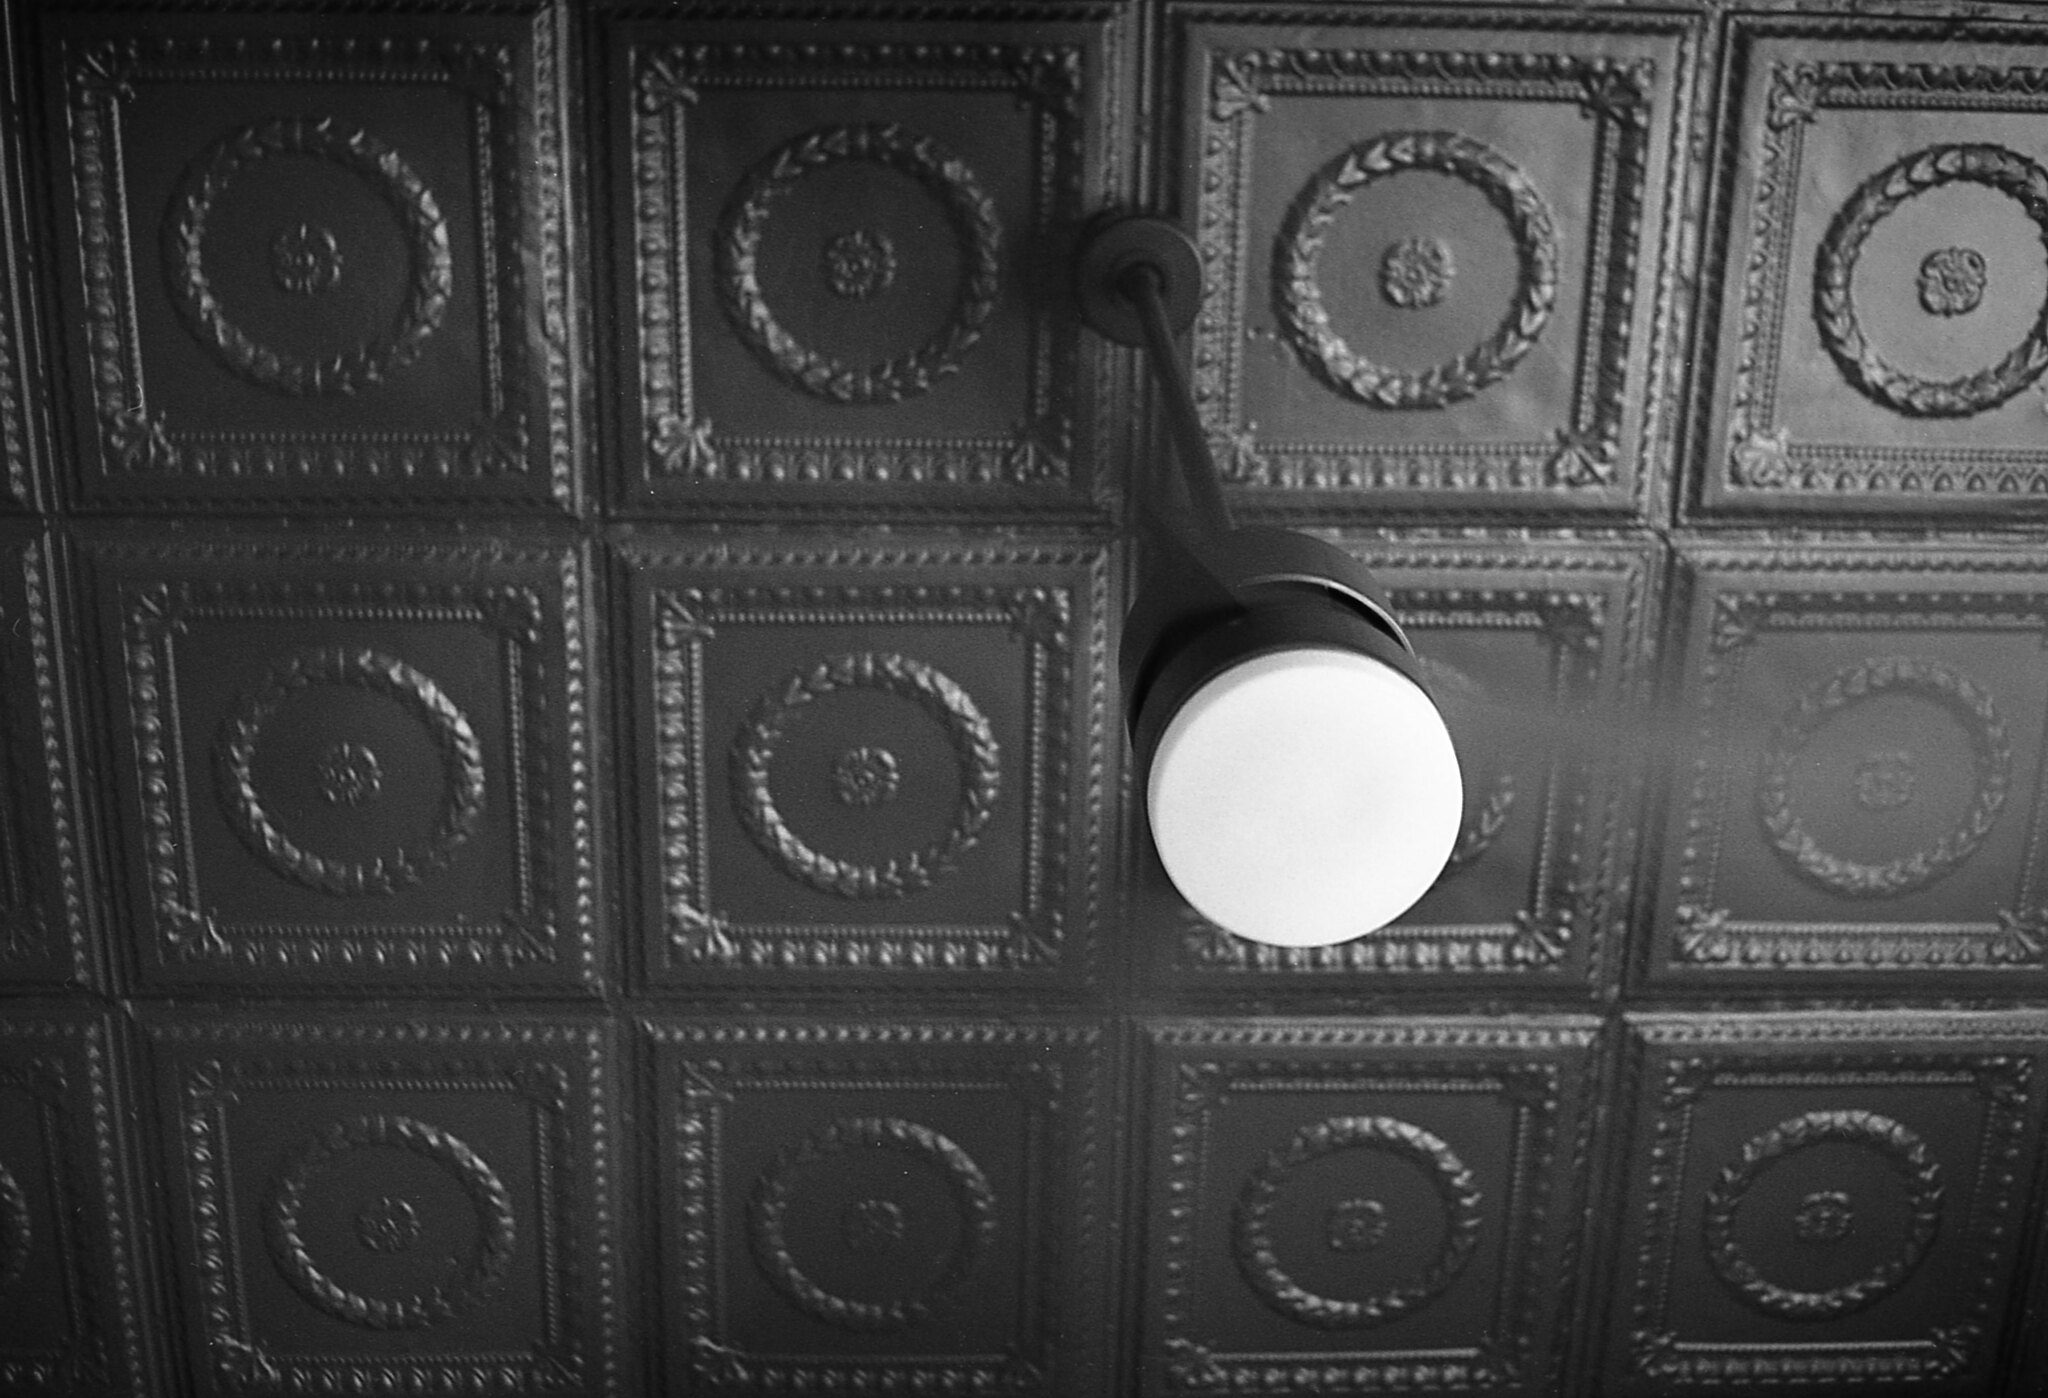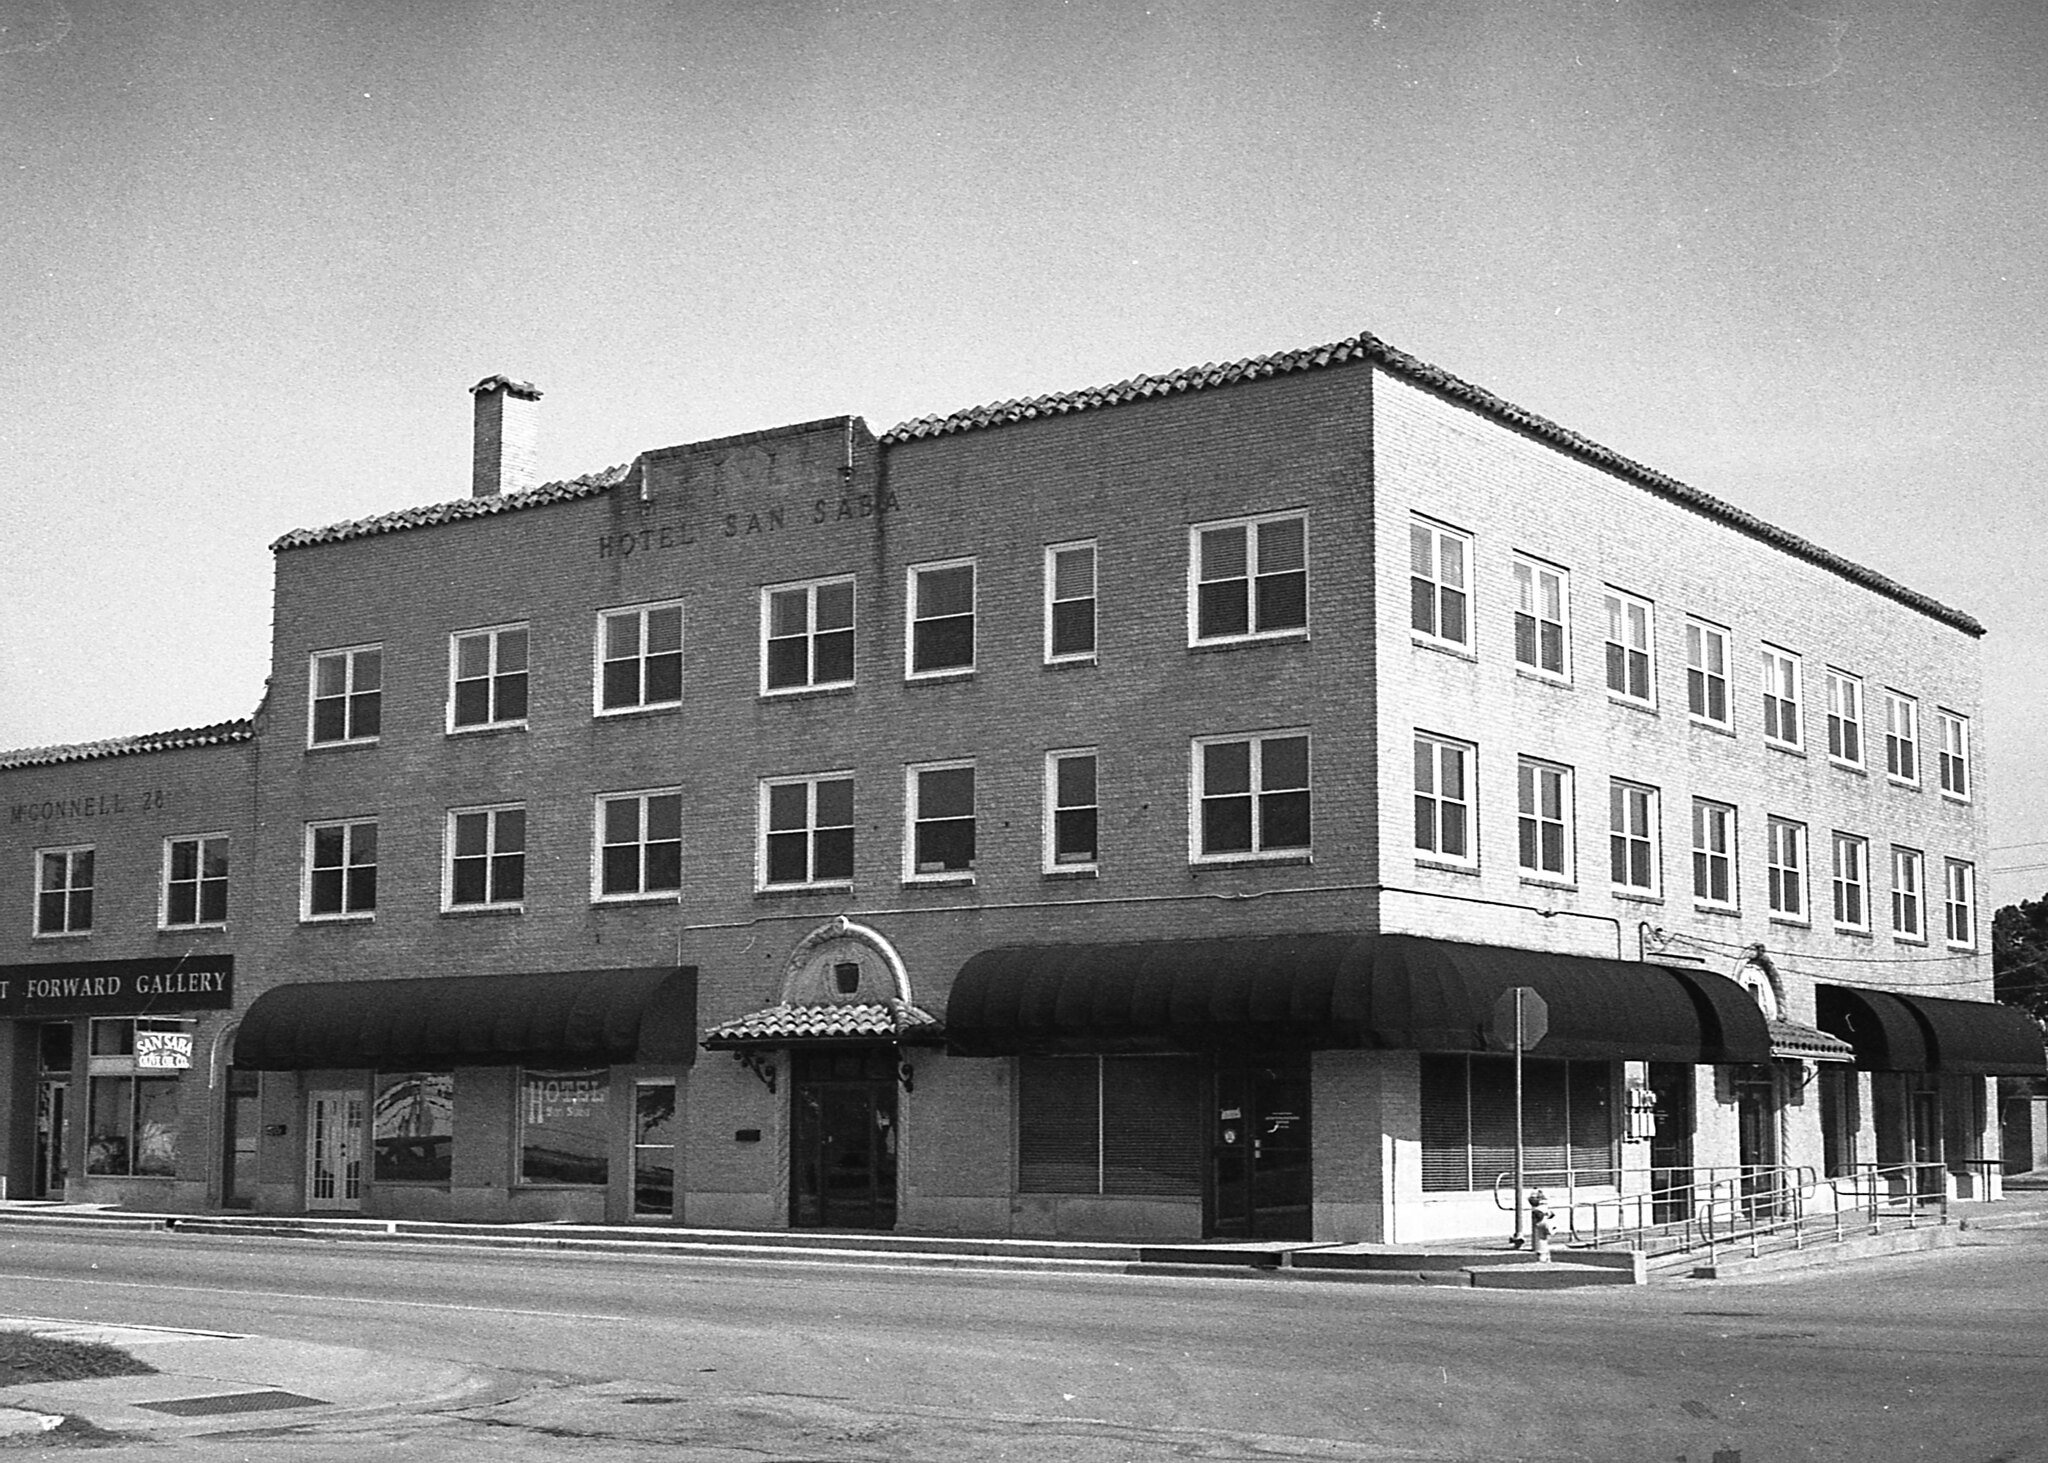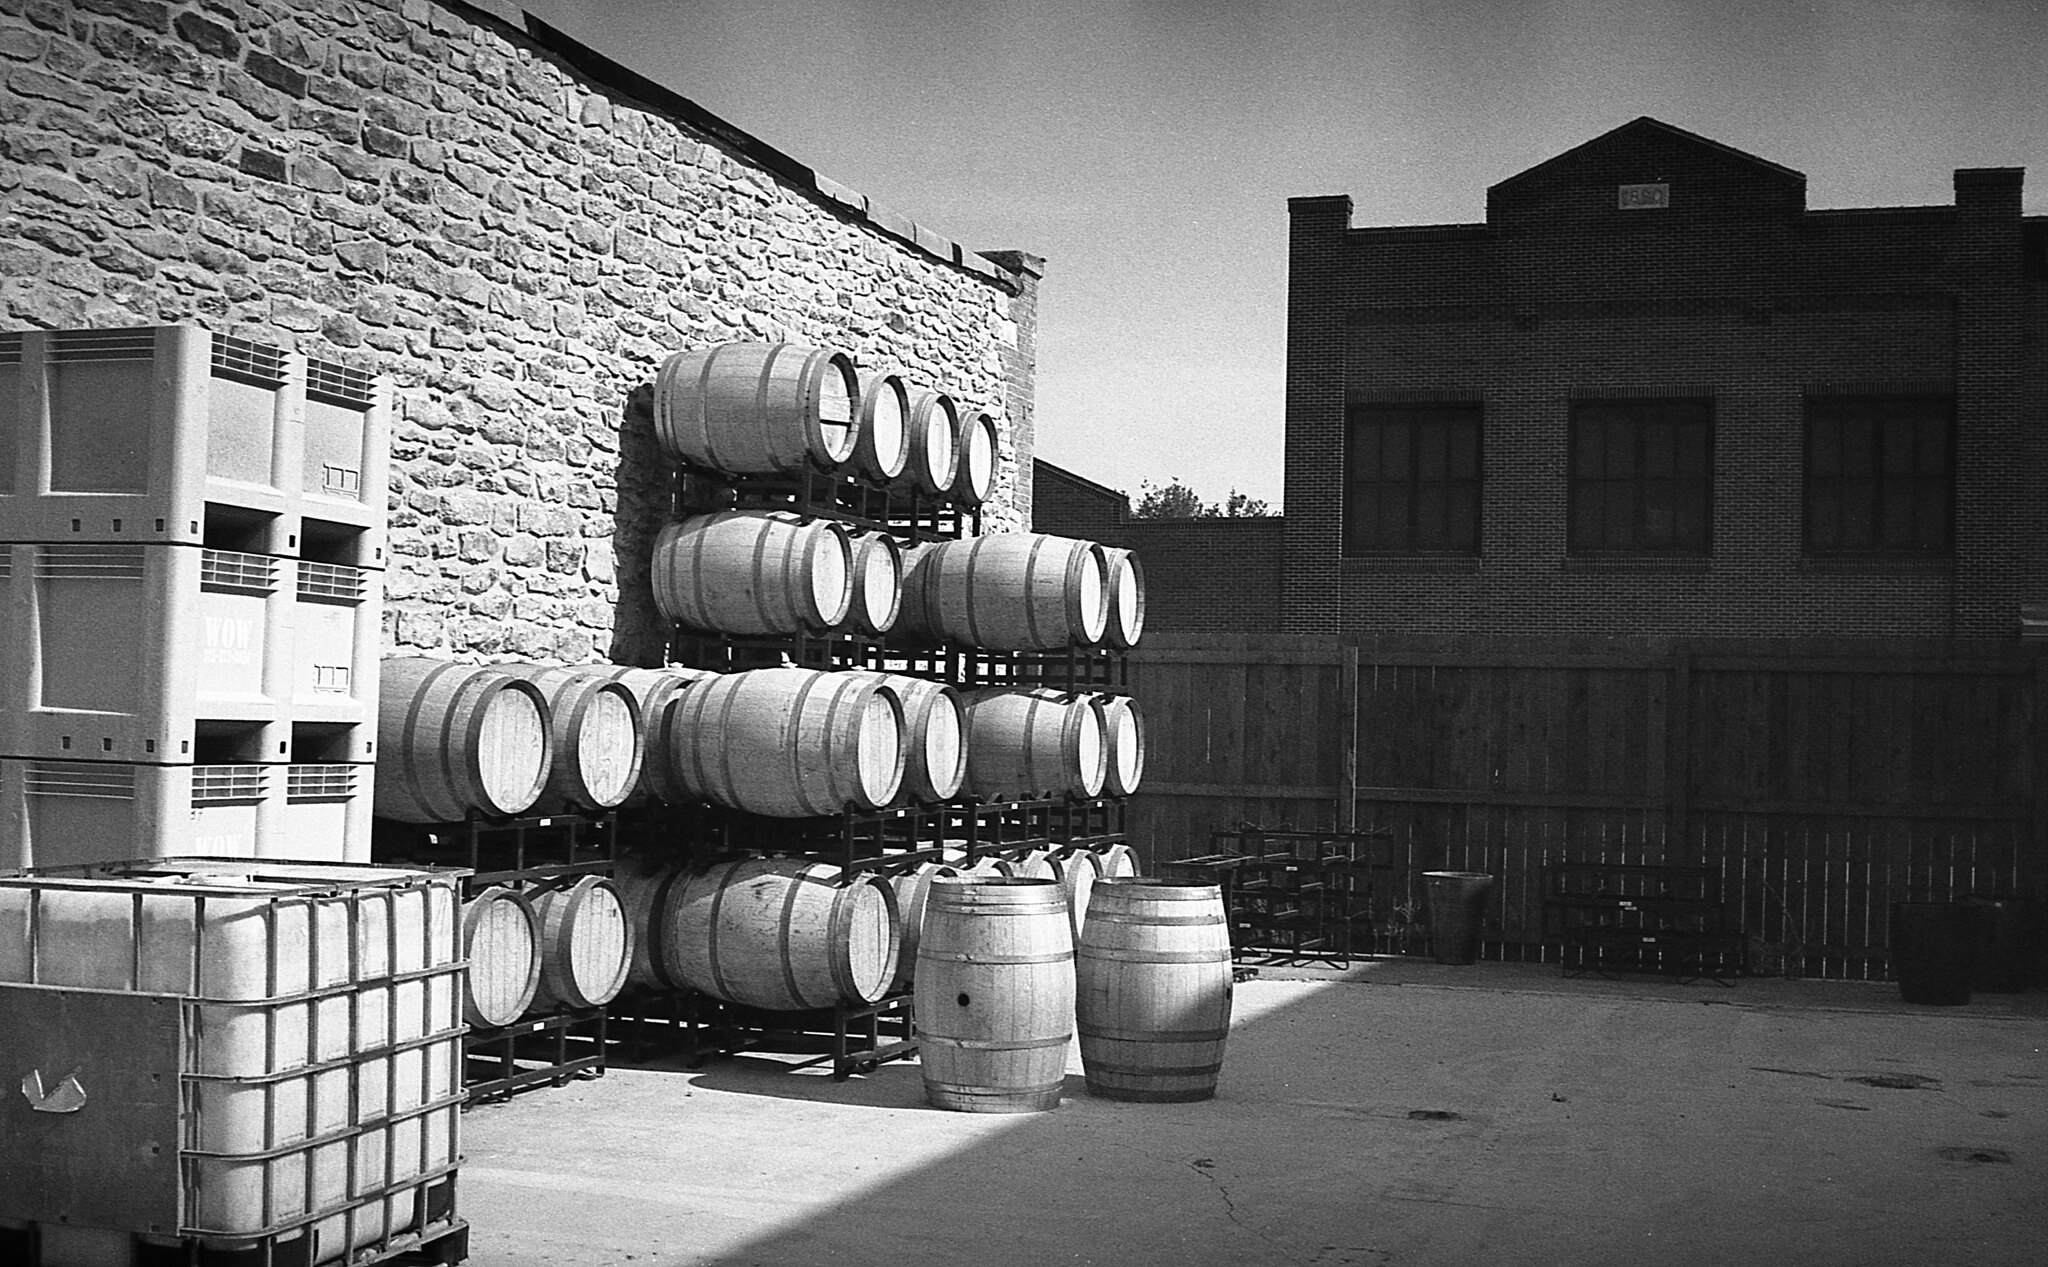
Showing posts with label film photography. Show all posts

Sunday, August 5, 2018

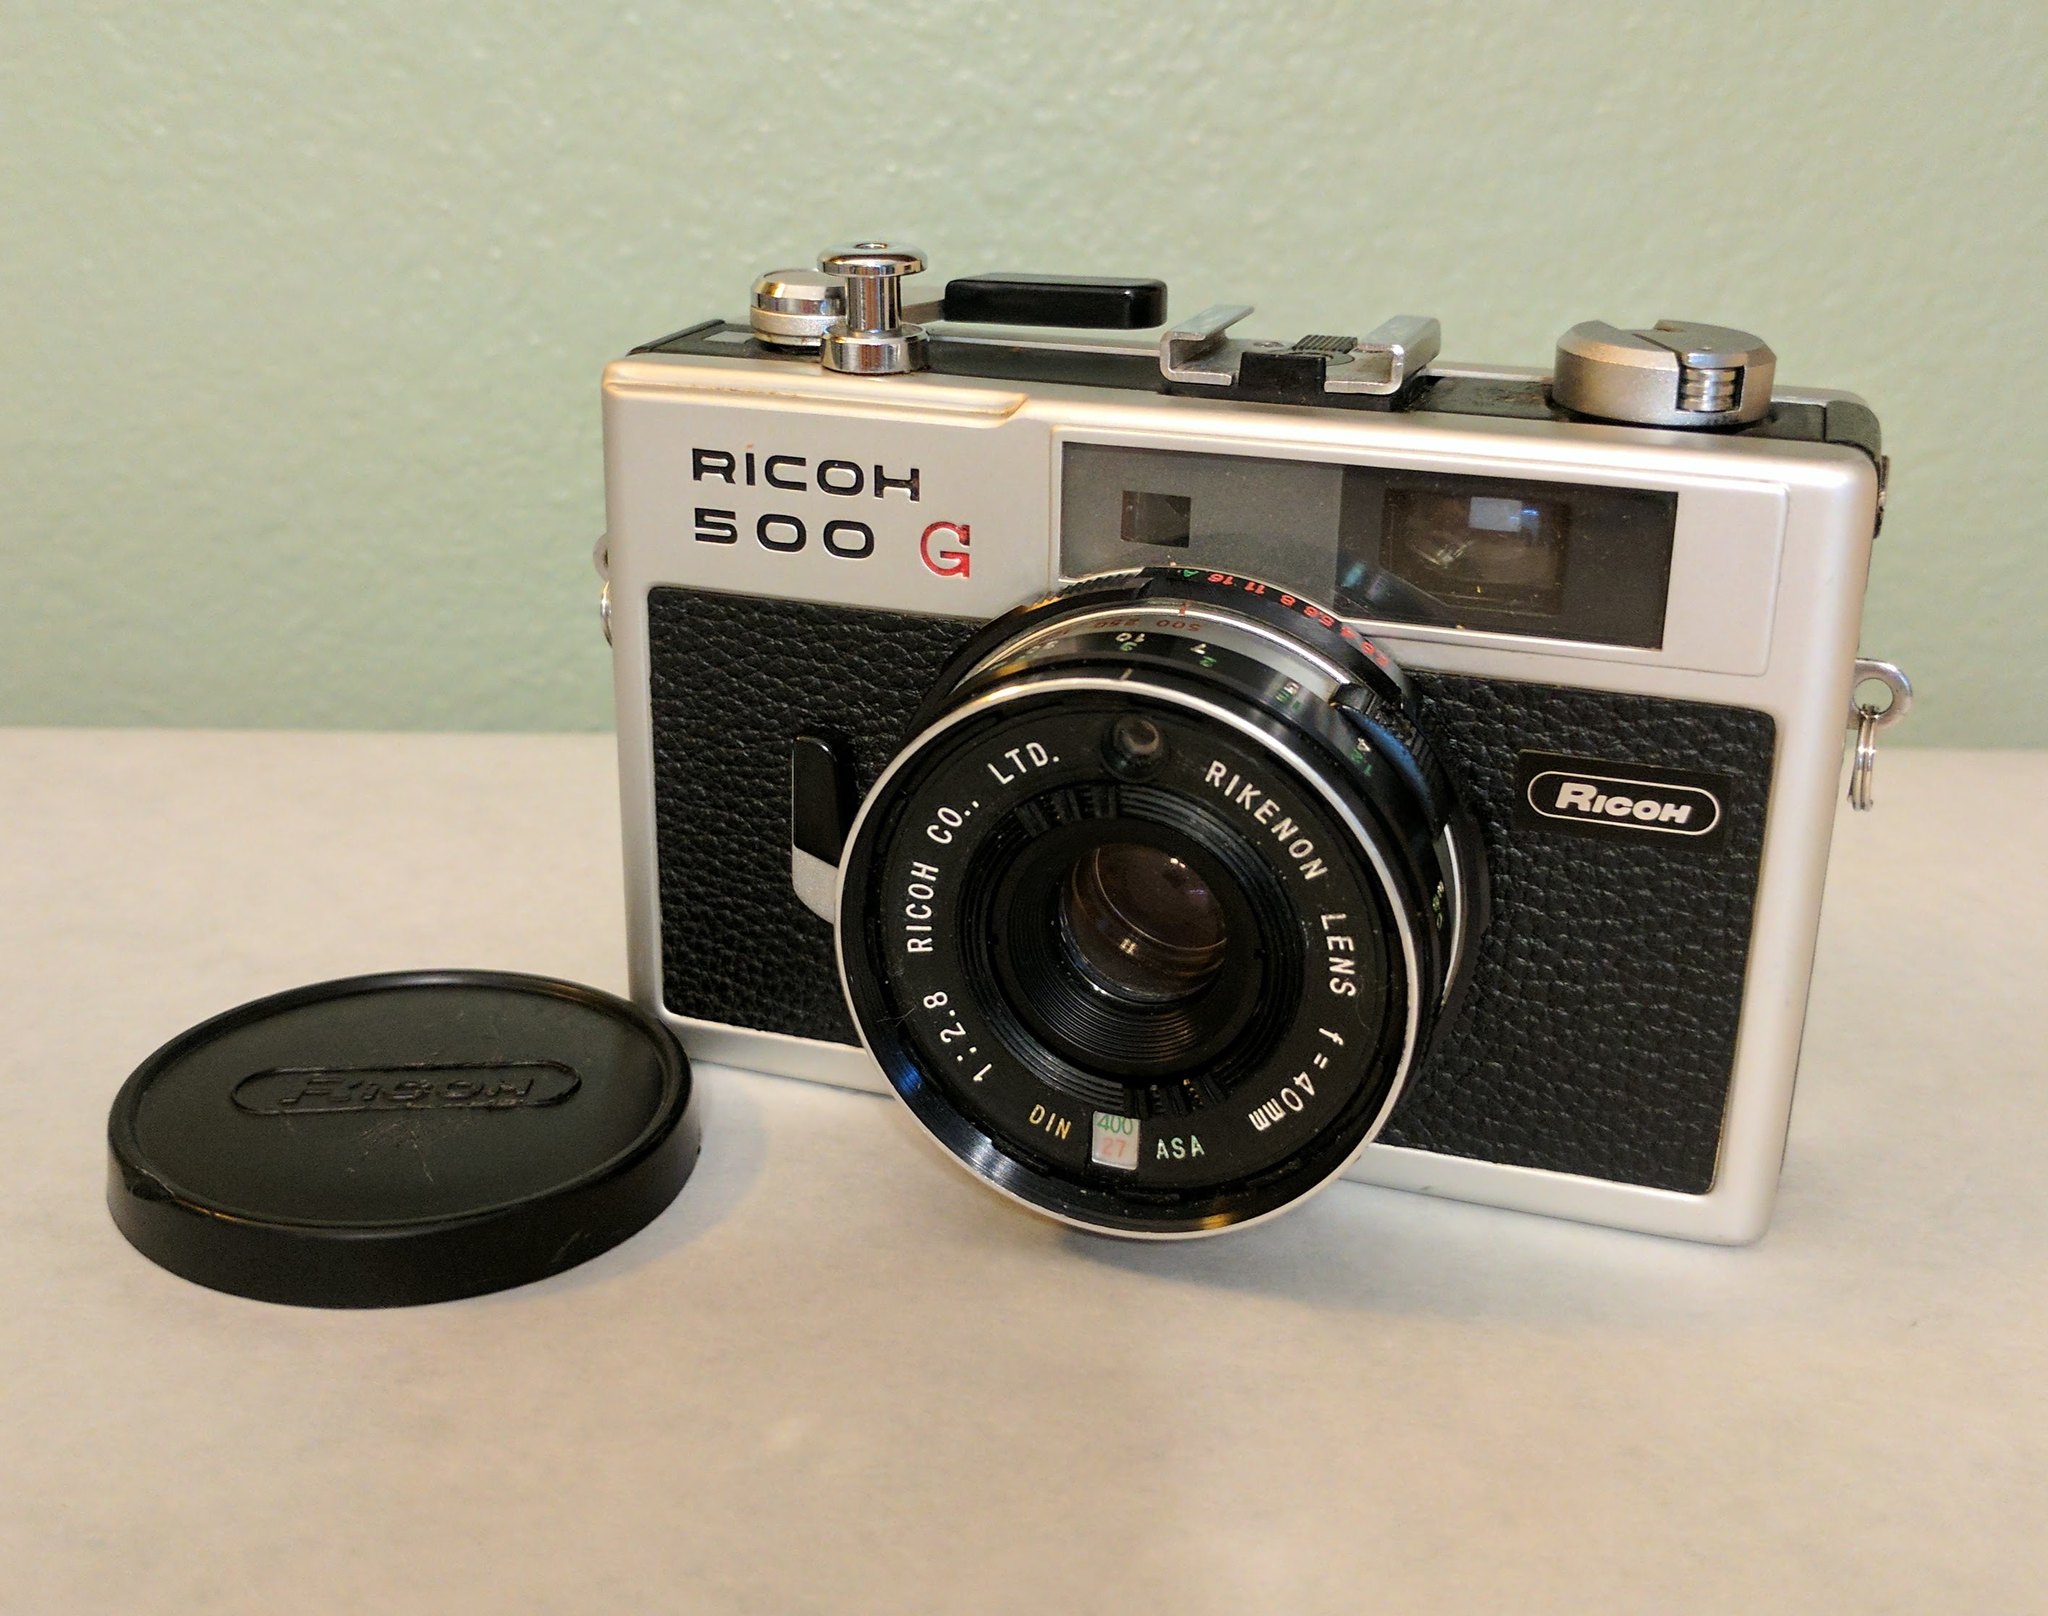
Ricoh 500G

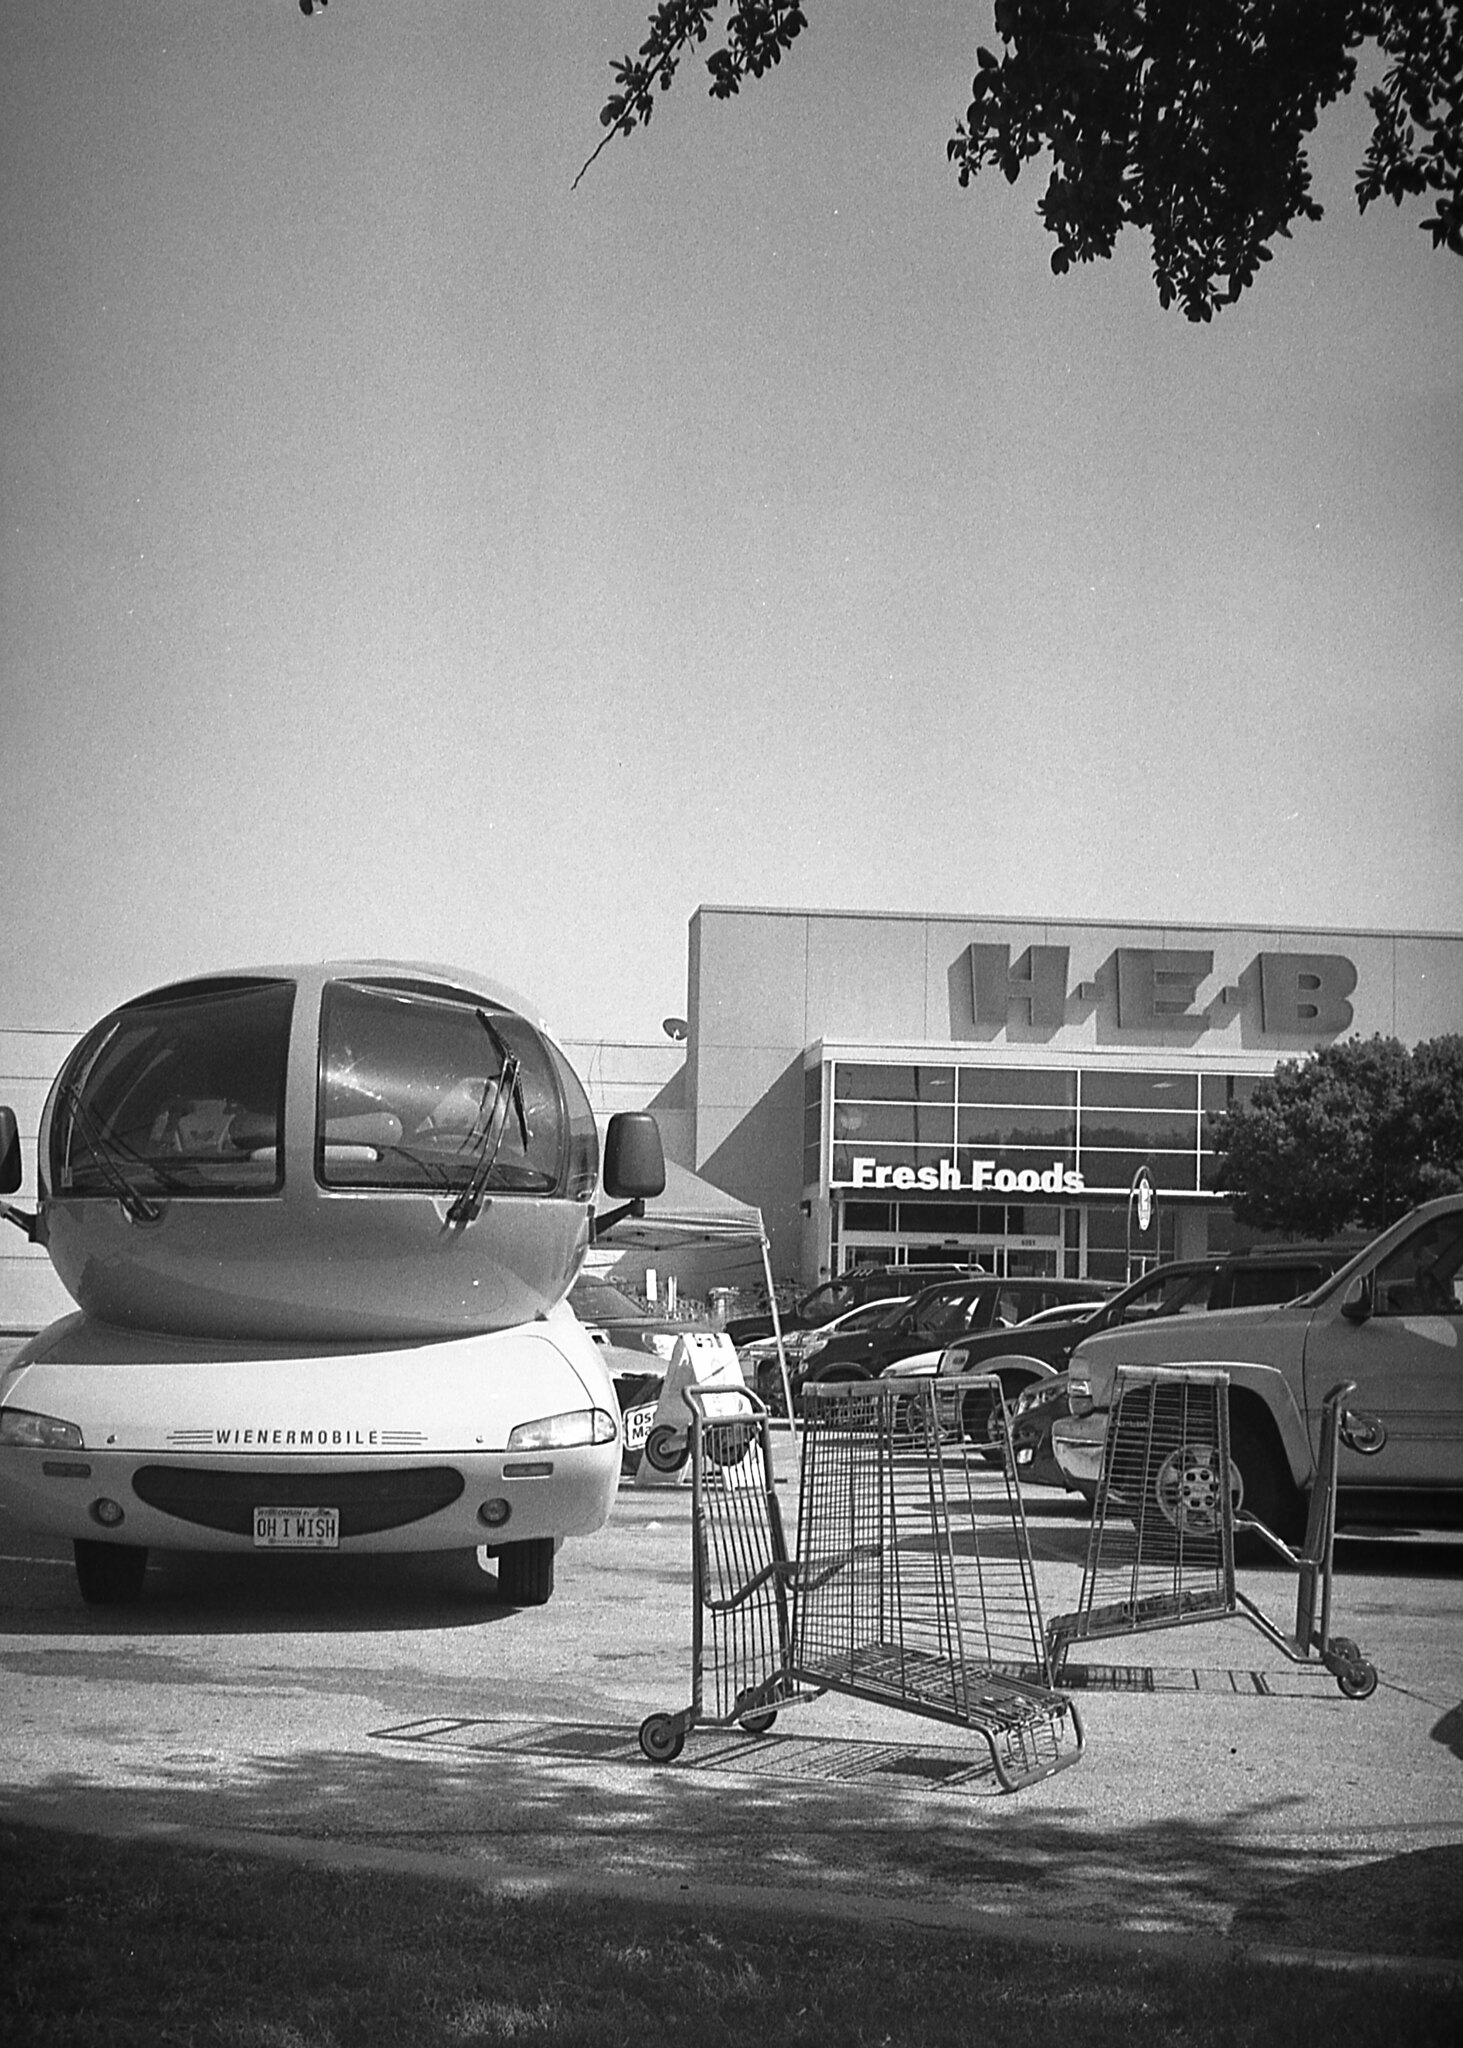
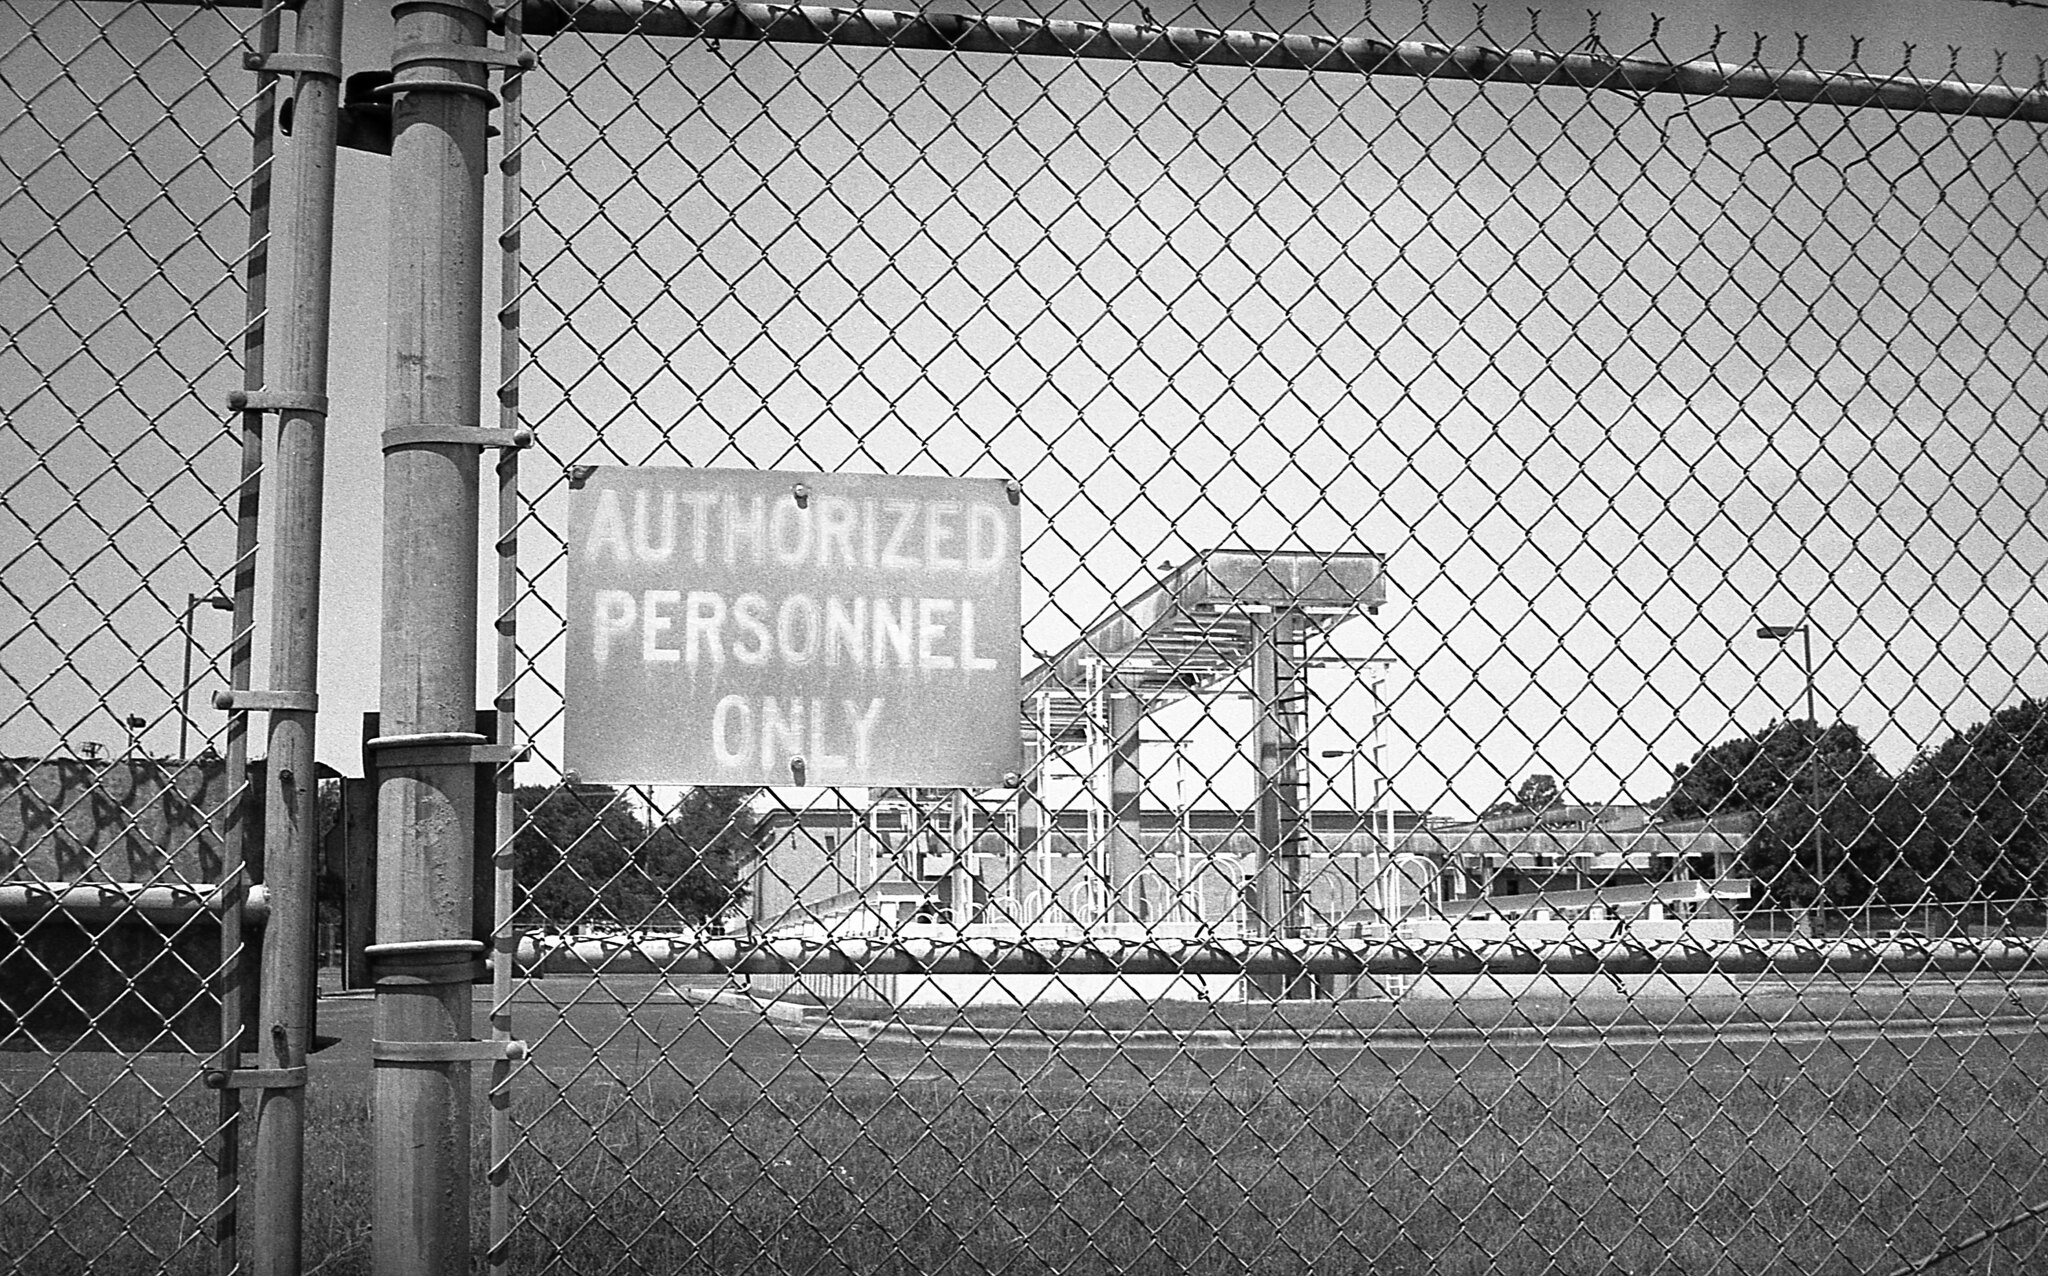
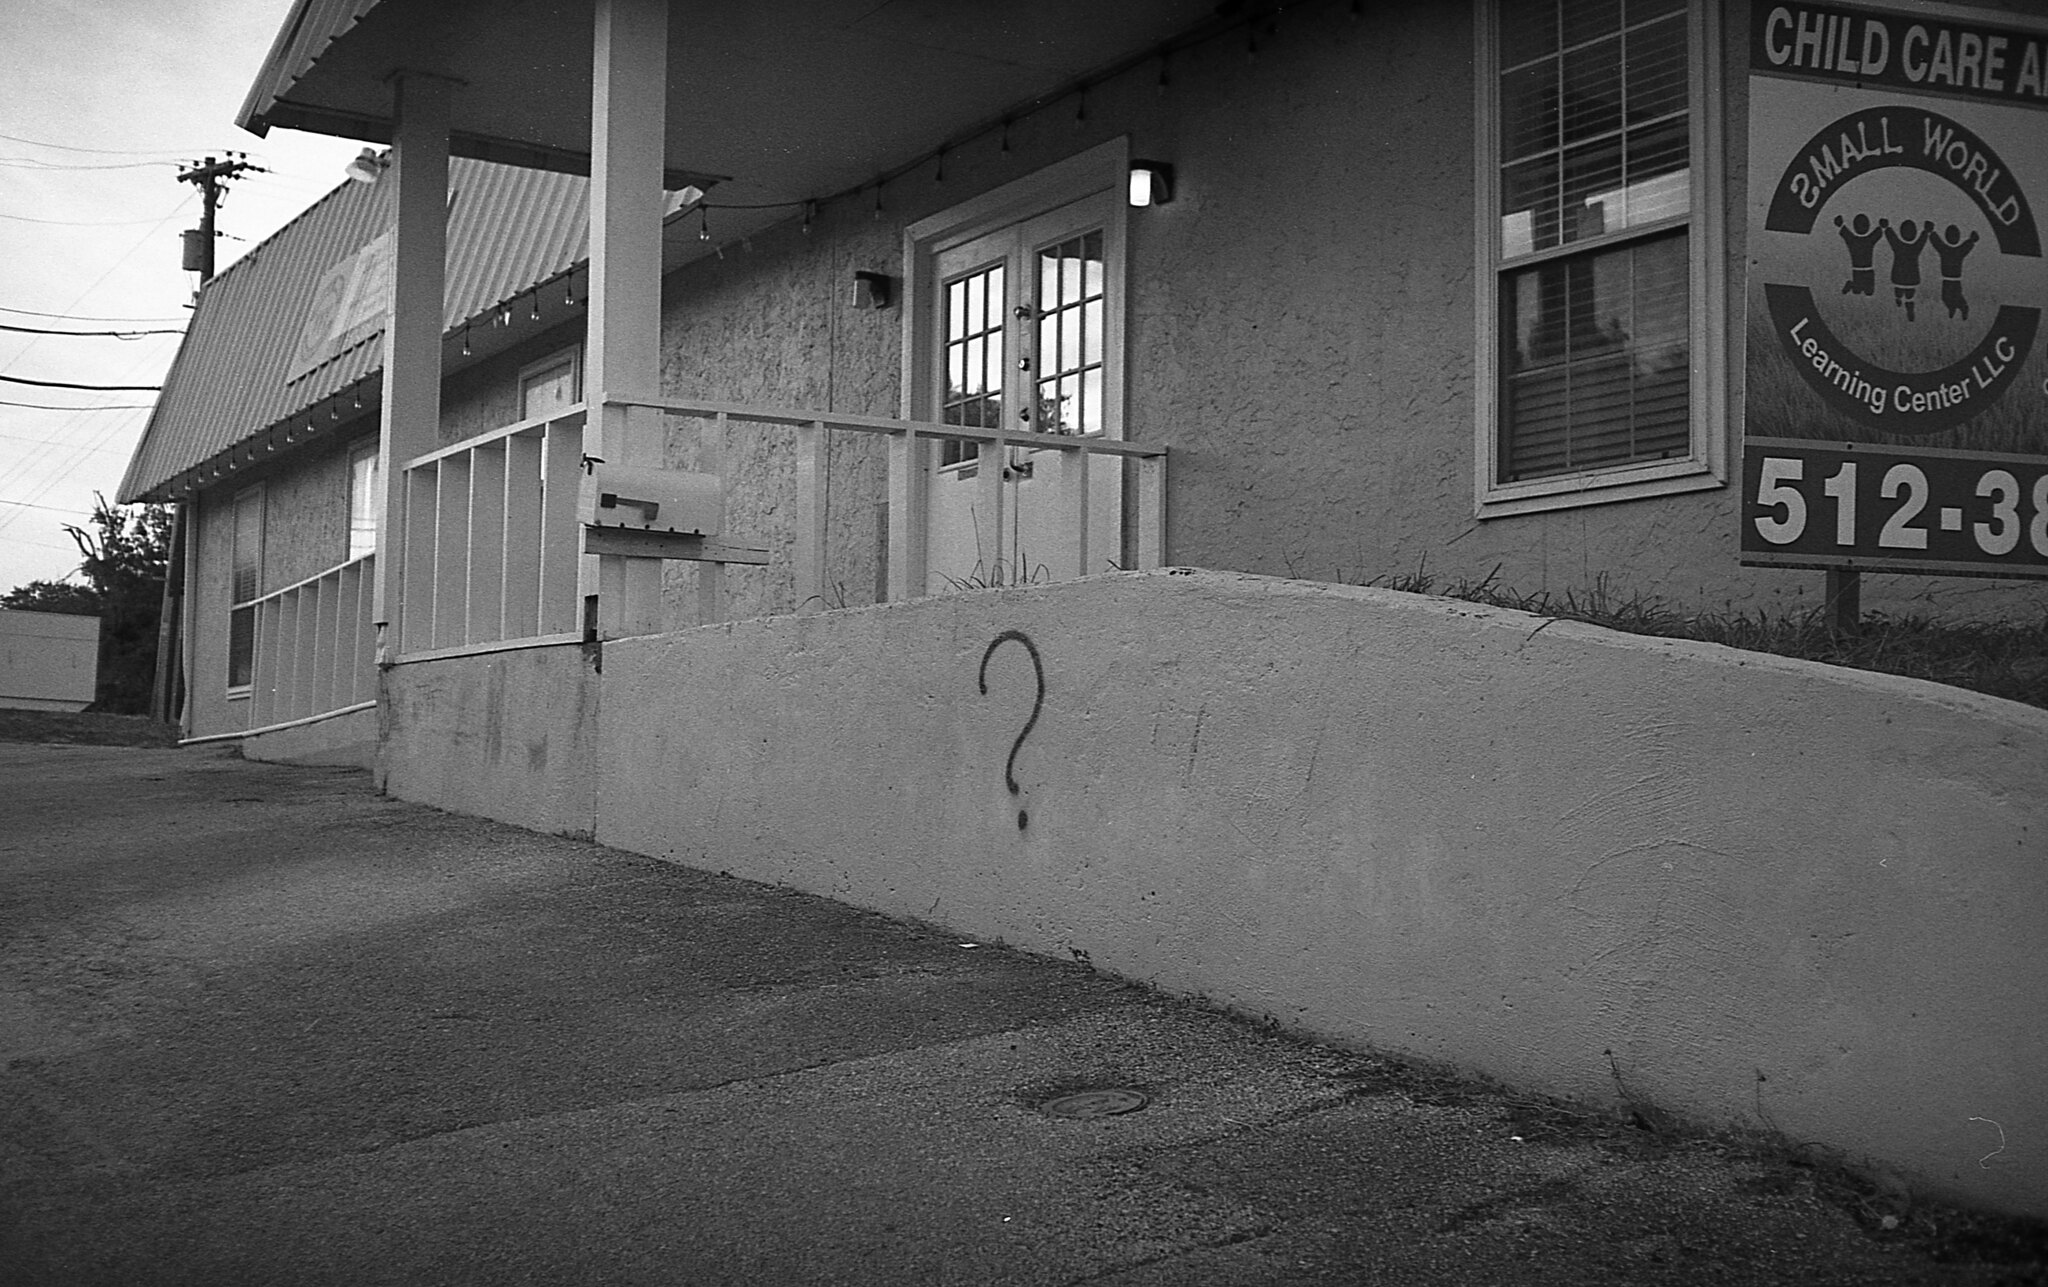
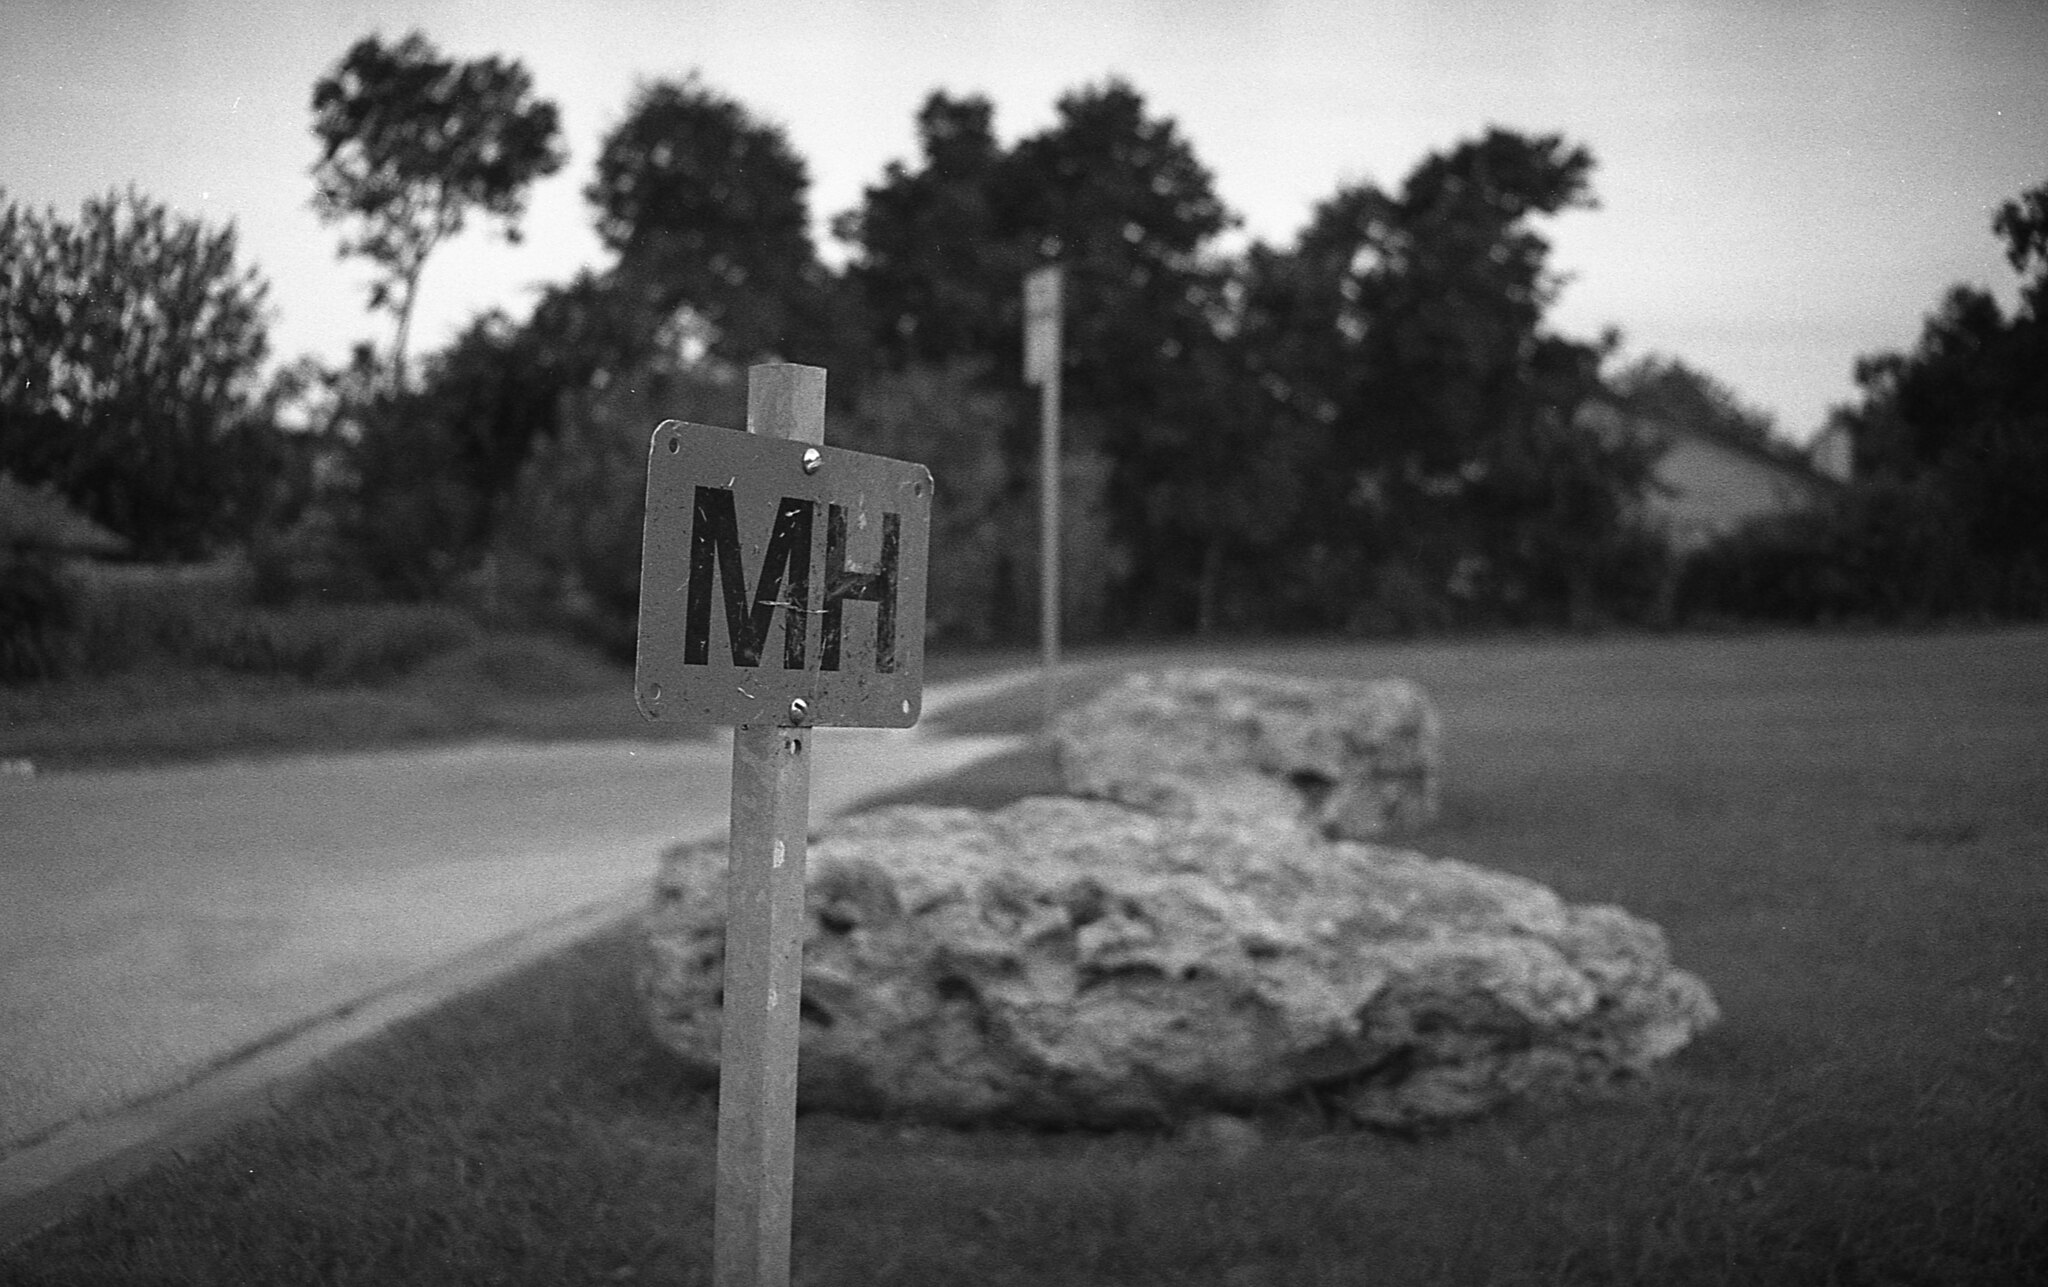
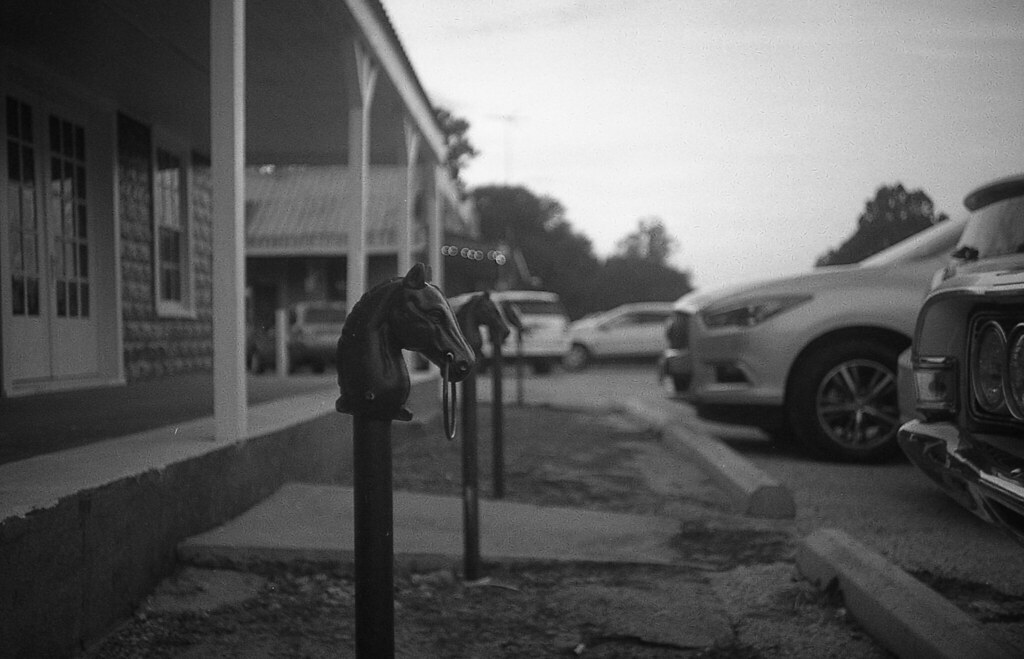
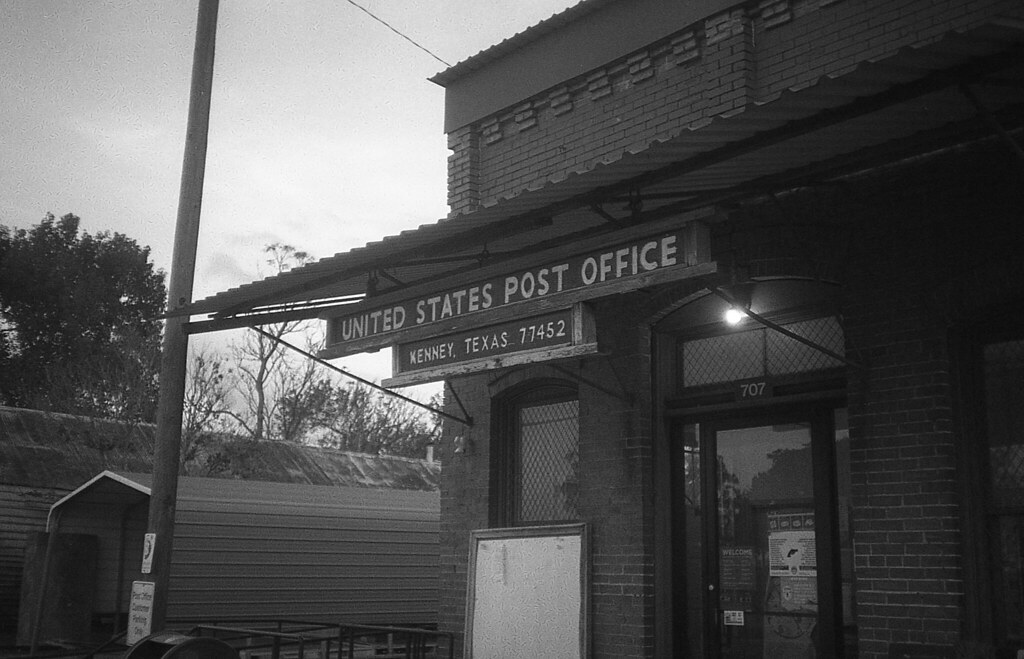
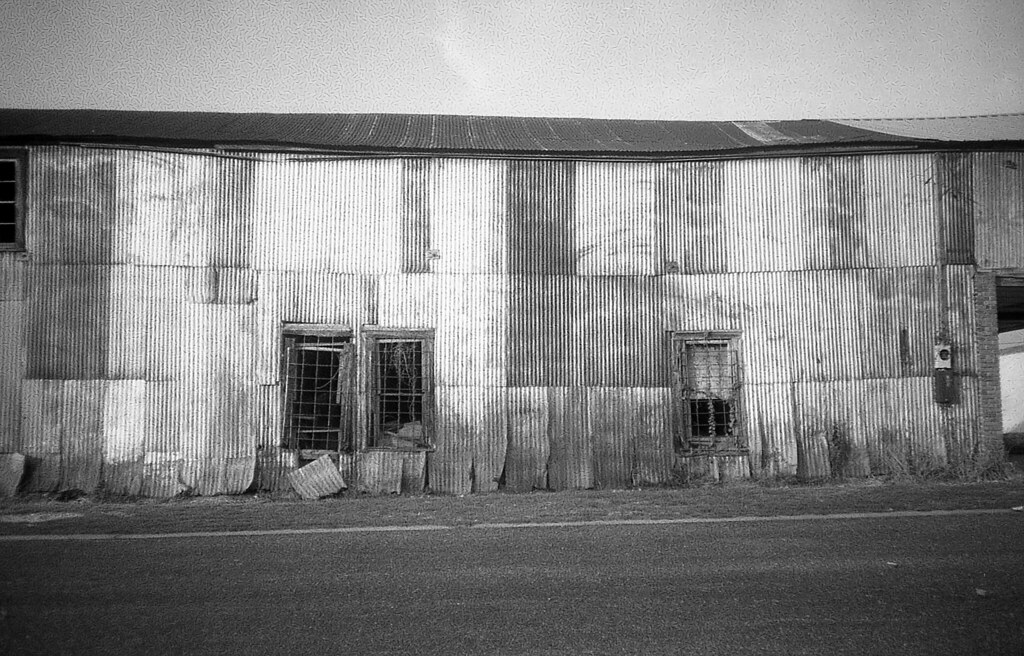
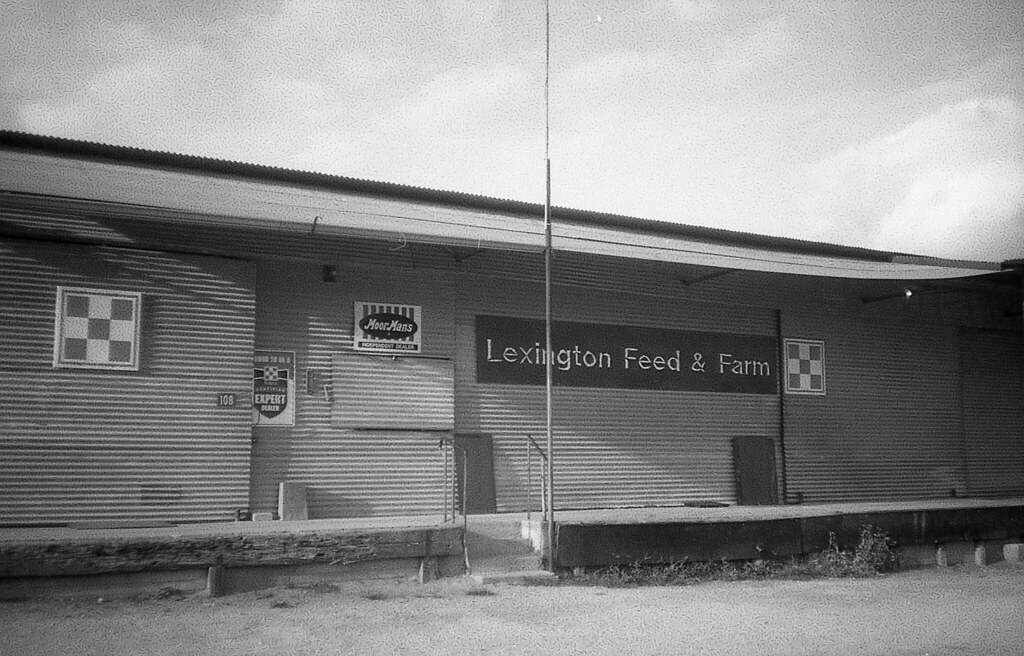
Ricoh 500G The Ricoh 500G is an excellent compact rangefinder. I would put it in the same class as the Olympus XA in terms of being able to produce consistently great quality images with the sharp Rikenon lens (40mm/f2.8). The camera is capable of shooting 25-800 ISO film with shutters speeds of 8/15/30/60/125/250/500 plus Bulb.

Inside the viewfinder, the rangefinder patch is about adequate and the aperture scale is situated vertically on the right side in the viewer. You can run this camera manually or in auto mode. In auto mode, the camera operates as a shutter priority camera. I've found that the camera does a great job of determining correct exposure (even with a modern battery) so I ran it in auto mode for most of my pictures this month. The light meter eye is located in the lens ring so you can use filters without having to compensate for them.

I found this camera on eBay and got it for $20. It was local so I didn't have to pay for shipping.

As I go through this blog project, I've been taking mental notes on which ones I can't wait to focus on when I get back to using any camera I choose. The Ricoh 500G will definitely be one I reach for when I want a compact camera that's capable of capturing impressive images.

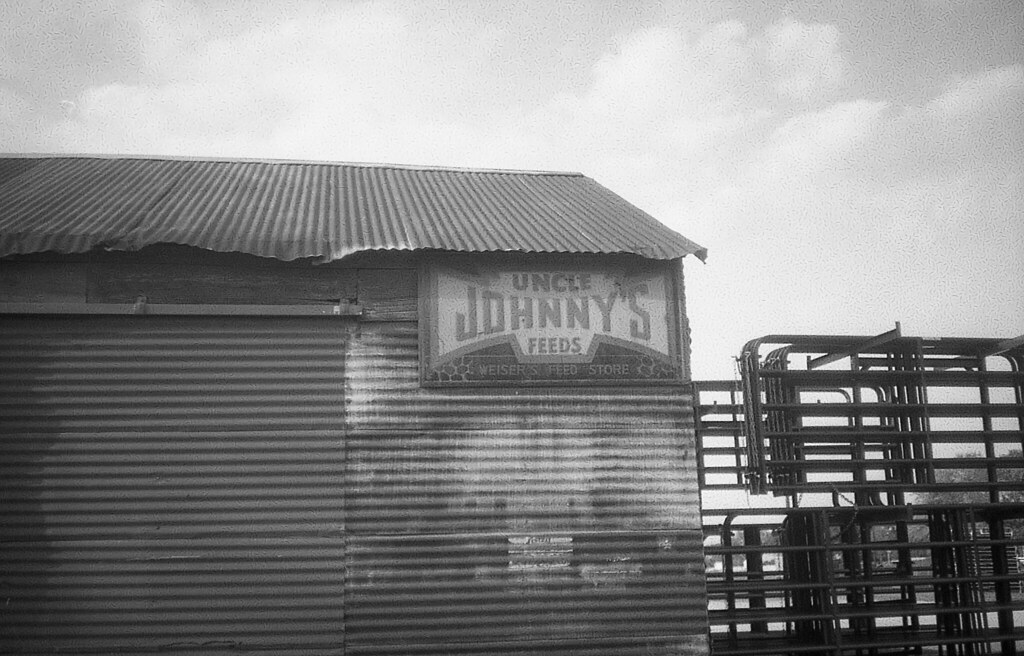
Film: fresh Kodak Tri-X 400
Developer: R5 Monobath Developer
Scanner: Epson V550


Ricoh 500G

Ricoh 500G
Ricoh 500G
Ricoh 500G
Ricoh 500G
Ricoh 500G
Ricoh 500G
Ricoh 500G
Ricoh 500G
Ricoh 500G
Ricoh 500G
Ricoh 500G
Ricoh 500G
Ricoh 500G
Ricoh 500G


Next month's camera: Sears TLS

Wednesday, May 2, 2018

Konica Autorex SLR Camera

Konica Autorex Half & Full Frame SLR

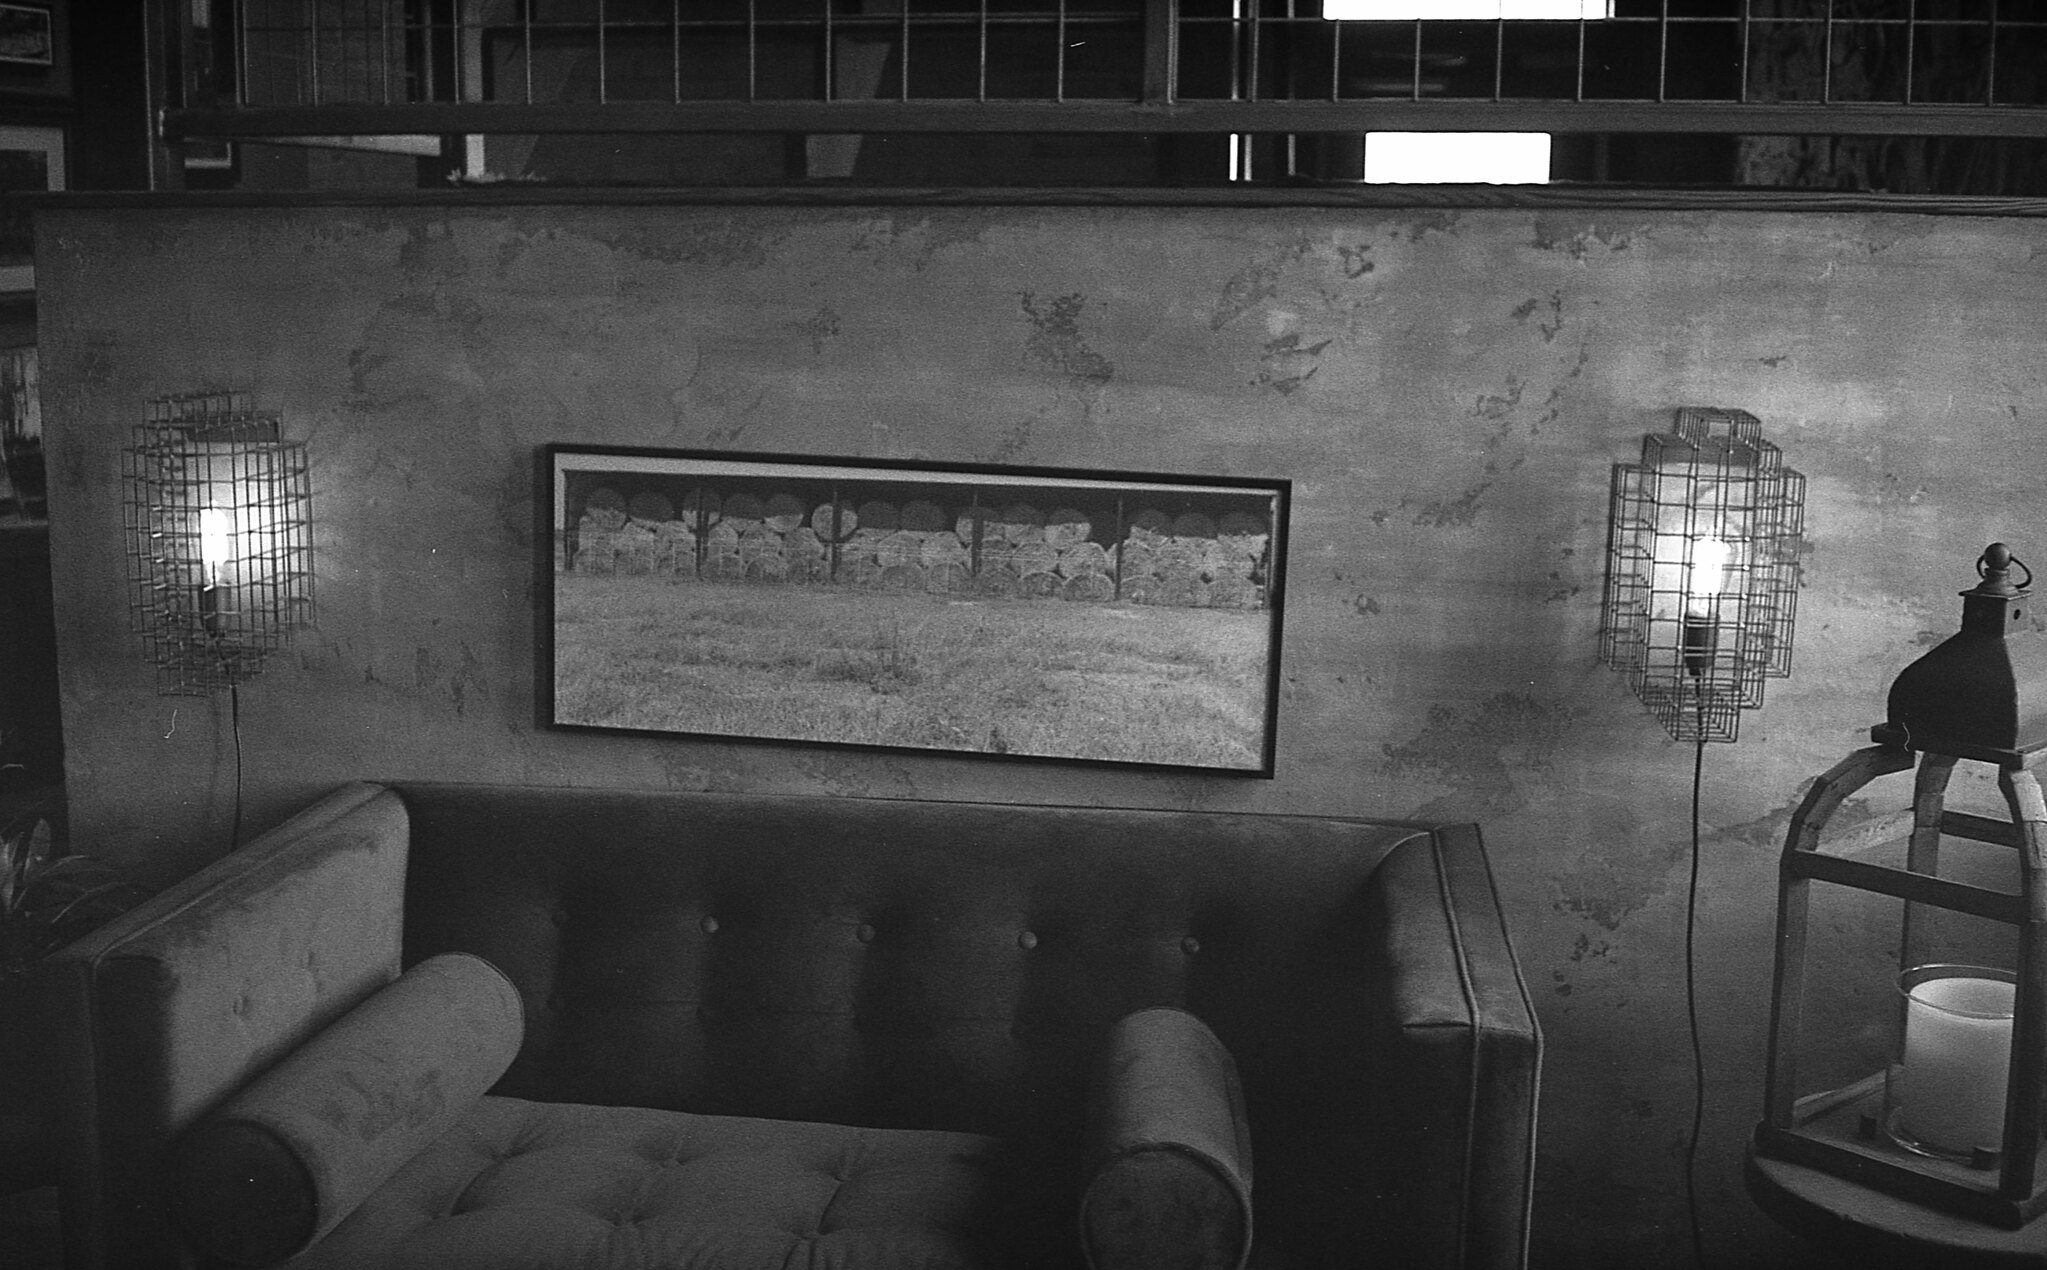
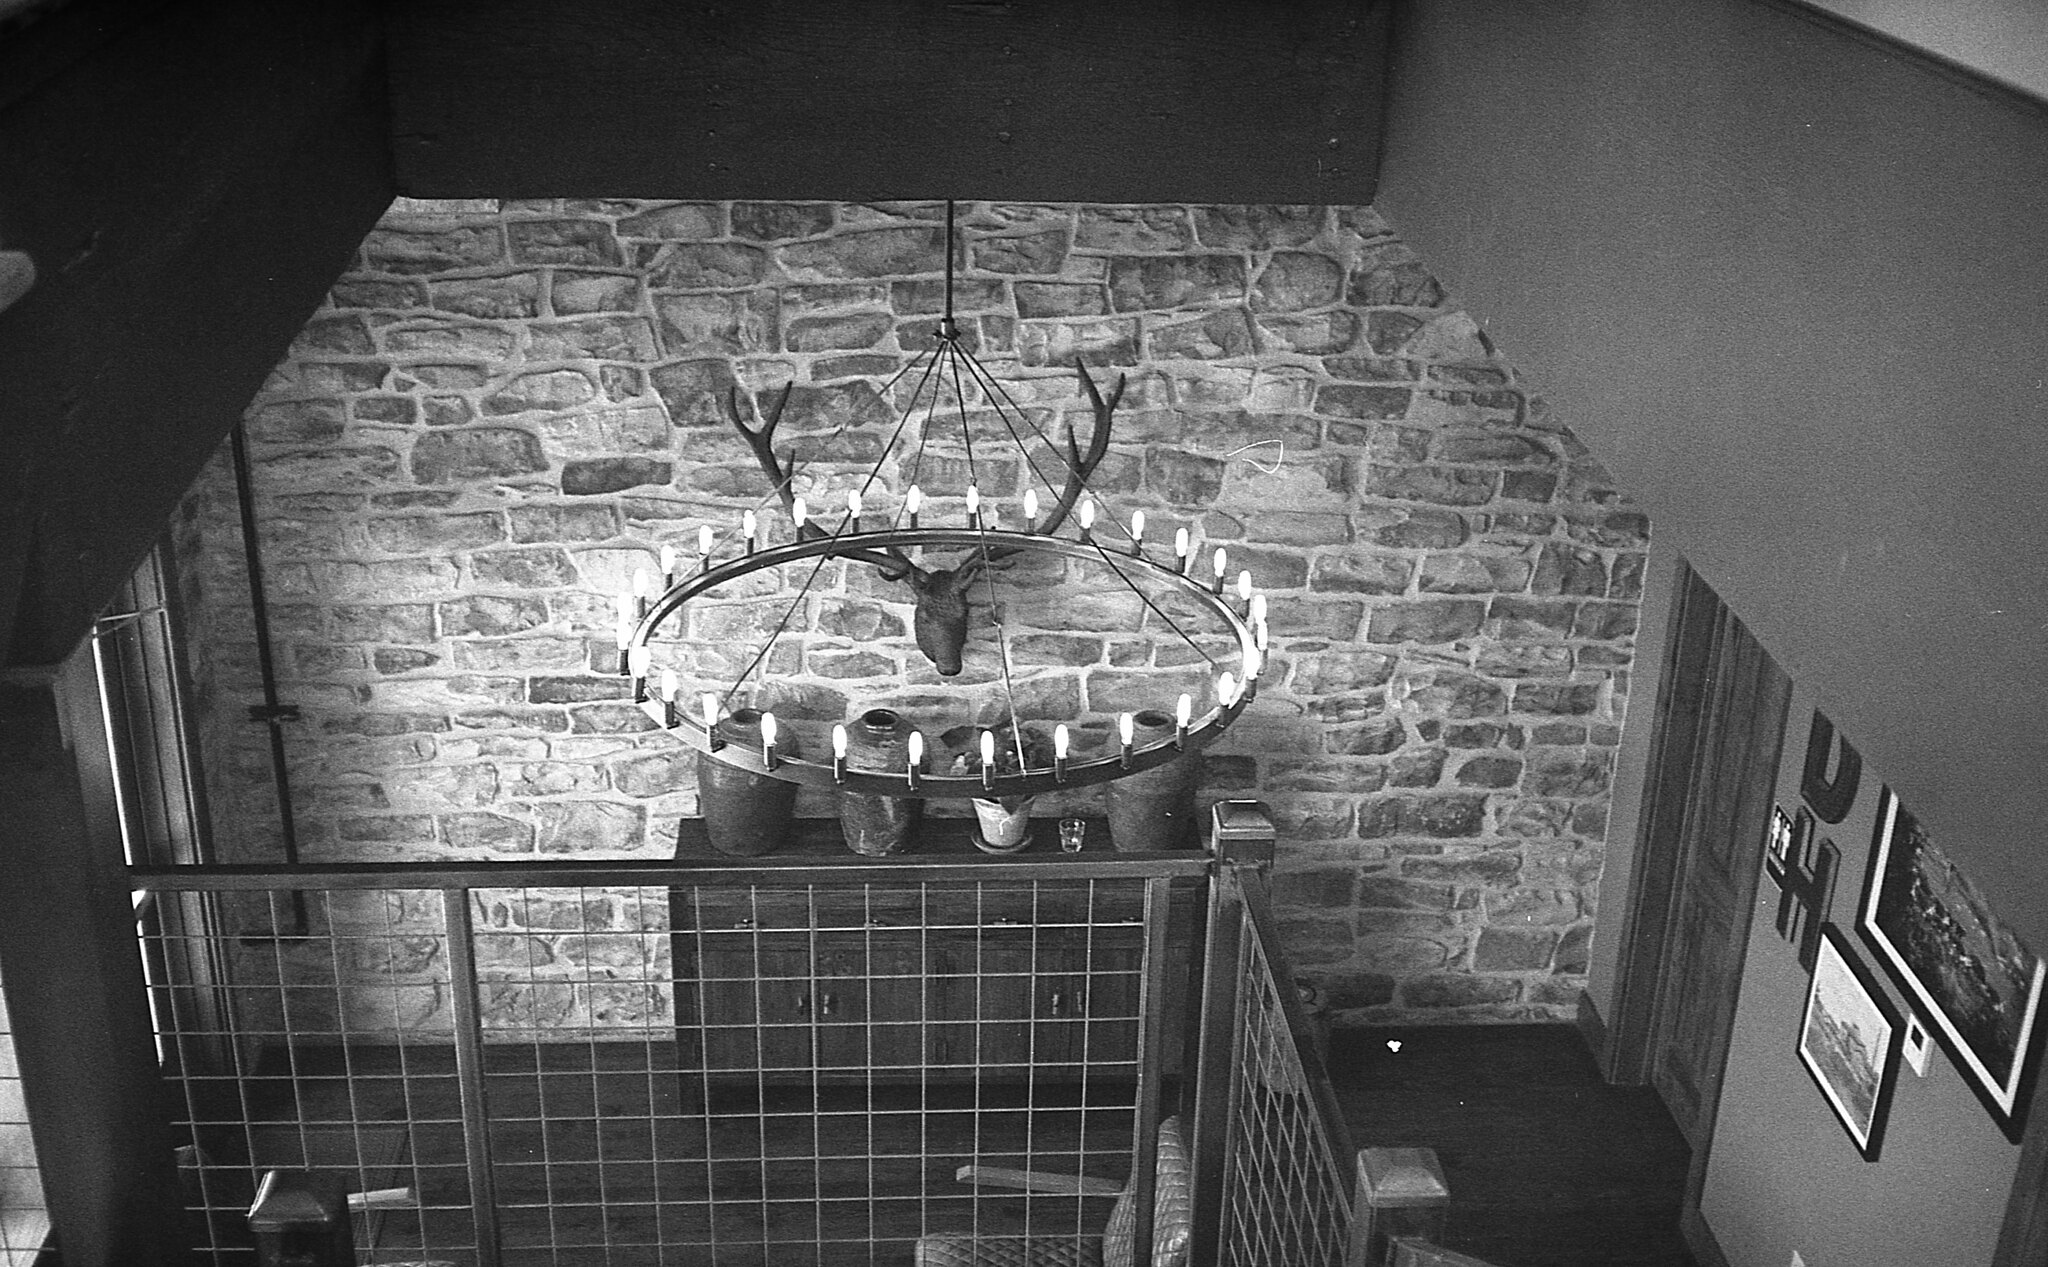
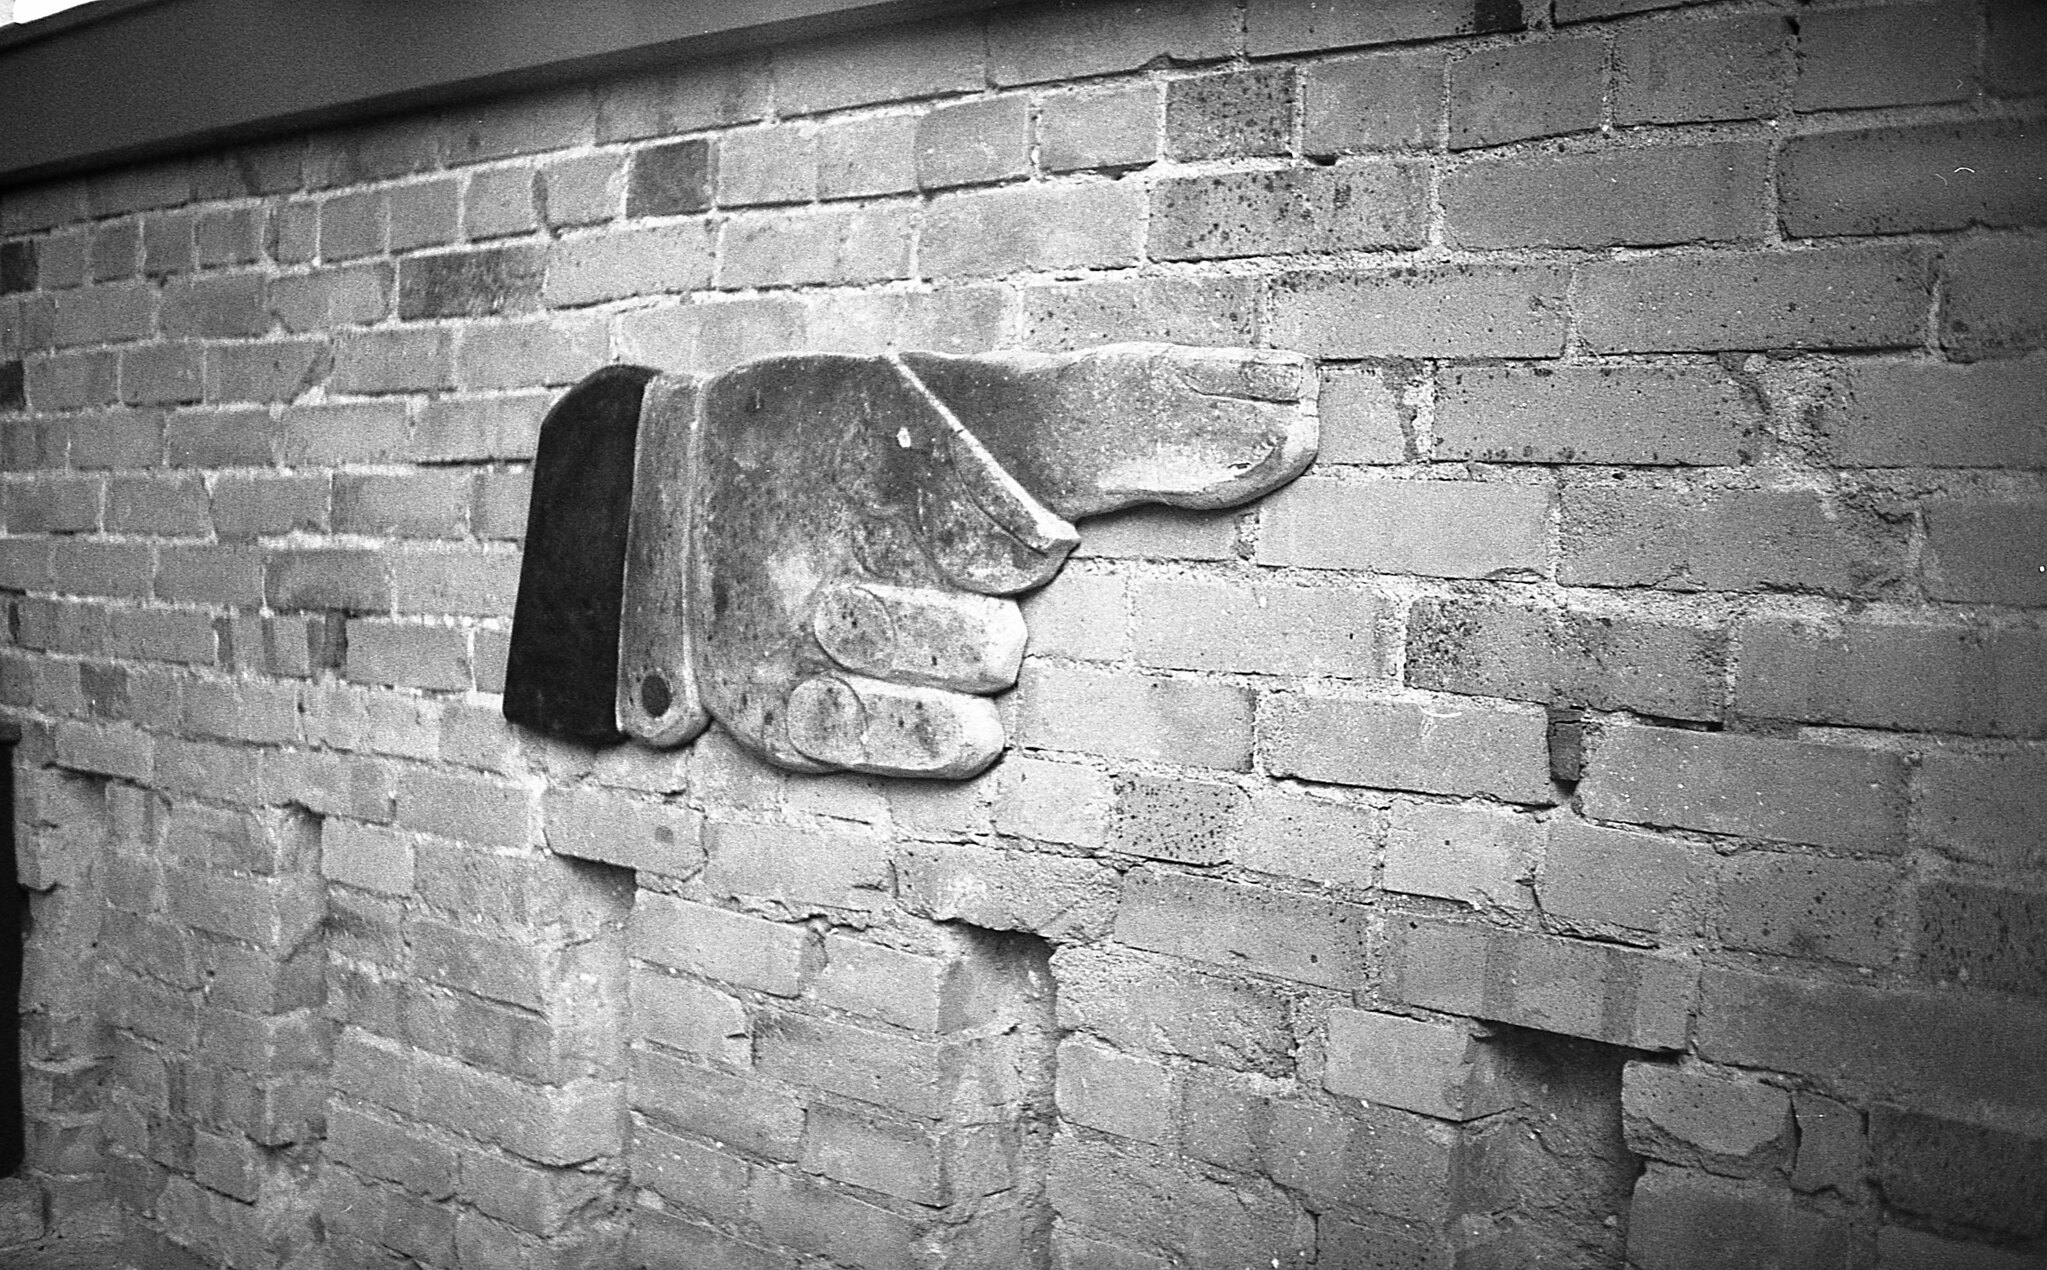
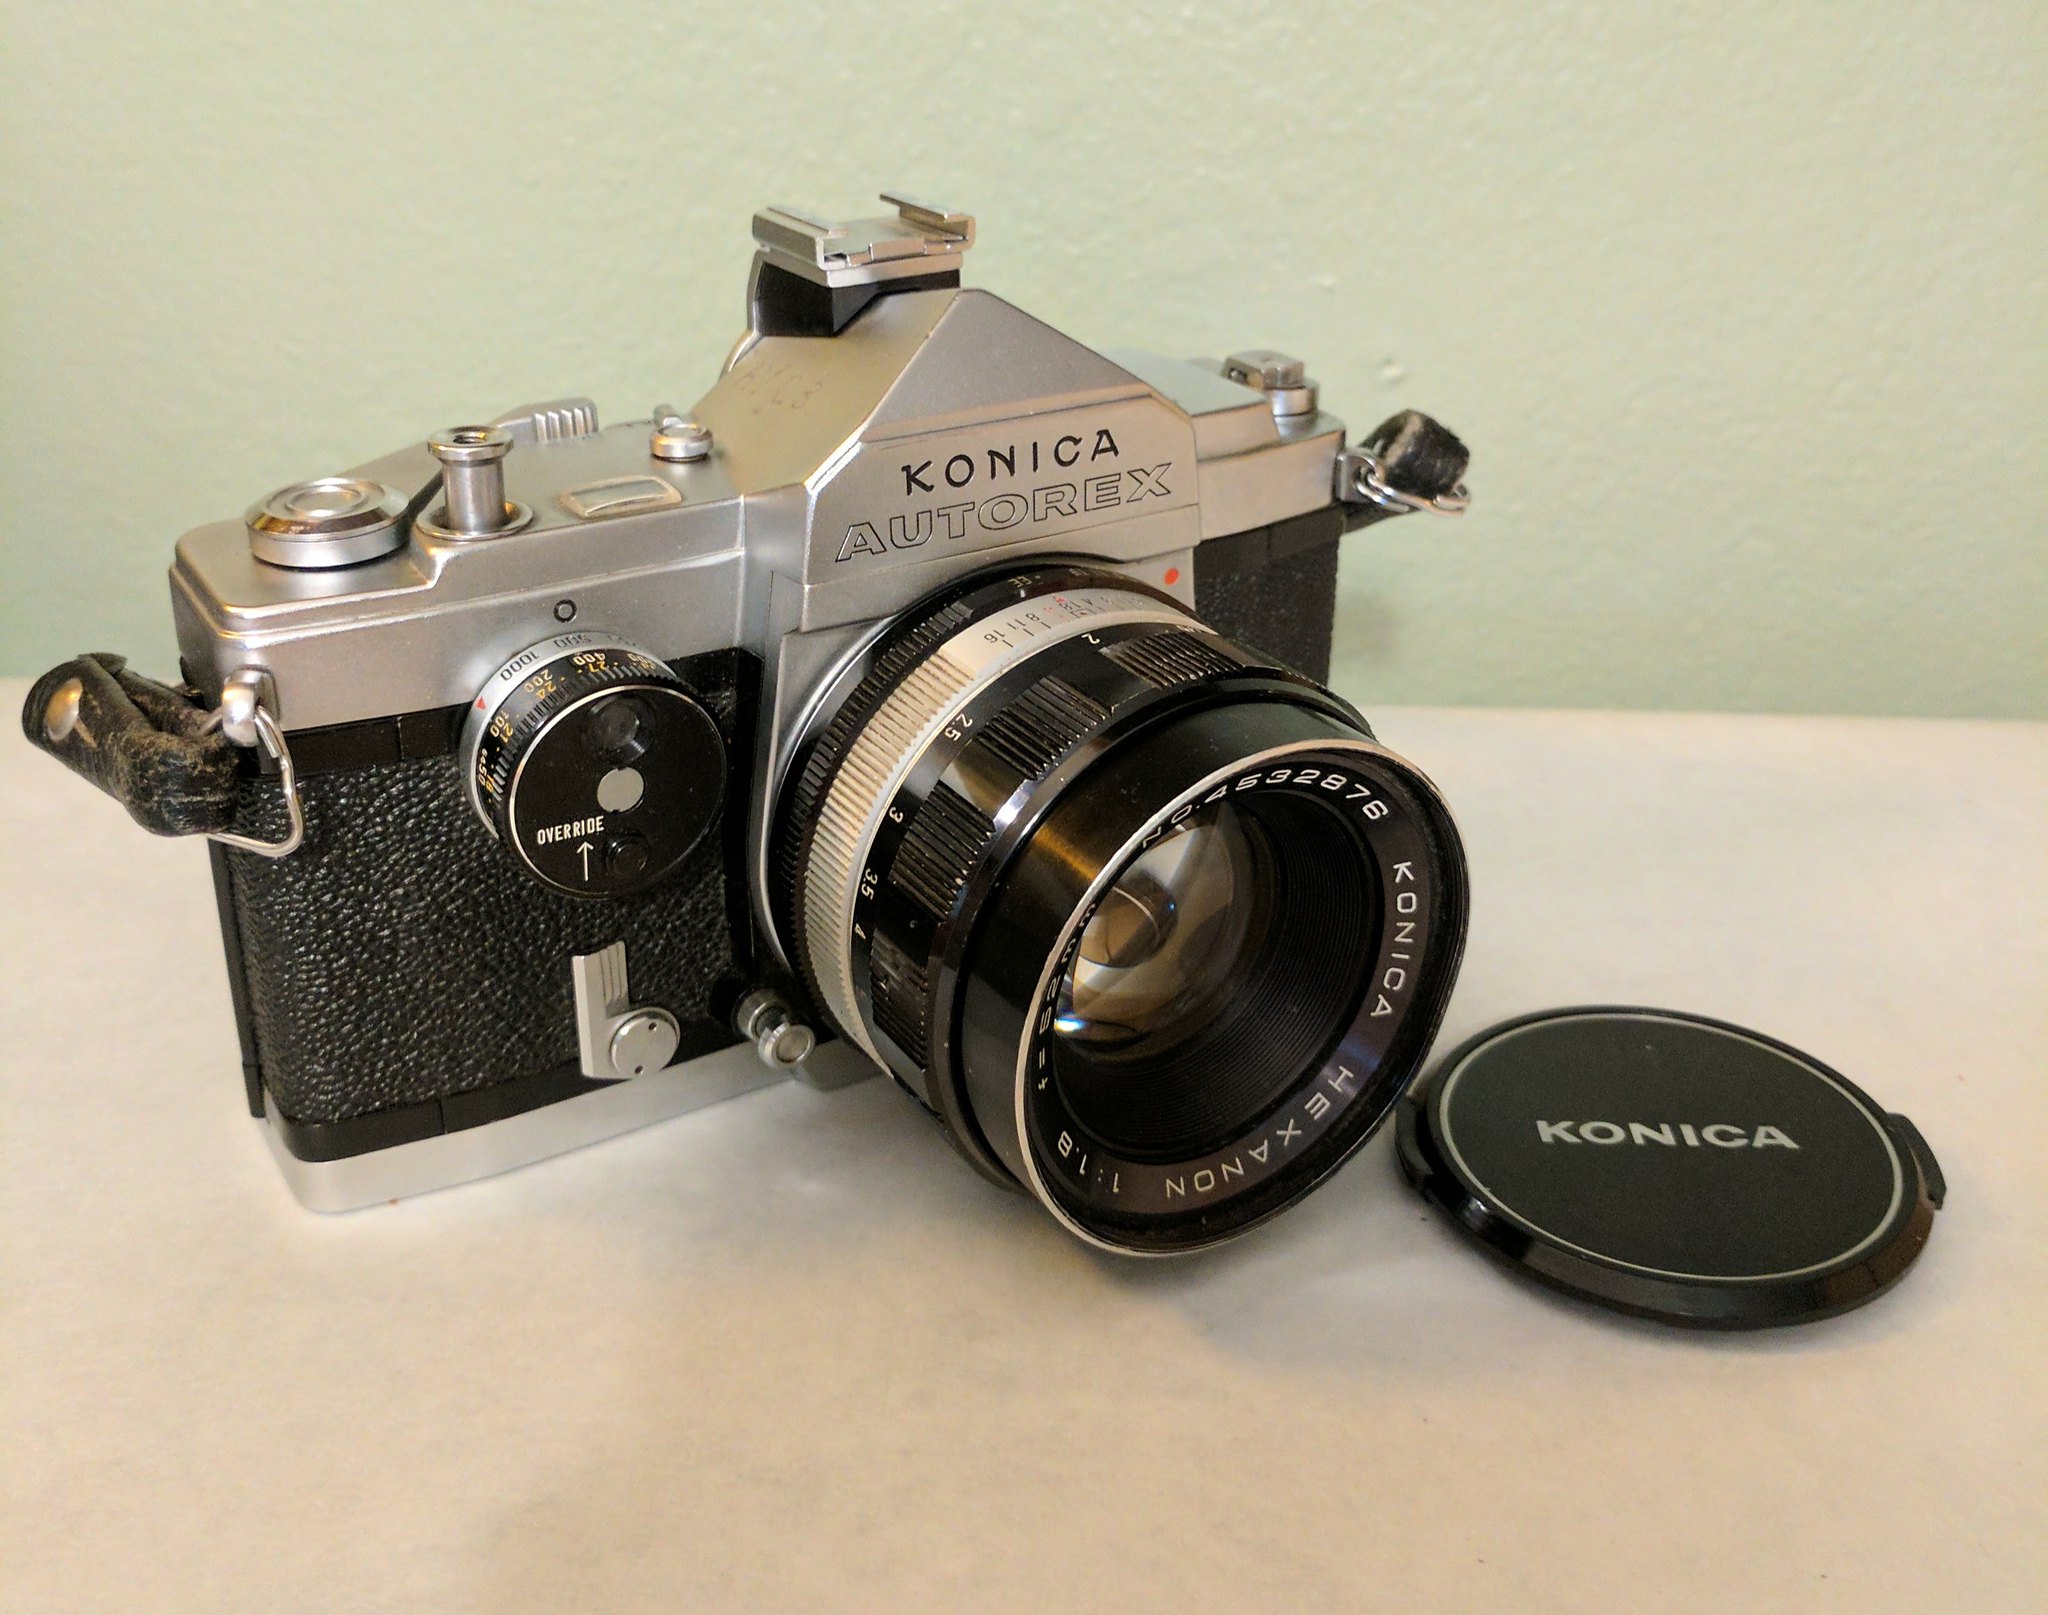
The Konica Autorex is an interesting SLR camera that shoots both full and half frame picutres. I bought two of these--each one had various issues. I sent this one off to be repaired along with a couple of lenses I picked up. The repairs fixed the film advance issue, the light meter connectivity, and the repair guy added in the resistor so I can use modern batteries for the metering.

The Autorex is a well-built SLR and I really like the half or full frame option. There's also a nifty "aperture preview" button near the bottom of the lens. One of the drawbacks of this camera is that the light meter is housed inside the shutter speed dial on the front of the camera so there is no TTL (through the lens) metering. This will only really be an issue if you're using filters.

There are instructions printed on the bottom of the ever ready case for switching between half and full frame. For full to half frame, wind the film them flip the lever. For half to full frame, flip the lever then wind the film. It's nice to have the instructions on the camera so you don't have to remember that.

I used several lenses this month. Unfortunately, I didn't write down which lens I used for which pictures. I used a Konica Hexanon 52mm/1.8, a Konica Hexanon AR 40mm/1.8, a Rexagon Auto MC 28mm/2.8, and a Super Takumar 135mm/3.5 (M42 mount used with a lens adapter).

As you can see, the expired film I used (Fujicolor 200 Super HGII) suffered from color shift. In spite of that, some of the shots turned out okay.

Film: Fujicolor 200 Super HGii (expired)
Developer: Unicolor C41 Kit
Scanner: Epson V550

Konica Autorex SLR

Konica Autorex SLR

Konica Autorex SLR

Konica Autorex SLR

Konica Autorex SLR

Konica Autorex SLR

Konica Autorex SLR

Konica Autorex SLR

Konica Autorex SLR

Konica Autorex SLR

Next month's camera: Olympus XA


Saturday, February 3, 2018

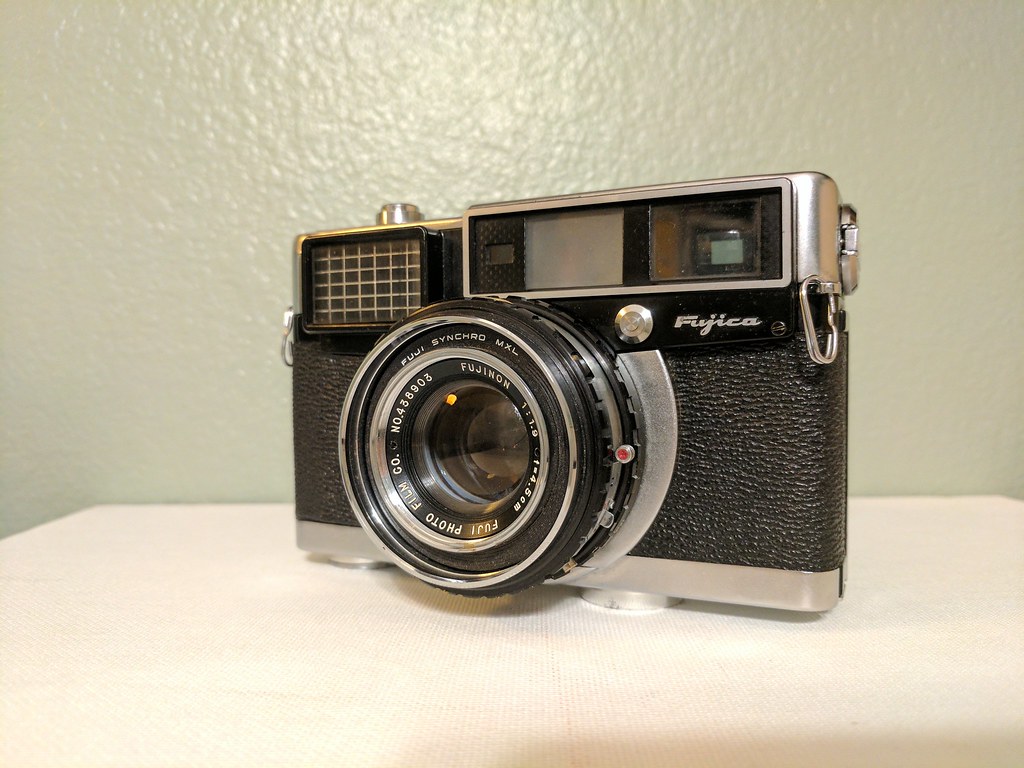
Fujica 35 EE

Fujica 35 EE Rangefinder

I've been interested in the Fujica 35 EE rangefinder for awhile. I was impressed with the quality of the pictures I was seeing online and intrigued by the funky quirks of the camera. But I was never tempted enough to drop the $40 or $50 they are usually listed for on eBay. So I admired them from afar but wasn't tripping over myself to get one.

Then something that never happens to me happened. I was at an antique store one weekend and they had a stash of old cameras. The Fujica caught my eye and I thought "surely that isn't a Fujica 35 EE"--but it was! The camera looked pretty clean but shutter was sticky. But for $12.50 I was willing to give it a shot.

This camera is super easy to work on. I believe there were only a couple of things to remove to get to the shutter. I used a generous amount of naphtha to get it moving. After letting it dry out, I applied graphite to the shutter blades and worked the shutter for a bit. Once I was satisfied that they were up and running, I blew out the excess with a can of compressed air and reassembled the lens.

I've picked this camera up from time to time since I got it to make sure everything was moving as it was supposed to. The shutter showed no signs of sluggishness so I feel good about using this camera.

The camera came in its original, tattered case. I'm always encouraged when I see this because it means that the selenium meter may have been protected over the years and might still work. The needle didn't even hesitate when exposed to light. It started jumping around ready for action. I compared it to the light meter app on my phone and it seems pretty darn accurate.

 Let's talk about the weight of this camera for a minute. Yes, it has quite a bit of heft to it. You could definitely clobber a guy with it if you felt threatened. But there's something reassuring about a nice, solid camera in your hand(s) so don't let the idea of a 2 lbs. camera deter you from picking one up. Unless you're weak. Then maybe you should steer clear of this one and buy a plastic point and shoot.

I like the thumb wheel for adjusting the focus. You can hold the camera steady with two hands while you set your focus. As some users have pointed out, the adjustment moves the bigger image to align with the smaller patch. I didn't really notice it until I read that online. The small patch is stagnant and the full frame moves when focusing. Quirky--but it didn't bother me at all.

The highest ISO supported by this camera is 200. The camera has a full compliment of shutter speeds plus bulb setting with a top speed of 1/1000 of a second! So you're able to use a wider aperture during bright light situations if that's what you're going for.

The camera can be operated in auto mode or full manual. The light meter read out is located on top of the camera. The viewfinder only shows the framing lines, rangefinder patch, and has a dot that will turn red if the exposure isn't correct given the conditions you're shooting under. When you select the auto mode, the shutter release button pops up to let you know you're in auto mode. I don't care for the extra long travel of the shutter release button in auto mode but it was only mildly annoying.

There's a release lever on the front of the camera that must be slid to the side when you want to access slower shutter speeds.

Overall, I think this is a great camera that should serve you well.

Film: Fujicolor 200
Developer: Unicolor C-41 Kit
Scanner: Epson V550
Fujica 35EE

Fujica 35EE

Fujica 35EE

Fujica 35EE

Fujica 35EE

Fujica 35EE

Next month's camera: GAF L-17 SLR Camera
Saturday, December 2, 2017

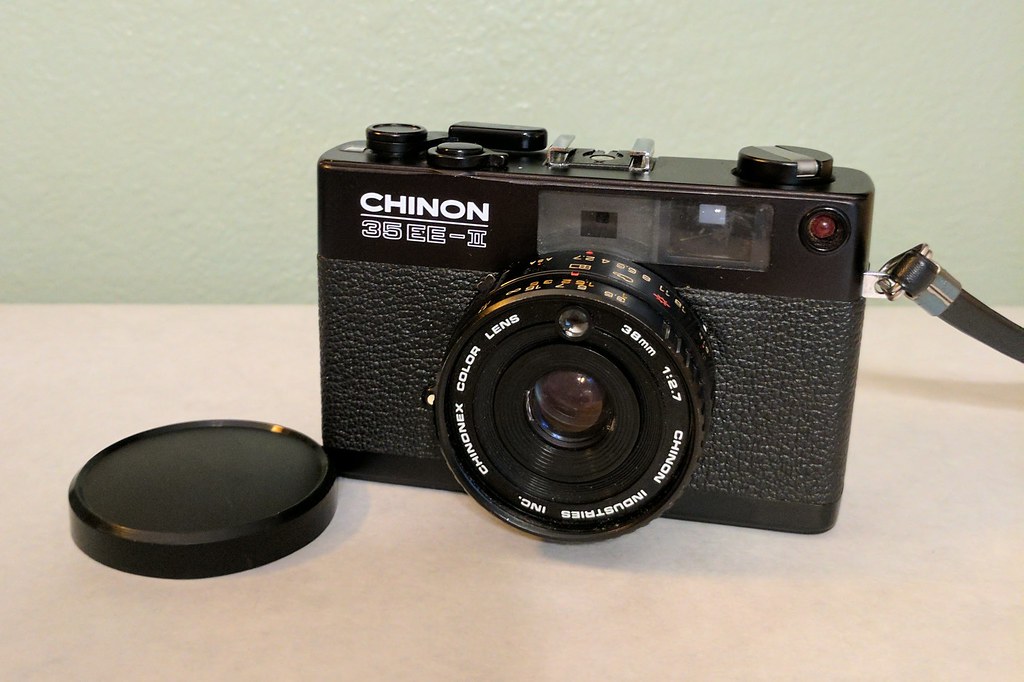
Chinon 35 EE-II


Chinon 35 EE-II 

This Chinon 35 EE-II is the first camera that I had not used prior to this project. Sometimes you just have to trust that a camera still has the ability to capture a moment.
I picked it up on eBay because it looked to be in good shape.  It turns out the battery wire was fried from battery leak. It was real tricky getting in there to solder the wire. My first attempt to fix this was not successful. After taking a step back, I revisited the repair and was able to get it fixed the second time around. 

The battery situation took some thinking to figure out. It was originally powered by two of the thicker batteries. I stacked two modern batteries on one side and used a brass nut to bridge the other side of the connection. This seems to work just fine and everything worked okay after I did this.

This is an aperture priority rangefinder fitted with a 38mm/f2.7 lens. You select the aperture and the camera will select the shutter speed. The shutter speed is not represented anywhere on the camera or in the viewfinder. There are over/under lights (green/red/green) directly to the right of the viewfinder that you can see as you depress the shutter release. It's good to know that the max shutter time is around 10 seconds. You will get the under exposure warning any time the camera will require a long shutter speed to get the correct exposure. Don't be afraid to use a tripod to get the shot you're looking for. 

The camera has a shutter release lock that could be handy. Personally, I don't advance the film and cock the shutter until I'm ready to take the picture. That's a habit I've developed since I have so many cameras that tension the shutter when you advance the film.

As pointed out on other sites, there isn't an owner's manual readily available on the internet. 

The exposures were pretty good on most of the pictures but the camera didn't produce consistent results. Although this camera is compact and easy to use, it doesn't hold a candle to the Olympus XA.

I used Kodak Tri-X 400 and Orwo UN54 (100 iso) film this month. Developed using the R5 Monobath Developer. Scanned with an Epson V550.


Chinon 35 EE-II

Chinon 35 EE-II

Chinon 35 EE-II


Chinon 35 EE-II

Chinon 35 EE-II

Chinon 35 EE-II

Chinon 35 EE-II

Chinon 35 EE-II

Chinon 35 EE-II

Next month's camera: Franka Solida III

Thursday, November 2, 2017

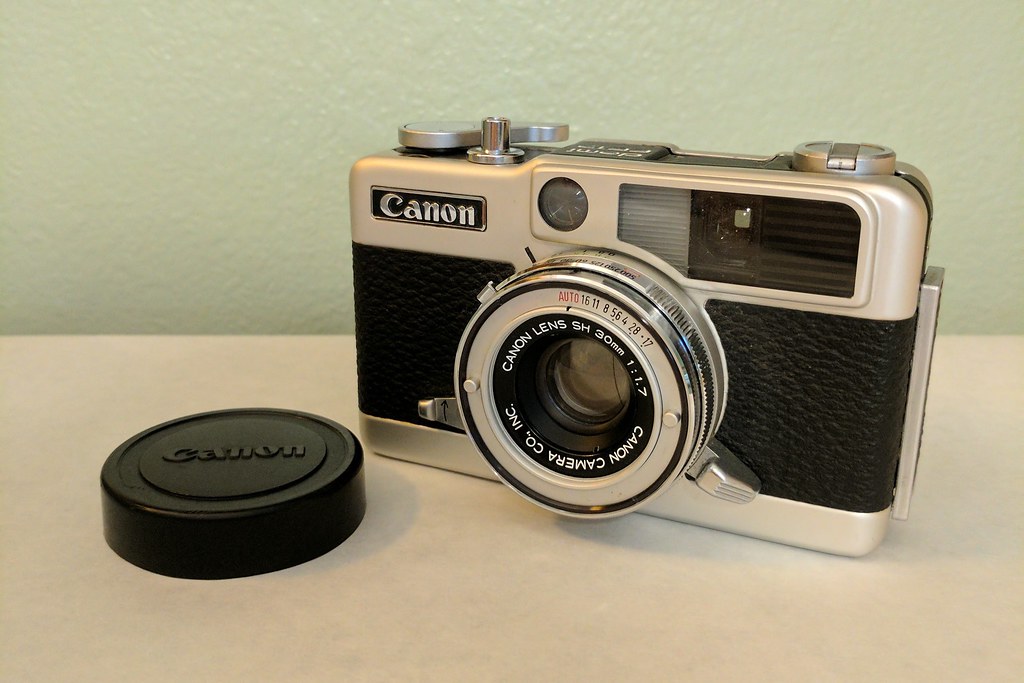
Canon Demi EE17

The Canon Demi EE17 is an excellent half frame camera that produces 24x18mm pictures. The pictures are composed in the portrait format. Rotate the camera 90 degrees and you're taking pics in landscape format! It's equipped with a 30mm/f1.7 lens. According to the literature it's made up of 6 elements in 4 components.

Canon Demi EE17 Half Frame Camera 

The ISO range for this camera is 25-400. The shutter speeds go from 1/8 to 1/500 plus a Bulb setting. The size of the camera is slightly larger than pocket size. It fits comfortably in the hand and mine came with a Canon wrist strap that screws into the tripod mount on the bottom of the camera.

The flash shoe was dangling when I got this one. It ended up falling off and I haven't bothered to remove the top and reattach it yet. For flash photography, I hand held the flash. The camera's small and light enough that you can do that without much fuss.

The shutter was gummed up so I had to go in and give it the ol' naphtha treatment. That was several months ago. So when I snapped my first couple of shots this month, I noticed that it was way too sluggish and wouldn't make it through the month without another round of naphtha and I also used some graphite on the blades this time. It seems to be hanging in there but I wouldn't be surprised if I have to go into the lens element again in the future.

This camera does a great job in the auto mode. Just don't forget that you still have to do the focusing. The focusing on this camera is zone focus and there are icons in the viewfinder (Portrait/Group/Scenery) to let you know the approximation of that focus.

The CdS light meter is located above the lens barrel. The lens cap will not block out the meter. So I put the camera in an old Kodak zipper case to keep the light out and save the battery.

I decided to shoot some Kodak Gold 200 film just because I've shot a lot of black and white the past few months. I also shot color film with this camera when I first got it. I think I'll load it with some black and white film the next time I use it.

Please note: My developer was exhausted! I knew I was pushing my luck using old chemicals. But hopefully you can still see that the camera is very capable with an excellent lens. And the auto exposure mode seems to get it right a majority of the time.

Film: Expired Kodak Gold 200
Developer: Unicolor C41 Kit (exhausted!)
Scanner: Epson V550

Next month's camera: Chinon  35 EE-II

Canon Demi EE17

Canon Demi EE17

Canon Demi EE17

Canon Demi EE17

Canon Demi EE17

Canon Demi EE17


Zeiss Ikon Ikoflex 1b TLR